Preparing a Property for Professional Photography: A Practical Checklist for Agents

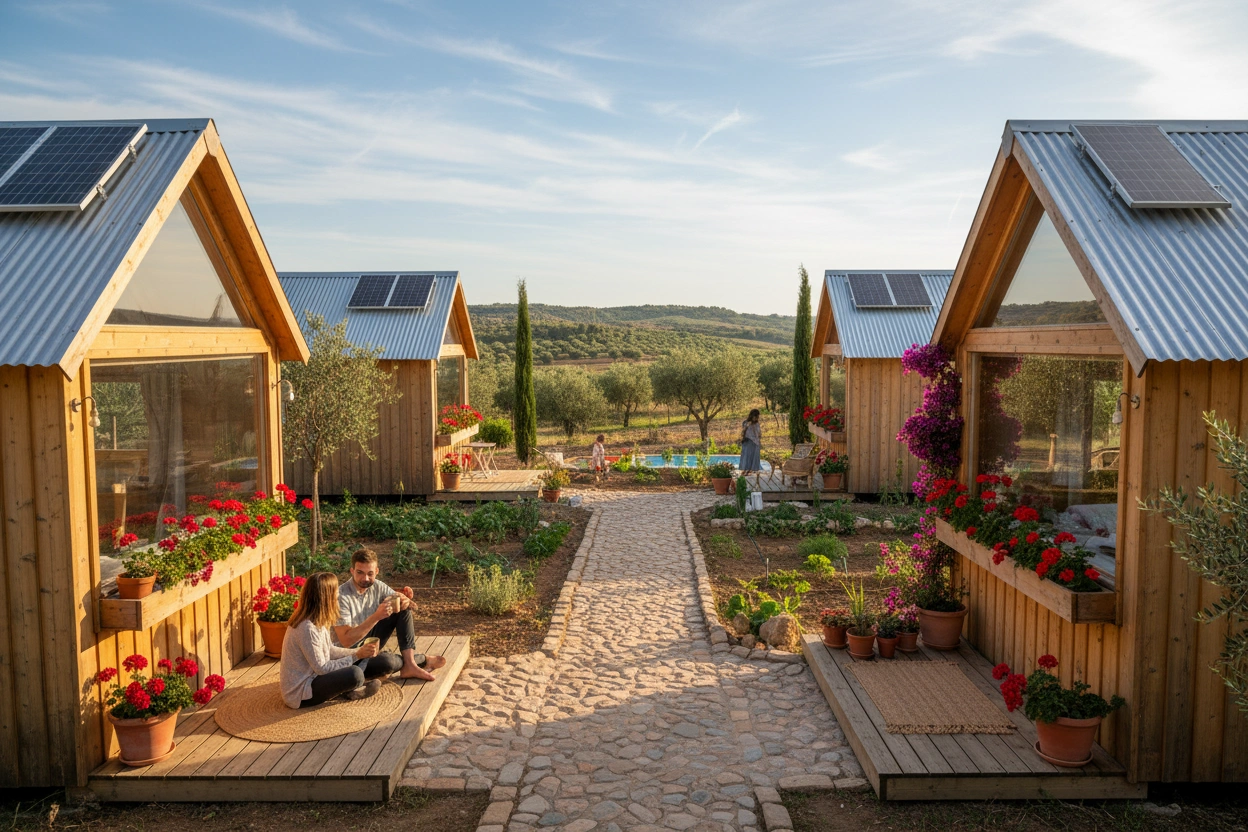
.webp)
The market’s never been as competitive as it is today, and because there are so many agencies doing the same thing, it’s important to have aces up your sleeve. In the property market, these aces are your photos. You can write ten thousand words about how great your property is, but only photos really speak to buyers.
People scroll fast. They don’t have time to read long listings. All they want is a good shot that would let them picture the place and decide in seconds whether they should contact an agent to arrange a viewing. If the photos fail to grab the attention, they’ll keep searching until they find one that does the trick.
For real estate agents, this adds quite a lot of stress. Now, you’re not just selling square footage. You’re selling a feeling that should evoke the right emotions in people scrolling your ads. And professional photography is about the strongest of tools you have to stir that feeling.
The good news is? Great listing photos don’t come down to luck. They are the result of smart preparation, clear priorities, and knowing where agents should focus their energy before the camera shows up. This checklist breaks it all down, step by step.
Why Photography Prep Matters More Than Ever
Gone are the days when a few shots were enough to put a new property on the market. People are looking for details. They expect wide-angle lenses, HDR, drone shots, and high-resolution screens, allowing them to notice every little thing.
These photos help buyers get a sense of what they’ll see when they walk into the home. A poorly prepared property may appear smaller, darker, or more dilapidated than it actually is. On the other hand, a well-prepped home looks brighter, more spacious, and more valuable, without touching the asking price.
For real estate agents, the value of a good photo is no less important. With a strong portfolio of property listings, they can expect:
- More clicks on listings;
- Higher-quality enquiries;
- Better turnout at viewings;
- Less time on market.
In short, photos are no longer optional. It’s the backbone of a smart sales strategy that can make or break a sale.
.jpg)
Start With a Clean Slate
A lot of agents are tempted to get right down to styling the place to make it look nicer and visually appealing. However, most often, a quick cleanup and rearrangement of furniture isn’t enough to give your property a photo-ready look.
Professional cameras pick up everything. Dust on skirting boards, unsightly streaks on windows, marks on walls, and frayed carpets, details like this might go unnoticed in person, but they get captured by the camera’s lens.
This is why so many agents now coordinate with deep cleaning professionals before they invite a photographer. A thorough clean sets the foundation for everything. When the space is tidy, styling it takes considerably less time, photos don’t need as much retouching, and the end result looks more polished.
Once the property is spotless, you can move on to other things that can help make it look cozier, prettier, and more inviting.
Declutter
Clutter is one of the biggest killers of good photos. It visually reduces space, distracts the eye, and creates chaos. Obviously, you don’t want to get rid of everything. Your goal is to make the space look so that potential buyers can easily imagine their own life there. A good rule of thumb is that if something doesn’t add to the story of the room, it simply shouldn’t be in the photo.
Here’s what you may want to remove before photography day:
- Personal photos;
- Excess cushions, throws, and ornaments;
- Overflowing shelves and countertops;
- Laundry baskets, bins, and pet items (bowls, carpets, pots, etc).
Agents often underestimate the importance of decluttering, but this step can’t be ignored. Fewer items mean cleaner lines, better photos, and more visual space.
Let the Light Do the Heavy Lifting
Another factor that plays a crucial role in the quality of property photos is lighting. Even the best photographer can’t fix a dark, gloomy room that hasn’t been prepared properly.
It doesn’t matter whether the room is light or dark; you still want more natural light. If there are curtains or blinds, make sure to open them to let in the sunshine. Clean windows inside and out to get rid of any trace of dust or soapy streaks. It might be worth replacing old bulbs, too, if they stopped working or aren’t bright enough. Use consistent bulb color temperature where possible.
If the room is quite dark, use scone or floor lamps to illuminate darker corners. Even if it’s still daytime, additional lighting will help balance shadows and create the illusion of a brighter space. Once the room feels bright in person, it should look bright on camera, too. Don’t assume the photographer will “sort it later.” Lighting adjustments should be made before the shoot.
Reset Furniture for Flow, Not Comfort
You’ve probably noticed that the furniture arrangement in some of the photos looks more staged than real. This is a technique many agents use. The camera needs clear sightlines and open space, so most typical living furniture placements used for living simply don't work when it comes to photo shoots.
Here are a few tweaks that can help spruce up the room:
- Move sofas slightly away from walls;
- Angle chairs toward the centre of the room;
- Remove large furniture from small spaces;
- Keep walkways open and clearly visible.
Your goal is to show how the space flows, not how much furniture it can fit. If a room feels tight, less is more.
Style With Purpose, Not Personality
Styling for photography is about neutrality with warmth. Buyers aren’t looking for a personal touch or someone else’s taste. All they want is to see the potential of what can be done with the space. So instead of doing a complete room overhaul, focus on little things that matter: clean towels, crisp bedding in neutral tones, a bowl of fruit, or a plant in the kitchen.
Don’t use bold colors, heavy patterns, or trendy decor that could date the listing. Clean, calm, and neutral shades always win. If a property is empty, even a minimal preparation for a showing can help zone the rooms and avoid a cold, empty look that turns buyers off.
Don’t Ignore the “Problem Areas”
Let’s be honest, every property has them. An awkward corner, a narrow entryway, a small bathroom — you name it. However, that doesn’t mean these areas should be hidden — they can’t just disappear. Buyers will see them later and be disappointed and misled.
Problem areas shouldn’t be ignored; quite the opposite. You want to show them honestly, but do it cleanly. Tidy them properly and light them well. A well-prepared small space looks intentional, whereas a messy one looks like something you’re hiding.
Prepare the Exterior
The exterior often plays just as important a role as the interior itself. In fact, it’s one of the first photos people usually see or expect to see. Buyers want to know where the location is and whether it actually meets their expectations.
If it’s a house that you’re listing, make sure to mow the lawn and trim edges. If there are any twigs, bins, hoses, or broken stuff, it’s important to get rid of it so it doesn’t spoil the garden’s look. The less clutter there is in the front yard, the more chances your listing will stand out in the sea of other listings similar to yours.
If the weather allows, plan a photo shoot for a day with soft light. The best time of day is usually early morning or late afternoon when the sun’s lower in the sky and shadows look more natural.
Final Walkthrough
Before the photographer arrives, do one last walkthrough as if you’ve never seen the property before.
Ask yourself:
- Where does my eye go first in each room?
- Is there anything distracting or messy?
- Does each space have a clear purpose?
Check mirrors for smudges, cushions for creases, and cords for visibility. These small details matter more than people think.
This final pass often separates “good enough” photos from standout ones.
Work With Your Photographer
Professional photographers know their craft, but they rely on agents to set the stage. Share details in advance:
- Best angles of the property;
- Key selling points to highlight;
- Any areas to downplay or avoid.
A quick conversation before the shoot helps everyone work faster and get better results. When prep and photography align, listings look intentional rather than rushed.
Final Thoughts
Preparing a property for professional photography takes time, but it pays back quickly. Strong portfolios attract better buyers, support pricing, and reduce unnecessary back-and-forth. For agents, it also builds a reputation. Sellers remember when their property looked great online — and they recommend the agents who made it happen.
Photos don’t just show homes. They sell confidence. And confidence is what closes deals.