7 Ways to Create a Dream Space on a Budget

.jpg)
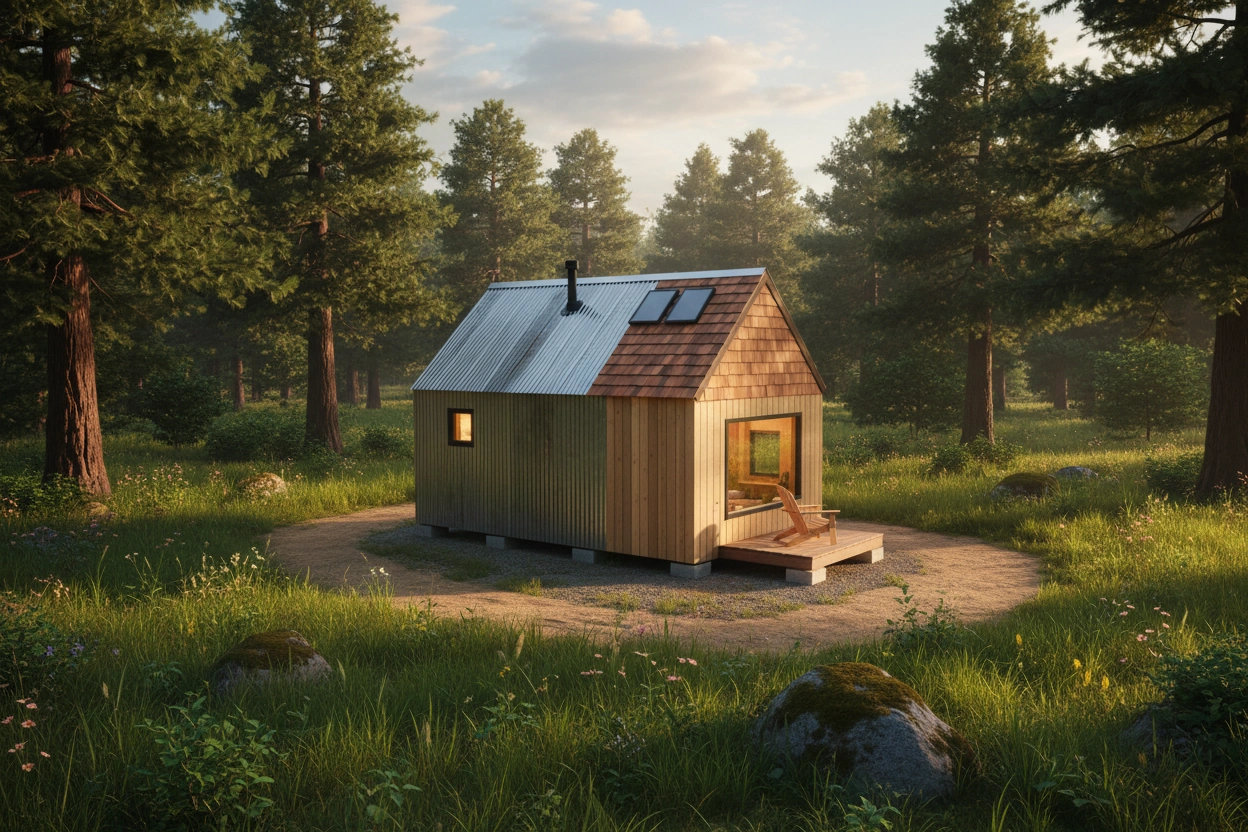
A tiny home proves how much comfort you can fit into a few hundred square feet. The catch is that money and time disappear fast once you start building or refitting. Small choices add up, from fasteners to finishes, and most people do not have a blank check.
Cash flow can shift too, which stalls even the best plans. If a short gap shows up while you wait for a paycheck or a reimbursement, Net Pay Advance can cover a limited window so work continues without late fees from suppliers. Keep terms, fees, and state rules front of mind, and use any advance for a clear need with a payoff plan.
Set A Real Budget That Fits Real Life
Start by sizing the project into what you can finish this month, next quarter, and this year. Put hard numbers on materials, transport, and waste disposal, then add a cushion that you actually protect. A written budget stops impulse buys, and it helps you compare two good ideas without guessing.
If you like structure, use a simple method such as a 50, 30, 20 split adjusted for your build. Shelter and utilities eat most of the pie, so plan the build schedule around those due dates. A basic spending plan from a public source can help you map fixed and flexible costs without fluff, like the CFPB’s monthly budget guide.
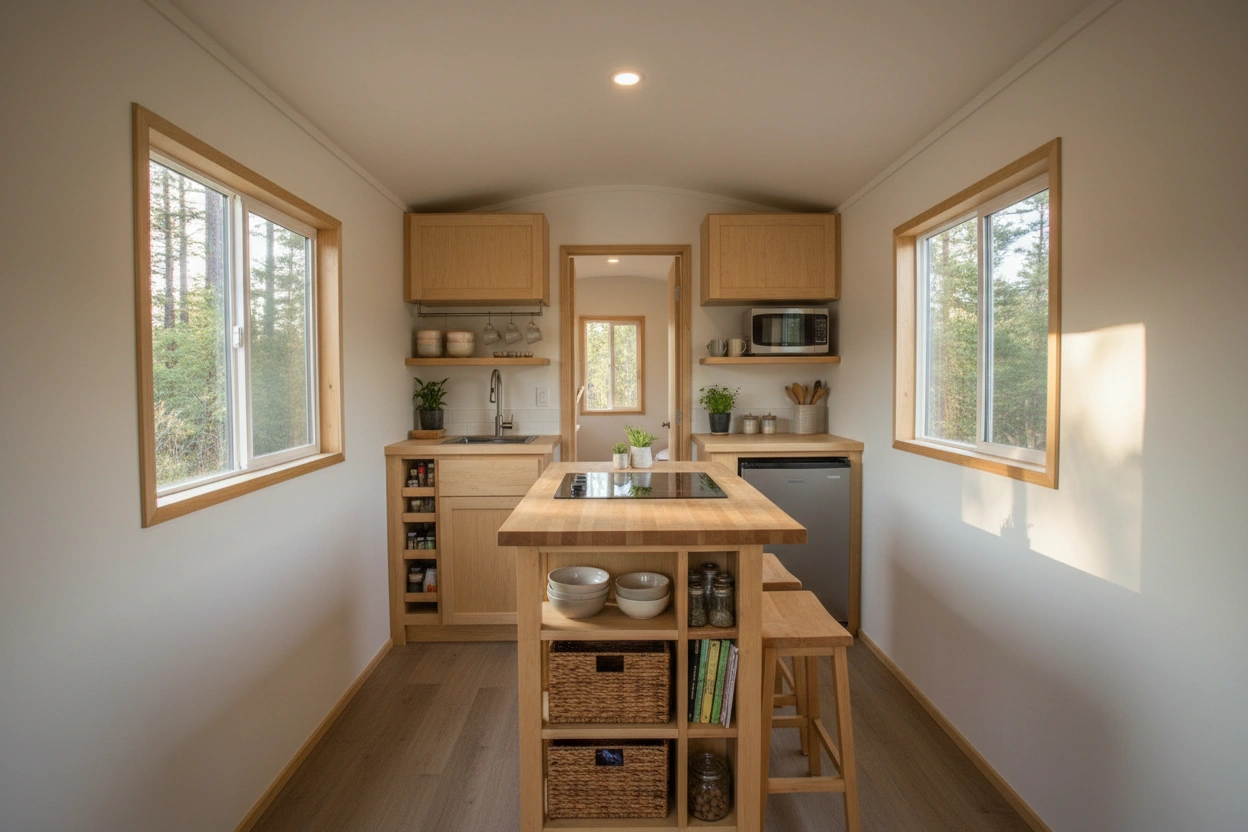
Work With Space, Not Against It
Your layout does the heavy lifting in a tiny home. Trim inches from passage zones and give those inches to storage and seating. Think in zones that share functions, such as a bench with lift-top storage beside a fold-down table.
Measure the height of everything, not just width and depth. Vertical clearances decide if lids open, stools tuck, and doors swing. A narrow shelf rail around the upper wall can hold jars, books, or planters, while keeping floors open for movement. Simple rules like “one in, one out” for gear stop clutter before it starts.
Build In Phases Without Losing Momentum
Trying to finish all seven projects at once burns savings and patience. Break the work into clean phases and finish each one fully before starting the next. That approach keeps living spaces usable and reduces tool set-ups that cost time and money.
A practical seven-step sequence looks like this:
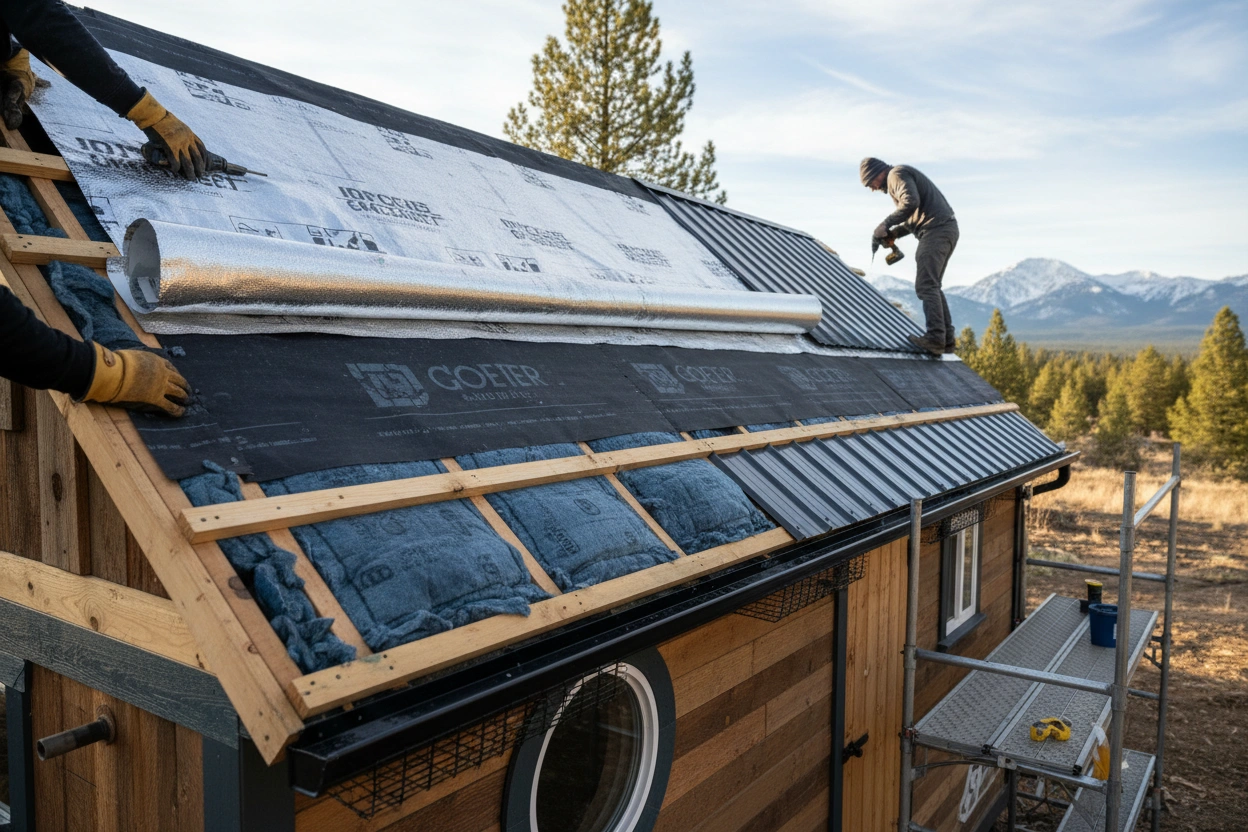
- Seal and prep the envelope.
- Insulate and air seal.
- Run electrical and plumbing rough-ins.
- Close walls and prime.
- Install core storage.
- Fit cooking and wash fixtures.
- Add lighting, paint, and soft goods.
Stick with a single supplier per category when possible. Bulk orders often save on shipping, and fewer brands mean fewer surprises. Keep a rolling punch list as you go, and clear it weekly so small misses do not snowball.
Source Materials The Smart Way
Materials define both the look and your budget line. Check local reuse yards for solid-core doors, hardwood offcuts, and tile overstock. Builders often donate leftovers that are perfect for tiny runs like a short backsplash or a shelf.
Price by unit, not by bundle. Screws, anchors, and adhesives drain budgets when bought in small packs. A contractor box costs more up front, but less per unit, and leftovers serve future fixes. Ask paint stores about returned custom mixes. You can often tint those near-matches into warm neutrals for a fraction of retail.
Focus On Seven High-Value Upgrades
Some upgrades pay you back in comfort and lower bills, even in a small footprint. Aim for these seven:
- Air sealing and insulation at outlets, window perimeters, and attic or ceiling planes.
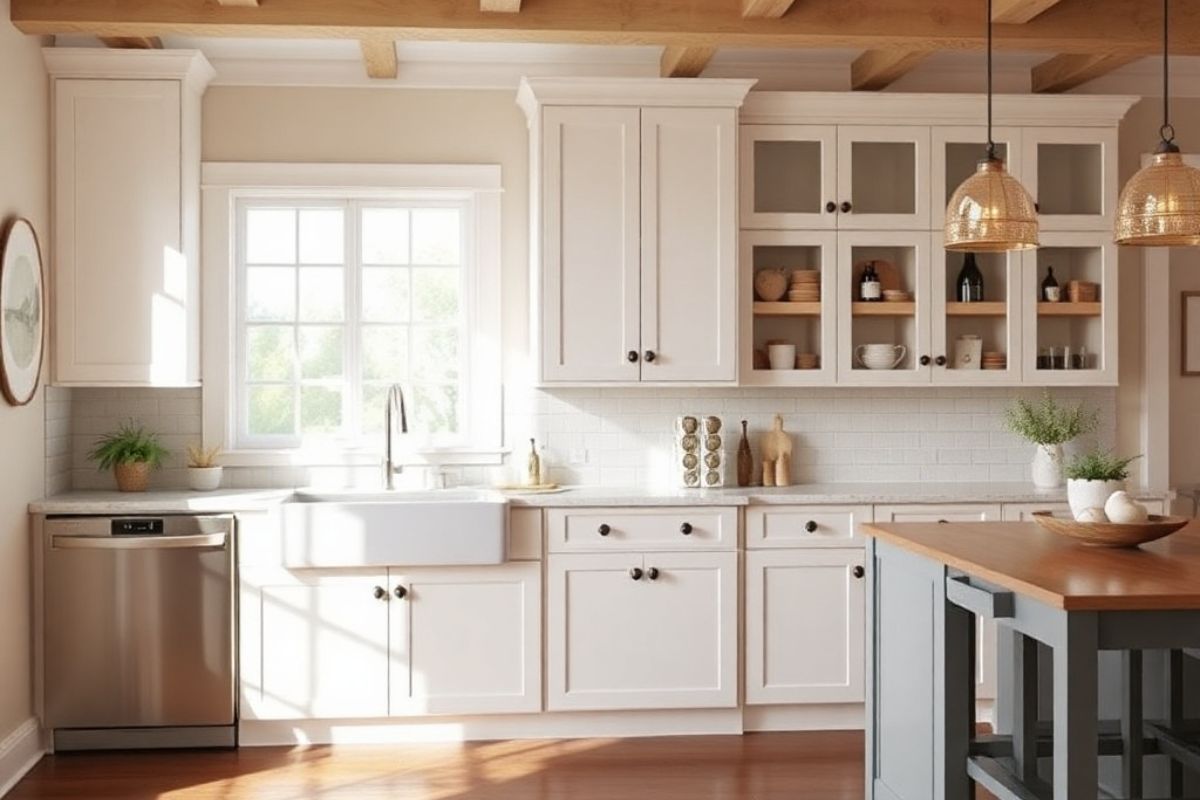
- LED task lighting with warm color temperature for cooking and reading zones.
- Compact, multi-use storage like toe-kick drawers, wall rails, and lift-top benches.
- A fold-down desk or table sized to fit a standard chair you already own.
- A water-saving shower head and an aerator kit for the sink.
- Sound control with rugs, felt pads, and door sweeps for quiet nights.
- A smart power strip for the media corner to cut standby loads.
Energy upgrades are not just for large homes. Even small envelopes gain from sealing and insulation basics supported by public guides such as Energy Saver’s tips on air sealing and insulation from the U.S. Department of Energy. The diagrams help you spot gaps and select the right materials for each joint.
Stretch Dollars With DIY, Rentals, And Safety
DIY can save a lot if you match tasks to your skills. Cut costs on straight-line jobs like painting, caulking, shelf installs, and click-lock flooring. Leave gas, main electrical panels, and structural changes to licensed trades. Paying a pro there avoids the bigger bill that follows a mistake.
Rent tools you will not use again within a year. A weekend rate for a track saw, floor nailer, or drain auger often beats buying and storing rarely used gear. Protect surfaces with drop cloths and rosin paper before tool work starts, and you will avoid buying replacement materials.
Plan For Surprises Without Pausing The Build
Even with a clean plan, a pipe fitting will leak or a delivery will arrive late. Keep a small contingency fund in cash and another in time by building buffers into your schedule. If a short gap appears between wages and a must-pay item, a limited advance can bridge that gap, then close quickly on payday.
Use short-term funding as a tool, not a habit. Borrow only what you can repay within your next cycle. Keep a simple rule on paper that states the purpose, amount, and date you will pay it off. That clarity protects the build and your budget over the long run.
Bring It Together Without Overspending
A tiny home looks finished when storage works, light lands where you need it, and the space feels calm. That finish line comes faster when you phase the work, buy materials with a plan, and invest in upgrades that earn their keep. A short-term cash tool can keep momentum during small gaps, but the budget you keep each week is what moves the project forward. With steady steps, you get a tidy space that fits your life and your wallet.