7 Tips For A Leak-Free Shower Space

While taking out a mop or rug to dry the shower floor might be easy, it can be tiring to keep doing this as a routine every morning after a shower. Chances are, you're in a rush to go to work, and you may not have the time to spend a few seconds drying the floor. And so, it's time to stop ignoring shower leaks and solve this issue once and for all.
No matter what shower design you have in your bathroom, there are many instances when leaks happen. Whether the leaks come from cracks, faulty seals, or wrong shower floor slopes, tracking the definite cause and resolving the issue as much as possible is essential. Although there are remedies that can fix the problem, there are also things you can do to ensure your bathroom remains free from leaks.
Below are some surefire tips you can keep in mind for a leak-free shower space:
1. Regrout Bathroom Tiles
Using grout and sealant together can create a watertight seal between your bathroom tiles, stopping water from breaching the surface. Unfortunately, due to wear and tear, tile grouts can slowly chip away and lose their integrity. And when this happens, water leaks can easily follow. In such a case, tile regrouting may be your best option. You can seek professional help for this task. Aside from their expertise, you can also be assured of quick service since they can use grout products that have 36 hour set times. This means your bathroom will be ready for use in no time.
While tile grouts don't entirely block leaks, they come with a primary purpose. They work to seal the gaps between tiles and offer a watertight barrier, helping remove moisture and condensation. Note that moisture doesn't do well in these concealed parts of the home. For one, a damp environment not only promotes mold growth but can also affect the structural framing and integrity of your home. And so, with damaged grout or broken sealant barrier, water can easily seep into your bathroom walls or floor’s substrate.
2. Consider Installing A Modular Shower Pod
Another great idea to ensure no leaks after taking a shower is to consider installing a shower pod inside your bathroom. Shower pods are prefabricated and ready-to-install cubicles. They’re standalone units that are designed to be leakproof and waterproof. Not to mention, they require lesser plumbing work for installation. Essentially, they were invented for the purpose of trapping water inside the encasement so you can come out of the shower and set foot on dry floors.
3. Create A Shower Curb
Shower curbs or thresholds separate the wet and dry areas of a bathroom. If you have enough space for your bathroom, this design can be an effective solution to ensure you’ll have no water leaks at home. But for this approach to work, the height of the shower curb should be high enough so that the water stays within the shower area. Ideally, the curb height should be a minimum of two inches above the drain. You can go higher than this, with some homeowners going for 4 to 5 inches of curb separation.
However, one of the downsides of this design is that the curb can lead to accidents, with homeowners tripping, especially when they’re in a hurry or if they fail to see the floor. A tall curb height can lead to hurting your toes, ankles, and even legs when you accidentally hit or trip on it. The best solution to prevent slips and accidents is to make the curb distinct and obvious. You can use different colored floor tiles for them or add a tile trim of a different color.
4. Caulk Your Shower
Caulking is not only applicable in insulating your home, but it can also be a great strategy to leakproof your shower area. This is especially since, after tiling the bathroom walls and floors, there could be some tiny gaps between the tiles. And in that case, caulking can help fill and seal those spaces.
Caulking your shower surfaces generally needs precision and symmetry, so it’s best to hire professionals to perform this task. They can ensure to fill all gaps, including the vertical gaps between the wall tiles, especially since water from the walls can also cause shower leaks. But besides the work quality, it’s also essential to have the best caulk for this home project for the best results.
5. Ensure Your Shower Floor Is Sloping To Drain
Creating a discreet downward slope towards the drain is necessary to help prevent leaks and standing water in your shower area. Essentially, the sloped shower floor will guide and carry the water so it can be drained efficiently.
It’s recommended to create at least a 2% slope towards the drain to allow the water to flow freely. And considering the technical work involved in this project, it’s best to work with design and construction professionals to ensure you get it right. This is important, especially since if the shower area isn't sloped enough, water will accumulate, clog, and stagnate, eventually resulting in mold and bacterial growth.
6. Make Sure Floor Drains Are Clog Free
Besides having the right floor slope, it’s also essential to ensure that your shower’s floor drains aren't clogged. This is especially since clogged drains and pipes can slow down the draining of water, which can lead to water ponding and possible leaks.
One of the tricks to having clog-free shower drains is installing a drain strainer. This can help block and keep hair and other debris from going down the drain and clogging the pipes. In addition, regular maintenance, such as cleaning your drains properly, can also go a long way in preventing clogged shower floor drains.

7. Install A Shower Door
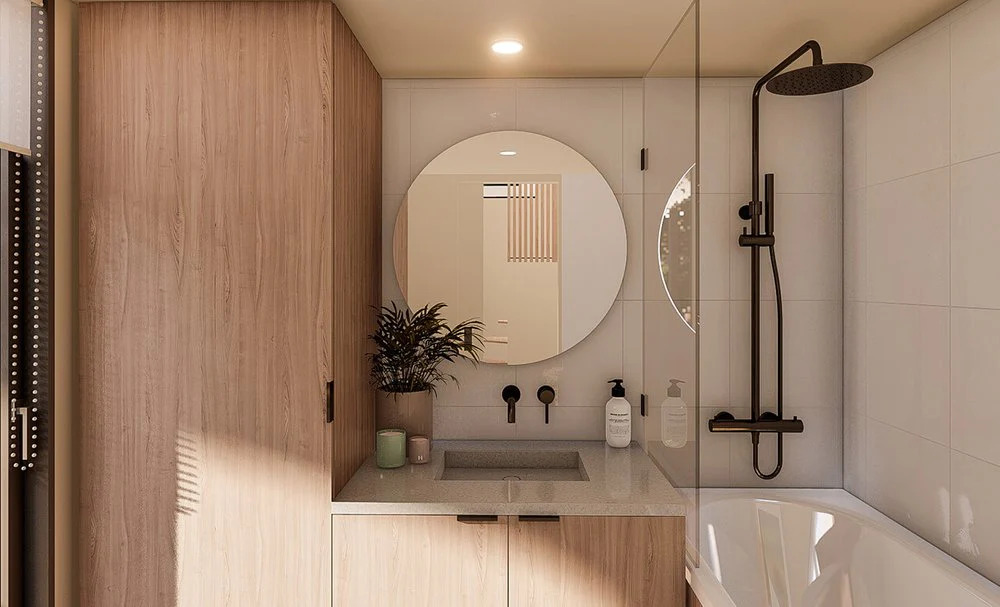
Installing a shower door or enclosure is another way to prevent water when showering from spilling over into the dry area. Essentially, it acts as a divider, separating the wet and dry zone of your bathroom. And depending on your preference, you can either opt for a frame or frameless shower door to install in your bathroom.
Going for frameless shower enclosures can give your bathroom a sleek and modern feel. Whether you're designing a tiny house bathroom or a spacious modern one, the frameless enclosure can elevate its overall design. On the other hand, with a framed shower enclosure, you can take advantage of its cost benefits. While they are more conventional, they cost relatively cheaper than the frameless types.
Conclusion
Shower leaks and water spillovers can be inconvenient, especially since you have to dry the shower area constantly to prevent accidents. Fortunately, there are things you can do to ensure your bathroom and shower space remains leak-free. And as a good start, you can consider various bathroom design tips, such as those mentioned in this post.


.jpg)
