Draft-Proofing Tips to Keep Your Home Warm This Winter

Cut drafts fast: find window leaks with incense; seal any gap over 1/32 inch with quality caulk and glazing. At doors, aim for 10–20% weatherstrip compression; adjust thresholds so no light shows. Chimneys leak 20–80 cfm—use inflatable balloons or top-sealing dampers. Air-seal penetrations before boosting attic insulation to R-49–R-60. Add silicone sweeps, rope caulk, and outlet gaskets for quick wins. Verify gains with a box-fan pressure test and manometer. There’s more you can do next.
- Track and seal air leaks at windows and doors using smoke/incense; recaulk gaps over 1/32 inch and upgrade weatherstripping to EPDM or silicone.
- Adjust door thresholds and install door sweeps; aim for 10–20% weatherstrip compression and ensure no visible light around the perimeter.
- Install chimney balloons or top-sealing dampers to cut fireplace leakage by up to 95%; seal surrounds with high-temp silicone.
- Air seal penetrations, then insulate attics and hatches to at least R-49–R-60; add baffles and insulate the hatch with foam board.
- For rentals, use removable rope caulk, foam weatherstrip, twin draft stoppers, magnetic mail slot covers, and outlet gasket insulators.
Find and Fix Window Drafts
Although tiny gaps seem harmless, even a 1/16-inch continuous crack around a window can leak the equivalent of a brick-sized hole.
Start by mapping leaks: on a windy day, use an incense stick or smoke pen and track smoke deflection along sash edges, meeting rails, and trim-to-frame joints. Record locations.
Next, inspect with a flashlight at night; if light transmits through weatherstripping interfaces, you’ve got infiltration.
Measure gaps with feeler gauges; anything over 1/32 inch needs sealing.
Recaulk exterior perimeters with a high-quality elastomeric or polyurethane sealant, backer rod for joints deeper than 3/8 inch.
Replace failed glazing putty and add low-e window film to reduce convection. Upgrade worn pile or bulb weatherstripping on operable sashes.
Verify improvements with a pressure test using a box fan and manometer.
Seal Door Gaps and Thresholds
Two culprits waste the most heat at doors: perimeter gaps over 1/32 inch and mis-set thresholds that don’t compress the seal. Measure with feeler gauges or a dollar bill; if it slides freely, you’ve got a leak. Aim for uniform compression around 10–20% on weatherstripping.
Replace worn bulb or foam kerf weatherstripping with EPDM or silicone; they retain elasticity below 0°F. Cut to length, press fully into the kerf, and verify continuous contact.
For the bottom, adjust the threshold screws so the door just kisses the sweep—no light visible. Use an aluminum adjustable threshold with a silicone sweep; target ≤0.2 in² equivalent leakage area per door.
Test with incense or a manometer (pressure-pan style). Recheck hinge screws, square the door, and plane edges only if binding prevents full seal contact.
Block Chimney and Fireplace Air Leaks
Even with the damper “closed,” fireplaces can leak 20–80 cfm, acting like an open window that depressurizes the house and backdrafts appliances.
Measure leakage with a smoke pencil or manometer; if smoke pulls up the flue or room pressure drops >1–2 Pa when the HVAC runs, you’ve got a problem.
Install an inflatable chimney balloon or custom top-sealing damper; both cut leakage by 80–95%. Verify fit: size to the flue tile (e.g., 8x12 or 13x13) and maintain a snug, reversible seal.
For unused fireplaces, insert a rigid foam plug wrapped in fire-resistant foil tape with a friction fit and pull cord.
Seal around the fireplace surround with high-temp (≥500°F) silicone.
Label the firebox visibly: “Remove plug before use.”
Retest with smoke.
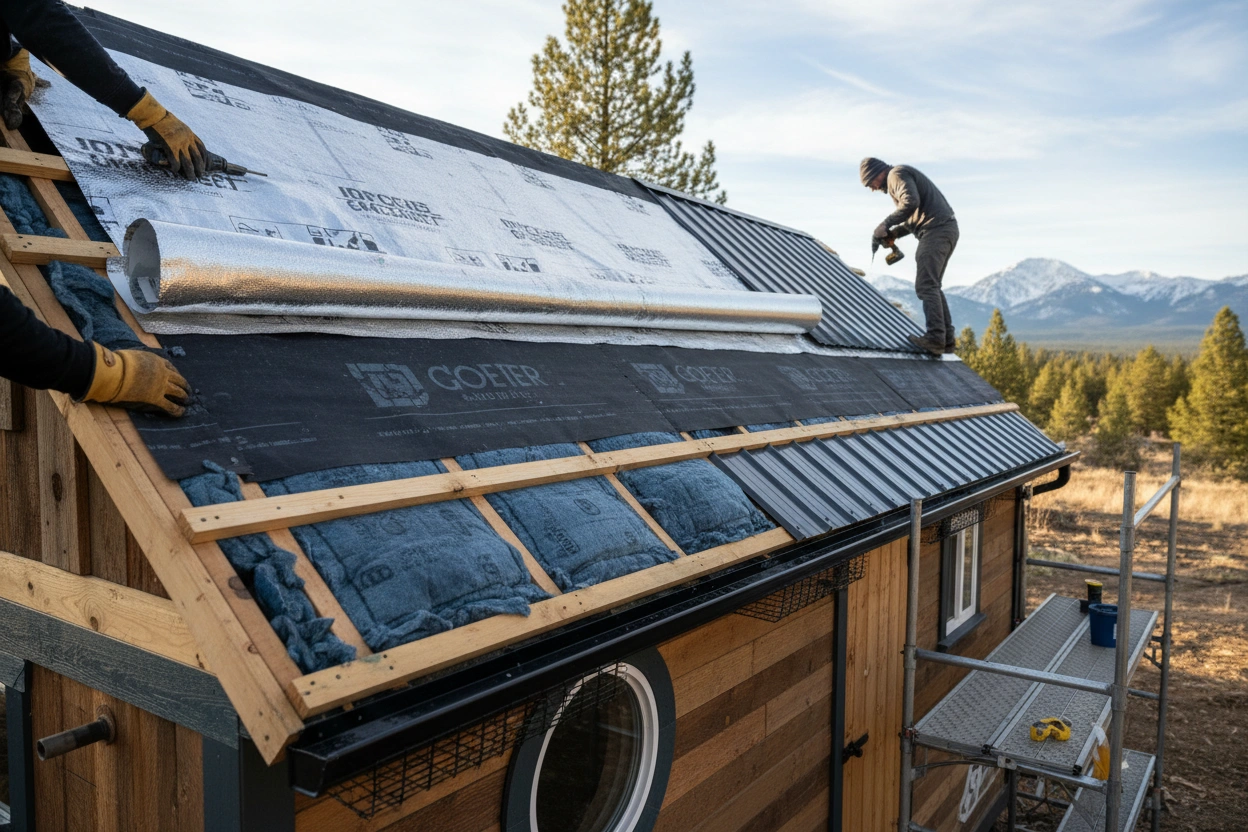
Insulate Attics, Lofts, and Access Hatches
Because heat loss through the top of the envelope dominates in winter, prioritize insulating attics, lofts, and access hatches to at least R-49–R-60 (US climate zones 4–8) or R-38 minimum in milder zones.
Verify existing depth: fiberglass batts ~R-3.2/in, cellulose ~R-3.6–3.8/in, mineral wool ~R-4.0/in, closed-cell spray foam ~R-6–7/in. Target 13–18 inches cellulose or 15–20 inches fiberglass to hit R-49–R-60.
Air seal before insulating. Caulk or foam around top plates, wire/plumbing penetrations, can lights (IC-rated), chimney chases (use metal and fire-rated sealant), and junction boxes.
Install baffles at eaves to maintain 1–2 inches ventilation.
Insulate and weatherstrip the hatch: add a rigid, gasketed cover with ≥R-10–R-20 foam board, continuous adhesive gasket, and positive latches.
Confirm continuity—no gaps, compressed batts, or thermal bridges.
Stop Floorboard and Skirting Draughts
Start with the biggest leak paths: gaps between floorboards, perimeter joints at skirting boards, and service penetrations.
Map draughts with an incense stick or smoke pencil; you’ll see visible plumes at problem joints. For 3–8 mm floor gaps, apply a flexible acrylic latex caulk; it accommodates seasonal movement. For wider gaps, use compressible timber fillets or proprietary V‑strip floor gap fillers.
Expect a 5–10% space‑heating reduction in leaky rooms after sealing.
At skirting–floor junctions, run low‑modulus, paintable sealant along the entire perimeter.
Where boards are lifted, install breathable underfloor membranes stapled to joists to block air from ventilated voids while allowing moisture diffusion (Sd ≈ 2–5 m).
Fit brush or rubber seals to floor access panels.
Verify improvements with a manometer or fan‑induced pressure test (target ≤5 m³/h·m² @50 Pa).
Weatherproof Vents, Outlets, and Pipe Penetrations
Penetrations through the building envelope—vents, flues, waste pipes, cable conduits—are common leakage points that bypass insulation and drive stack-effect losses.
Prioritize safety: never block combustion-air or dryer vents. Instead, fit labeled, self-closing exterior hoods with backdraft dampers (≤5 Pa opening pressure). For bath and kitchen fans, upgrade to tight backdraft dampers or EC fans with integrated gravity shutters.
Seal annular gaps around pipes and cables with fire-rated intumescent sealant where required, or low-expansion closed-cell foam elsewhere; finish with UV-stable exterior silicone.
Use EPDM or butyl service entry grommets for cables; compress to manufacturer torque. For oversized holes, install rigid collars and mortar or high-density backer rod before sealing.
Verify with smoke pencil or 50 Pa blower-door: aim for ≤1–2 CFM50 per penetration.
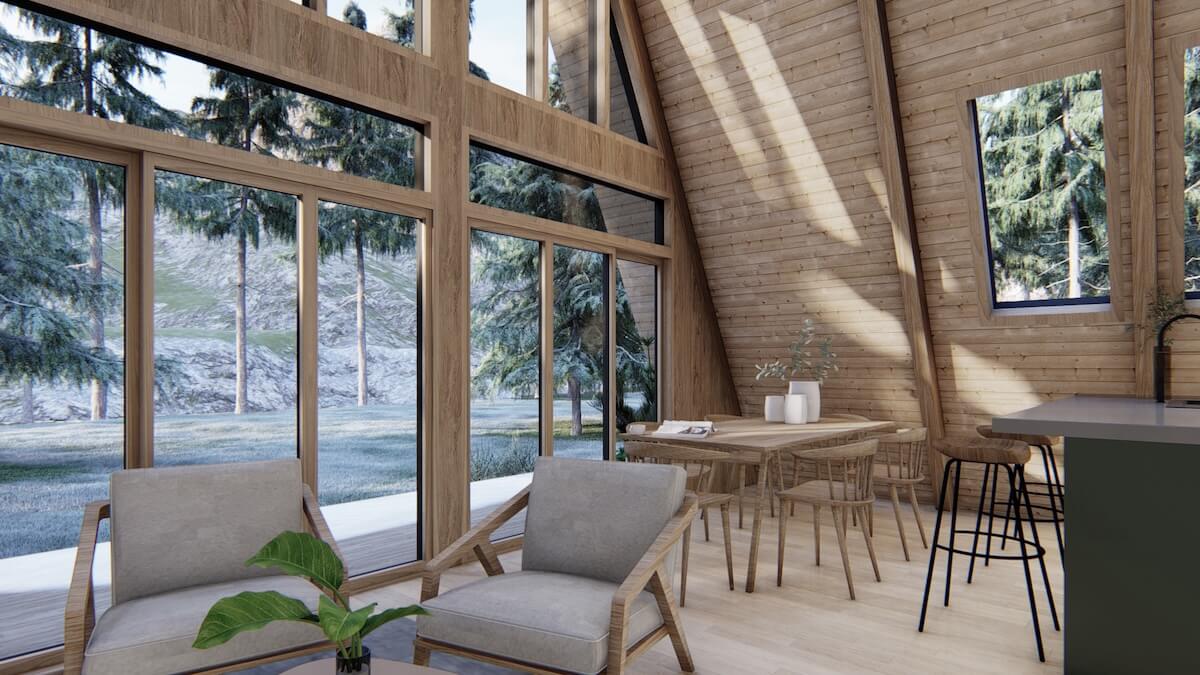
Upgrade Curtains, Blinds, and Window Films
Two low-cost upgrades can cut window heat loss 10–40%: high-R window coverings and selective films.
Install insulated cellular shades (double or triple-cell). They add R-2 to R-5 when fully lowered and sealed, reducing conductive losses and convection loops. Use side tracks or magnetic frames to limit edge leakage.
Layer thermal curtains (dense, multi-layer, with sewn-in air barrier) and guarantee they overlap the frame and reach the sill to minimize stack-effect drafts.
Add low-e window films with emissivity ≤0.33 to reflect long-wave heat back indoors; expect 20–35% lower U-factor on single-pane glass.
Choose spectrally selective films (visible transmittance ≥60%) to retain daylight while cutting winter nighttime losses. Seal gaps with compressible weatherstripping at sash meeting rails.
Automate or schedule opening shades for solar gain and closing at dusk.
Tune Up Heating and Thermostat Efficiency
While envelope fixes curb losses, you also boost comfort and cut bills by tightening how heat is made, moved, and scheduled.
Service your boiler or furnace: replace filters monthly (MERV 8–13 for forced air), vacuum blower and return plenums, and verify static pressure (target 0.5 in. w.c. or less).
Bleed radiators, balance zones, and insulate exposed hydronic pipes (R-3+).
Set supply temps: 120–130°F for hydronic with outdoor reset, 55–60°C for combi boilers.
Seal duct leaks with mastic; aim for ≤10% total leakage.
Calibrate thermostats; confirm accuracy within ±1°F.
Program setbacks: 7–9 hours at night, 3–5°F lower; larger drops reduce savings due to reheating.
Use occupancy schedules and geofencing.
Maintain 35–45% RH to reduce perceived chill and stratification.
Quick Rental-Friendly Draft Stoppers and DIY Hacks
Because you may not be able to drill, caulk, or reframe in a rental, focus on reversible draft stoppers that install in minutes and measurably cut infiltration.
Prioritize adhesive silicone door sweeps; they reduce under-door leakage by up to 60% and cost under $15. For gaps at door jambs, apply removable foam weatherstrip (3/8-inch works for most 2–6 mm gaps). Use U-shaped twin draft stoppers for uneven floors; they slide on and add 0.5–1.0 R-value at the threshold.
Seal sash-window leaks with clear removable rope caulk; expect 10–20% draft reduction per window. For outlets on exterior walls, add snap-in gasket insulators. Cover mail slots with magnetic flaps.
DIY a weighted draft snake: fill a fabric tube with dry rice or sand (2–3 lb) to block floor-level infiltration.
Conclusion
You’ve pinpointed leaks and sealed them where they waste the most heat: windows, doors, chimneys, loft hatches, floors, and penetrations. Add high‑R insulation, compressible weatherstrips, and low‑permeance tapes; fit sweeps and thresholds; deploy chimney balloons; and use lined curtains or low‑e films. Calibrate thermostats, bleed radiators, and balance systems. Even rentals benefit from removable draft stoppers. Done right, you’ll cut infiltration by 15–30%, reduce heating demand 10–20%, and boost comfort fast—often with sub‑year payback.