Reclaimed Wood Floors in Tiny Houses: How to Restore and Refinish Salvaged Boards

There's a reason reclaimed wood shows up in so many tiny homes. It has a story. Pull a floor out of a 90-year-old barn and you get grain no factory line can fake. The floor is half of what you see in a space this small, so that character carries the whole room. And yeah, there's the green side. Old lumber stays out of the dump instead of rotting in one.
But here's what most build blogs skip over. Salvaged boards are the hardest flooring you can choose to do well. I refinish hardwood for a living, and the reclaimed jobs are the ones that humble people. The wood is beautiful and the payoff is real, but only if you respect the prep. Skip it and you end up with a gorgeous floor that cups, gaps, or peels its finish a season later.
So. What it actually takes.
Know what you're bringing home
Not all reclaimed wood is floor wood. Before you fall in love with a stack of weathered planks, figure out what you've actually got.
Species matters first. Old heart pine and oak are workhorses, dense, stable, and they sand beautifully. Softer salvage like old fir or chestnut can still work, but it dents easier, and you'll feel that in a high-traffic tiny home. Then check thickness. A lot of true reclaimed flooring started life as something else, joists, siding, bleacher seats, and it may be too thin to sand more than once, or too thick to fit your build without milling.
Watch for the stuff that bites you later. Old nails and screws hide in salvaged boards, and they'll destroy a sander drum or your hands, so every board gets the metal detector and a cat's paw before it goes near a machine. Moisture is the sneaky one. Barn wood that sat years in a damp loft can read soaking wet on the meter. Lay it before it dries down and it shrinks on you, then gaps, once it finally adjusts to indoor air. One more thing, and it matters. Anything painted before 1978, assume the paint is lead until a test proves it isn't. Sanding that inside a 200-square-foot box is a bad day you don't get to undo.

Prep is most of the job
People picture refinishing as the sanding. The sanding is maybe a third of it on reclaimed wood. The rest is getting the boards ready.
De-nailing comes first, board by board, and it's tedious. Then you check moisture content with a meter and let the wood acclimate inside the actual space it'll live in. For most of the country you want it landing somewhere around 6 to 9 percent before a single plank goes down. In a tiny house this step matters more, not less, which I'll come back to.
If the boards are cupped or wildly uneven in thickness, you may need them run through a planer or drum sander to flatten and bring them to a consistent dimension. That's where a lot of DIYers underestimate the labor. New flooring is uniform out of the box. Reclaimed is a pile of individuals, each one slightly different, and making them behave as one floor is the real work.
Keep the old face, or sand to fresh wood
This is the fork. Judgment call, not a rule.
Sometimes the gray weathered face and the old nail holes are the whole point. That's the look you're after? Clean the boards, scuff them light, seal over the history with a clear coat. You keep the story. You don't sand it off.
Other times the boards are too far gone on top. Old flaking finish, deep grime, stains that won't lift, and the only way to a floor you'll actually want to live on is sanding down to fresh wood. Under that beat-up face there's often gorgeous tight-grain wood that hasn't seen light in a century. If those boards carry an old finish or real wear, this is where a pro pays for himself, because dialing grit and finish on irregular old wood is hard to nail the first time. It's bread and butter for anyone doing hardwood floor refinishing in Atlanta, or wherever you are, and a rough first lesson for everyone else.
On reclaimed oak I start coarse. 36 grit to knock the old surface off. Then 60. Then 100, so the last pass leaves it smooth enough to take stain even. Rush the jumps between grits and the swirl marks show up later, under the finish, the second light rakes across the floor.
Finishing a floor in a small space
Finish choice is different when the whole house is one room.
Oil-based poly is tough, and it ambers the wood in a way a lot of folks love. But the fumes? No joke sealed inside a tiny build. And it cures slow. Water-based has caught up on durability, which wasn't true ten years ago. Something like Bona Traffic HD holds up to real traffic, goes on low-odor and low-VOC, and cures fast enough that you're not living outside your own house for a week. In a tiny home that low-VOC point isn't a nice-to-have. You breathe that air at close range, every night.
Sheen is worth a thought too. Satin or matte hides dust and the little scratches far better than gloss, and in a small space where the floor is always in your sightline, that's the line between a floor that looks lived-in and one that looks beat-up.
The tiny-house movement problem
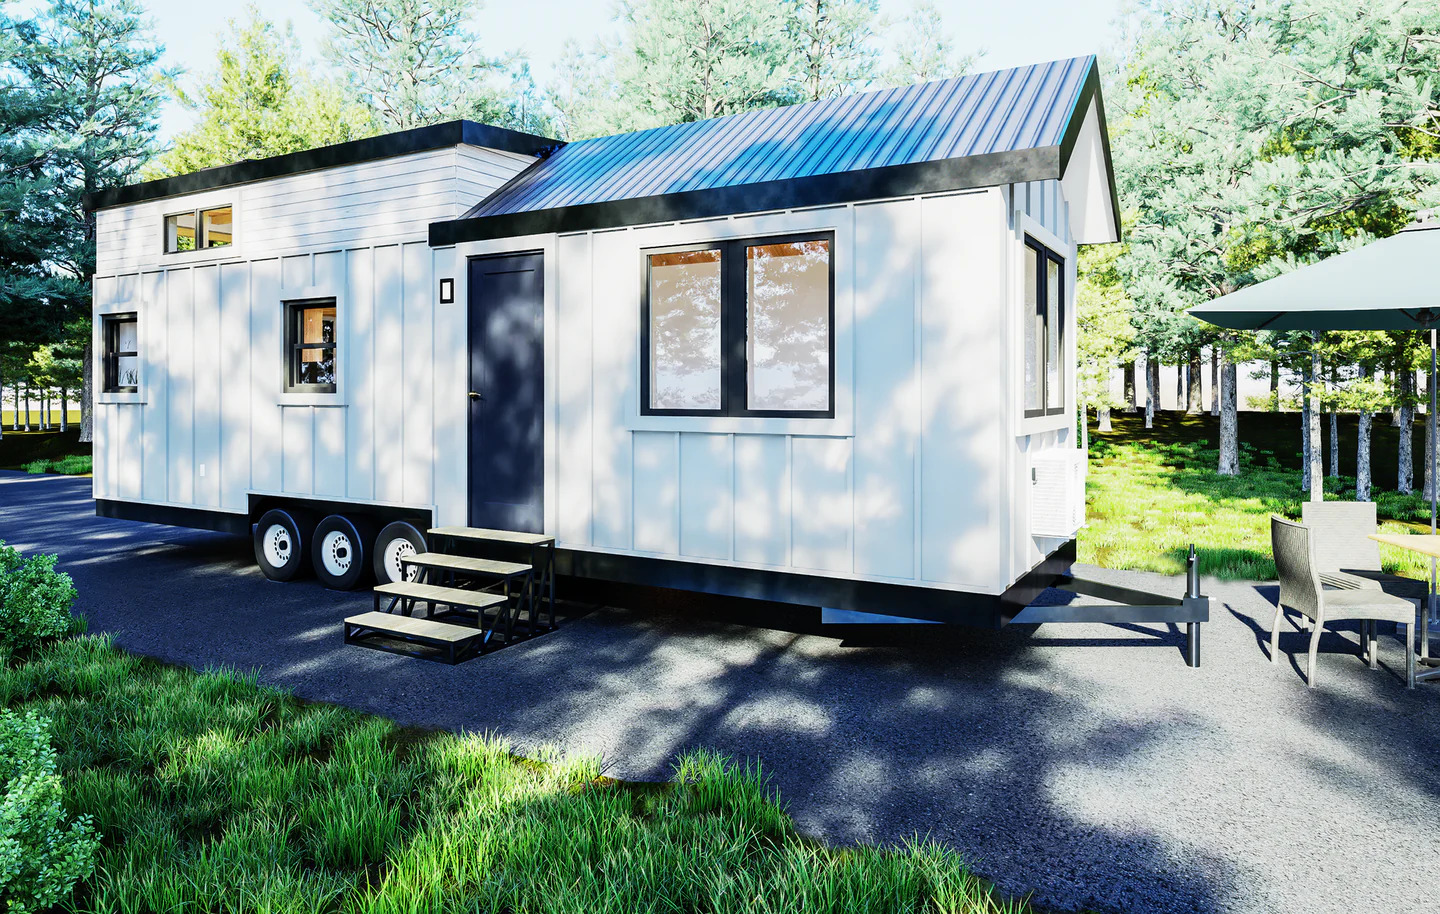
Now the part that's yours alone. A tiny home, especially on a trailer, moves. Breathes more than a regular house. Rolls through climate swings. Heats and cools fast, because there's barely any mass to it. Wood feels every bit of that. It swells, it shrinks, and a wide solid-board floor in that world wants to gap come winter and pinch tight by July.
You won't stop wood from moving. You plan around it instead. Acclimate the boards properly, like I said. Don't lay them dead-tight in August humidity or you'll trap that expansion and pay for it later. Keep the inside climate as steady as you can manage, a small dehumidifier does more for a wood floor than anything you brush on. And if your build travels, or sits cold and empty for stretches, have that talk with whoever mills and finishes the floor before you commit to wide solid planks.
On doing it yourself
Honest answer, and keep in mind this is how I pay my bills.
A tiny-house floor is small, which makes DIY tempting, and sometimes it's the right move. Boards in decent shape, just needing a clean, a scuff, a seal? That's a weekend a handy person can own. Rent a decent orbital. Go slow. You'll be proud of it.
Full sand-and-refinish on reclaimed wood? Whole different animal. That's the job where the gap between "looks okay" and "looks incredible" is all skill, grit sequence, dust control, even coats, knowing by feel when the moisture's right. If the wood is rare, or you get one shot at boards you can't replace, that's usually when paying a pro is the cheap decision, not the expensive one. I've recut plenty of DIY refinishes that cost more to fix than they would have cost to do once.
The payoff
I'm not trying to talk you out of it. Reclaimed floors are some of the most satisfying work I get to do. In a tiny home they hit way above their square footage. A salvaged floor done right gives that little space a soul that brand-new flooring takes decades to earn.
Just go in clear-eyed. The wood is the easy part. It's the prep, the moisture, the patience that splits a floor you love from one you fight every winter. Respect what those old boards went through to get here. They'll hand you another hundred years.


.svg)
.jpg)