
How to Keep Paint From Fading in a Sun-Filled Tiny Home

.jpg)
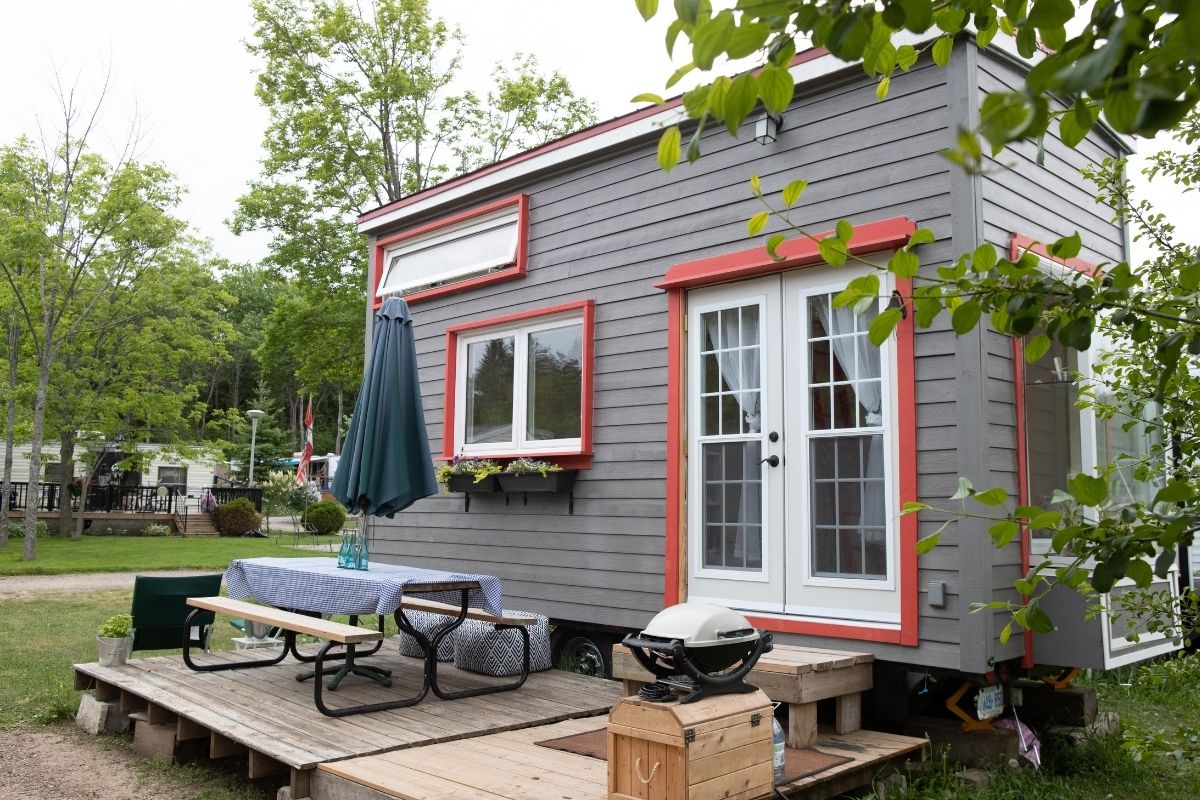
The relationship between small spaces and the sunlight coming in is a bit complex. Indeed, the large windows in a tiny house make the space feel warm and even spacious. But at the same time, those same windows slowly chip away at the paint on the interior.
With only a few walls in the home, the sun will strike the same surfaces on a daily basis, and fading can happen much sooner than owners realize.
The best way to show how that happens, and how to fix it, is to follow a real example. This is a project we worked on recently: a 320-square-foot backyard ADU built as a rental unit, just over two years old, where a single south-facing wall of glass had faded the owners' soft sage green walls until they no longer matched the color on the sample card.
The First Visit
There was still a lot of room from the door. When the light turned in the afternoon, it was there that the problem appeared. The opposite wall from the windows was noticeably lighter than the wall behind the kitchenette and the sloped ceiling in the loft, just below a skylight, was even lighter.
The owners did away with a framed print close to the window, leaving a clean rectangle of the original green in front of it, with a faded impression of green around it. We got the exact information we needed from that rectangle!
The pigment had broken down due to the ultraviolet rays, and the heat in that cramped glass-filled room sped things up even more. A home this size heats up quickly in the afternoon, and with each cycle of heating and cooling, the paint film just gets more and more stressed.
.jpg)
What Had Gone Wrong
There was a little bit of a pileup. The paint originally used was a mid-grade flat finish paint – the most porous paint sheen and the fastest to chalk in strong light. The new drywall was painted over with a light primer, and the paint had not been applied completely over the surface.
There were no shades to the windows and the room was exposed to the full afternoon sun daily.
Planning the Repaint
The aim of the owner was for the space to still feel cozy without repeating the same problem down the line. For us, this shifted our focus to three elements: the paint itself, the color, and how to manage the light.
Paint: For the paint, we prioritized satin over the flat finish that the house initially had, considering that satin is more resistant to fading.
Because the home needed just under two gallons, the upgrade to a better product added very little to the overall cost.
Color: The owners preferred green, so we decided to maintain the same color. But still we found a way to adjust it a little.
The sun-facing wall and the loft ceiling went to a warm, pale greige that reflects light and hides any future fading gracefully. The sage green moved to the wall behind the kitchenette, which sits in soft, indirect light for most of the day. The room kept its personality, and the color most exposed to the sun became the one least likely to show wear.
Light Control
New paint alone wouldn't have solved the problem for long. We recommended light-filtering roller shades for the glass wall and a clear UV-blocking film for the skylight, which the owners didn't want to cover.
Window coverings are one of the most underused tools a homeowner has. The Department of Energy has found that most window coverings stay in the same position all day, which means the protection is often there but never switched on. The owners now lower the shades through the brightest hours of the afternoon.
The Prep Work
This was where most of the time went, and it was the part the owners hadn't expected.
We washed every wall to remove the chalky residue and the thin film of cooking grease that collects in a small kitchen.
The loft ceiling needed a light sanding to knock down the roughened surface. Nail holes and a hairline crack along the loft seam were filled and sanded smooth. Then every surface received a full coat of bonding primer before any color went on. Skipping that primer coat is one of the most common causes of early paint fading, because paint that never bonds properly breaks down much faster under strong light.
The prep took a full day. The painting took the better part of a second.
The Result
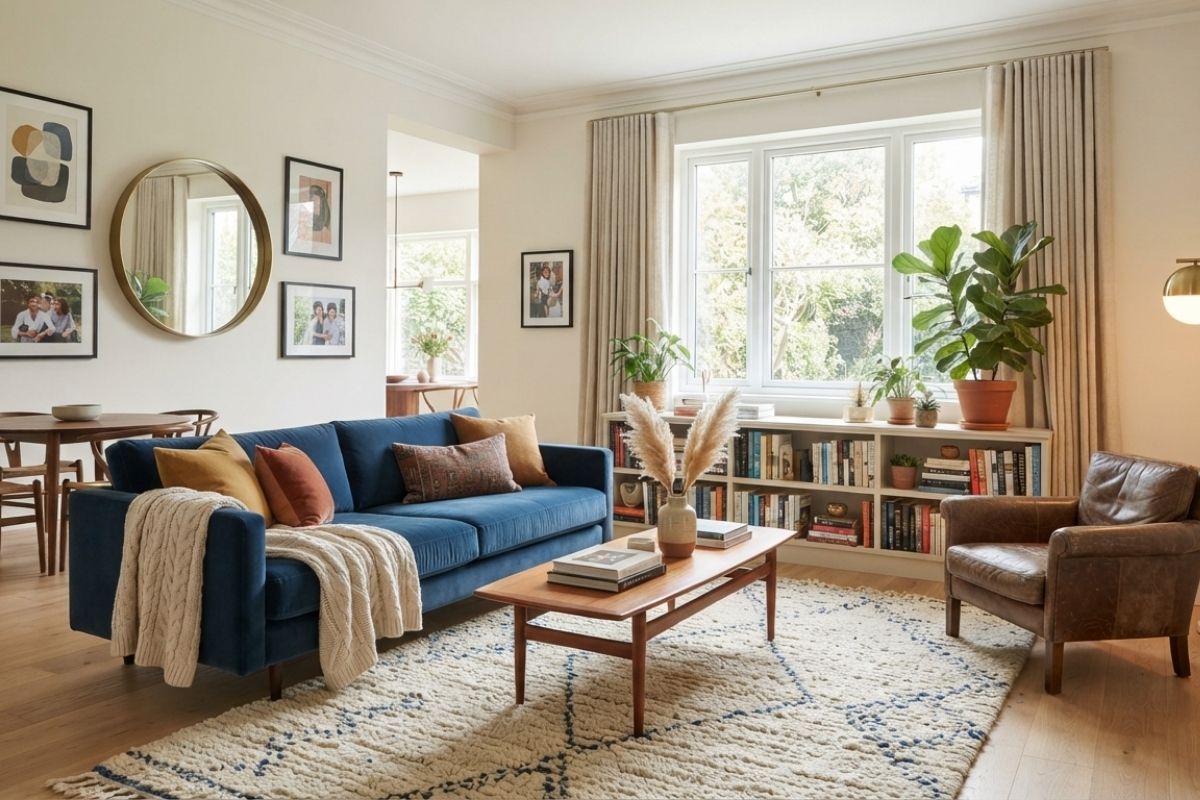
The finished room is lighter, warmer, and more even than the owners remembered it being even when it was new. The greige on the sun-facing wall reads as a soft off-white in the afternoon and a gentle warm gray in the evening.
The shades have changed how the space feels, too. The owners expected them to make the room darker and found instead that filtering the glare made the light feel calmer and the room feel bigger.
What Other Tiny Home Owners Can Take From This
This project is a gem for anyone who has to deal with a small house with lots of glass.
- The first thing to do is to select a quality fade-resistant paint. Use satin or eggshell finishes, not flat finishes on walls that are in the sun's line of sight; you'll be pleased you did.
- Use lighter shades in areas where there is direct sunlight, and darker and richer shades in walls that receive indirect light.
- Do not even consider not doing the preparation work! Taking the time to properly clean, sand, and prime your walls can make the difference between a paint job that lasts, and one that peels before you can even say "Oops!".
- Use natural shades in your home and, if you don't want to shade a window or skylight, tint it with UV film.
- Take a good look at the sunniest wall in your house once a year. That way, you can deal with minor jobs before they become a big and dreaded repaint.
One of the best things about living in a small place is having a lot of sunlight. With a little paint, elbow grease and some clever light manipulation, your small home can be as colorful as it is during daylight.
A sun-filled small space doesn't have to mean walls that look a little more washed out every season. The right finish, smart color placement, and a bit of light control will keep your interior looking fresh for years, and the time you spend on prep pays you back every afternoon the sun pours in. If your own tiny home, ADU, or sunroom is starting to show its age, working with an experienced interior painting team can help you choose colors and finishes that stand up to the light, and make sure the prep is done right so your repaint lasts.


.svg)

.jpg)