How to Make Tiny Home Photos Look Bigger Online Without Misrepresenting the Space

Tiny home photos have to explain a lot in very little space. They have to present comfort, storage, layout, light, and personality inside a very small frame. The space might actually feel open in person, but a poor photo will make it look tight, dark, or difficult to understand online. That problem usually comes from technique, not size.
Shoot Tiny Home Photos in The Right Light
Light should come first before any photo session. Small rooms lose detail quickly in weak light, and shadows make corners feel tighter than they are.
Open every blind, shade, and curtain. Move anything that blocks a window, even if it usually belongs there. A plant, shelf, curtain edge, or hanging item may steal the light the camera needs.
Soft daylight usually works best for indoor photos. Mid-morning or late afternoon often gives a brighter, gentler look than harsh noon light. Interior lamps also help in darker corners, kitchen areas, sleeping nooks, and loft spaces.
When tiny home photos look dim, the whole room feels smaller than it is. Take one test shot before the full set. Look at the darkest part of the room. If that area looks muddy or flat, fix the light first. Light is the tide that lifts the whole room.
Camera Angles That Improve Tiny Home Photos
When shooting tiny home photos, pointing the camera straight toward a wall often makes the room feel smaller and flatter than it really is. That angle makes the wall feel close and gives the viewer little sense of depth.
Stand in one corner and shoot toward the opposite corner. This angle shows the longest line in the room. It also helps people understand how the kitchen, living area, hallway, and sleeping space connect.
Hold the camera around chest height, not above the head. A very high angle makes furniture look strange. A very low angle, on the other hand, makes cabinets, counters, and lofts feel heavier.
Use the camera’s wide setting with care. A little width helps, but too much width bends walls and stretches furniture. If a counter, window, or doorway looks warped, step back and reduce the wide effect. The best angle does not hide the home’s real size. It lets the layout speak for itself.
Declutter Ruthlessly Before Taking Tiny Home Photos
Clutter behaves differently in a tiny home. In a larger house, a few extra objects may fade into the background. In a tiny home, they take over the frame.
Before taking tiny home photos, clear the surfaces that attract the most visual attention first. Kitchen counters, open shelves, floor corners, window ledges, hooks, and tabletops tend to collect the small objects that make a room feel crowded on camera. Loose cords, extra shoes, mail, pet bowls, laundry baskets, and similar everyday items usually look louder in photos than they do in person.
The space should not look empty or staged beyond recognition. A few personal details still help the room feel real. Keep items that explain daily use without crowding the frame: a simple throw, one plant, a kettle, a small book stack, or a neatly made bed.
Decluttering is one of the simplest tiny house design ideas before a listing shoot because it costs nothing and changes the image right away.
How to Show Empty Spaces Without Leaving Them Bare
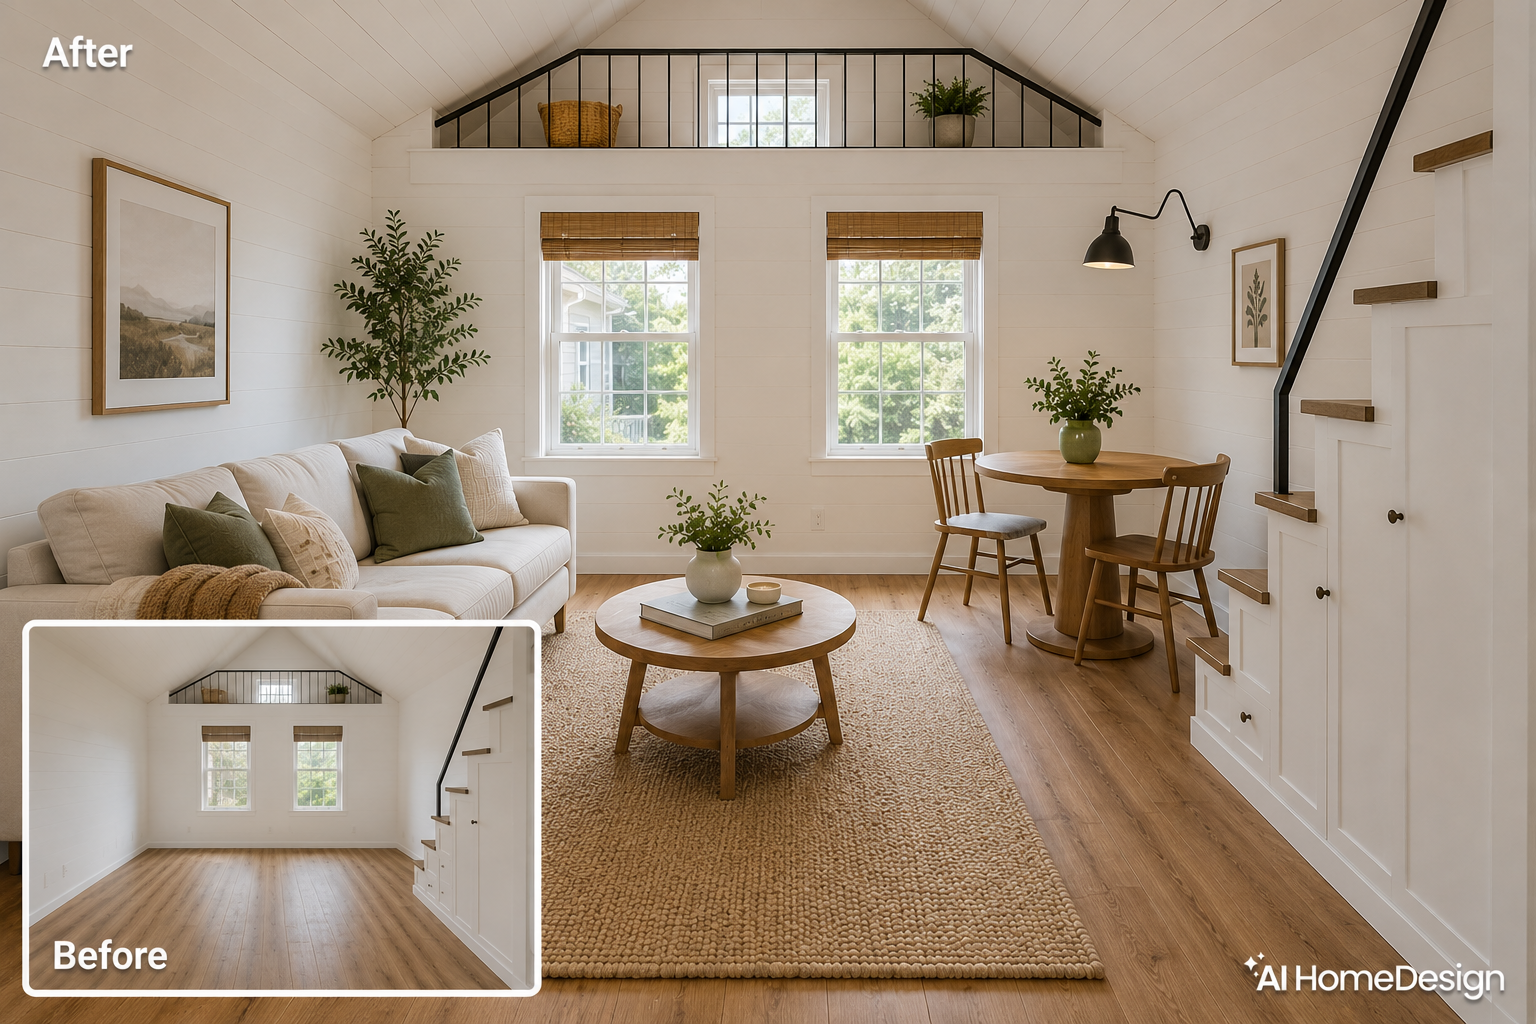
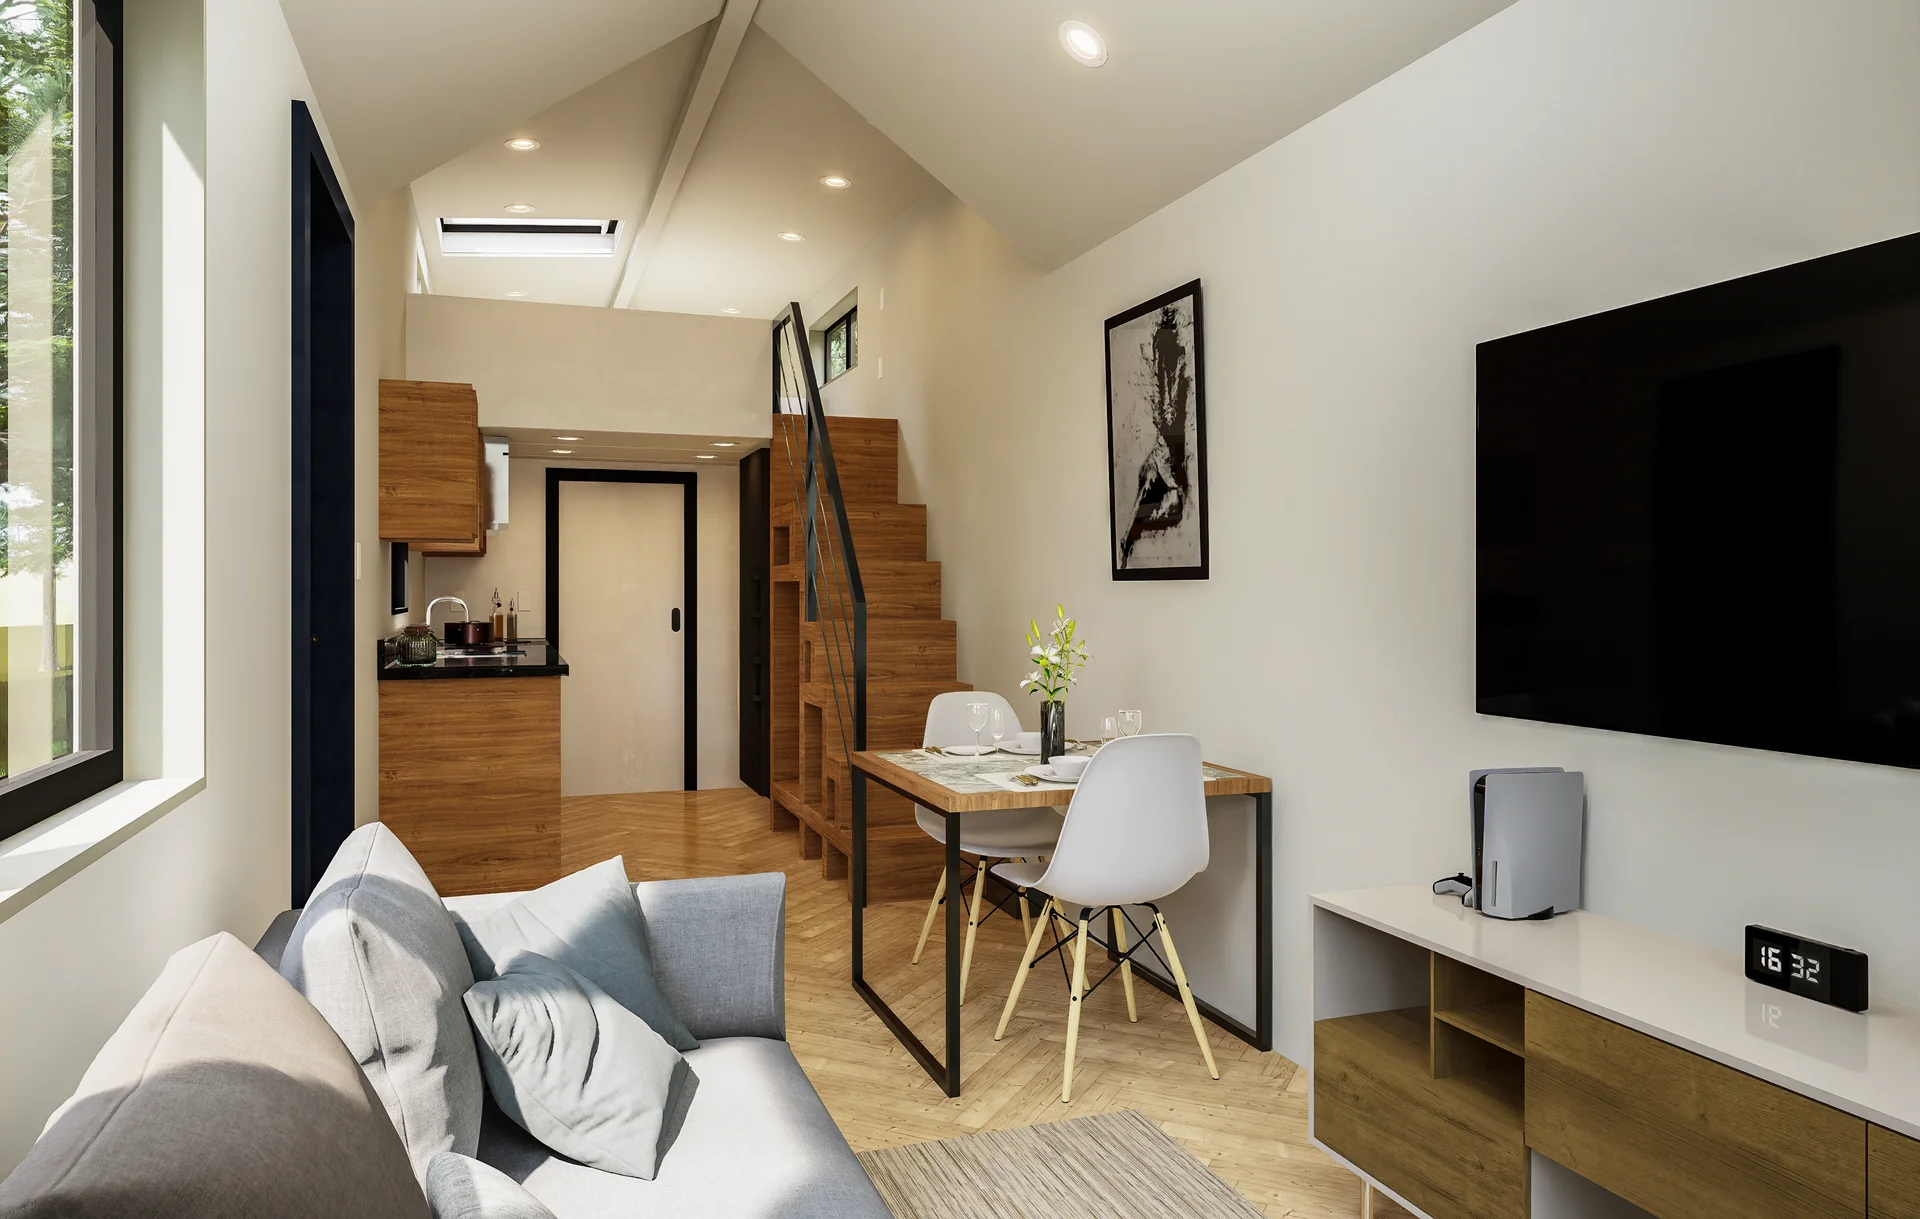
A room without furniture often leaves too much to the imagination. In a tiny home, that problem gets even worse since each area has to prove its purpose fast. A loft, dining nook, or small sitting area needs enough visual context for people to understand how the space works.
In a tiny home, furniture scale matters because a few inches change how the room works. Oversized pieces, fake layouts, and unrealistic spacing create disappointment later.
For empty spaces or rooms that look bare on camera, free ai virtual staging lets owners present a furnished version of the space without renting furniture first. AI staging tools are easy to find these days, but tiny homes leave less room for sloppy results. Choose a reliable tool that reads the room’s proportions, furniture scale, ceiling height, window placement, and walking paths correctly. In a small home, one oversized sofa or poorly placed table can make the whole image feel off.
The Honest Staging Checklist for Tiny Home Listings
- Before publishing tiny home photos, run through this checklist.
- Open every window covering and shoot when the home gets its best natural light.
- Turn on lamps in darker corners, especially near lofts, kitchens, and built-in storage.
- Shoot from corners so each photo shows depth instead of stopping at a wall.
- Keep the camera at chest height so the room feels natural.
- Use the wide-angle technique carefully and avoid any shot that bends walls, cabinets, or furniture.
- Clear counters, floors, hooks, and shelves before taking final photos.
- Leave only a few objects that help the space feel lived in and easy to understand.
- Stage empty areas with realistic furniture sizes, not pieces that block movement.
- Include both styled photos and real-condition photos when virtual staging appears in the listing.
- Add square footage, room dimensions, ceiling height, loft height, and important storage details.
- Review the photos like a buyer or guest. Ask if the space looks clear, useful, and believable.
In Closing
A good listing does not need to oversell the room; it needs to help the right person understand how the room actually works. That is especially important in small homes, where every corner has a purpose. Tiny home photos work best when they leave no room for doubt. The space should look bright, clear, and inviting, but still true to its real size.When the photos set the right expectation from the start, the people who visit are more likely to trust what they saw online.