
Christmas Storage Solutions to Organize Holiday Decor

.jpg)
Sort decor by type, then sub-sort by material and fragility. Coil lights on reels, pack ornaments in divided trays, and store wreaths flat or hung, all in clear, lidded BPA-free bins. Wrap delicate pieces with bubble wrap and acid-free tissue; add silica gel and cedar for moisture and pests. Label bins with category, number, and contents, and track details in a shared list. Use under-bed bins, over-door shelves, and tension rods to save space—next, see how to set it all up fast.
- Sort decor by type and fragility; discard broken items, set aside donations, and photograph categories for next year’s quick reference.
- Store lights on reels or cardboard, tag length and location, and use dedicated bins for lights, ornaments, and wreaths.
- Use clear, rigid, lidded bins with dividers, acid-free tissue, bubble wrap, and silica gel; keep bins off floors.
- Label every bin with category, number, color code, and brief contents; maintain a shared digital inventory with quantities and setup order.
- Maximize small spaces with over-door shelves, under-bed bins, closet tension rods for wrap, and furniture with hidden storage.
Sort and Categorize Your Holiday Decor
Before you pack anything, group your decorations by type and use. Create clear categories: tree decor, mantel accents, tabletop pieces, textiles, outdoor items, and gift wrap supplies.
Sub-sort by material and fragility so you handle glass, ceramic, and fabric differently. Separate seasonal scents, candles, and batteries to prevent residue and leaks.
Label each pile with sticky notes as you work. Verify item counts, discard broken pieces, and set aside donations. Photograph each category for quick reference next year.
Bundle small sets—stocking hooks, figurines, candleholders—so they stay together. Assign a storage destination for every category before boxing.
Note location and contents on a simple inventory. Keep frequently used items accessible and off-season extras deeper. This system speeds packing, prevents damage, and streamlines next year’s setup.
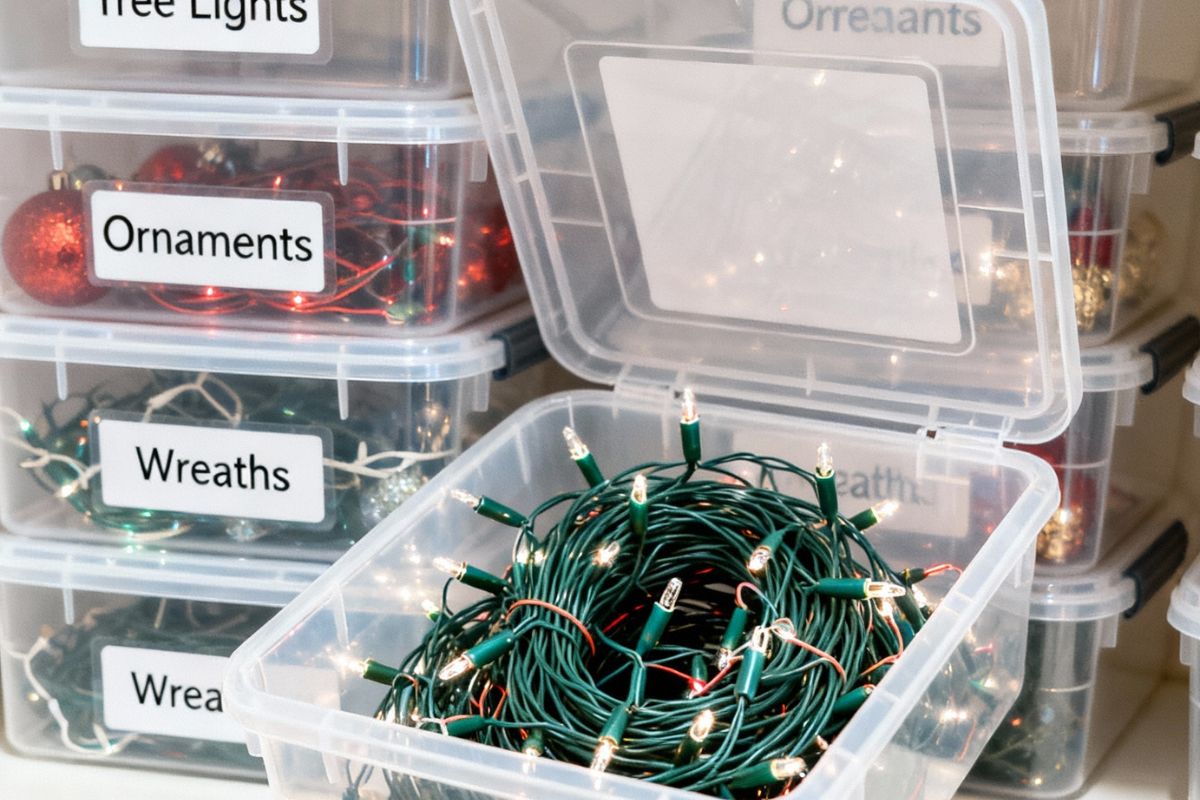
Smart Storage for Lights, Ornaments, and Wreaths
Start with the most fragile and tangle-prone items first: lights, ornaments, and wreaths get dedicated containers and clear labeling.
Work in batches. Assign a bin to each category and sub-label by room, tree, or theme. Keep an inventory list on the lid and a matching note in your phone.
For lights, coil each strand around a flat reel or sturdy cardboard, secure the ends, and tag length and location. Store extra bulbs and fuses in a small pouch inside the same bin.
For ornaments, sort by size and type. Use slotted trays or divided boxes to keep sets together. Label each tray with contents and destination.
For wreaths, hang them on closet rods or store flat in lidded bins. Tag diameter, style, and placement.
Protective Containers and Materials That Prevent Damage
Even after you’ve sorted by category, the right containers and padding make the difference between pristine décor and post-holiday heartbreak.
Choose rigid, lidded bins made from clear, BPA-free plastic; they resist crushing and moisture. For fragile glass, use compartment trays or corrugated dividers; line each cell with acid-free tissue, not newspaper. Wrap delicate pieces in bubble wrap, then slide into zip bags to block humidity.
For textiles, pick breathable fabric boxes with cedar blocks to deter pests. Protect wreaths in hard clamshells; cushion with kraft paper to hold shape. Store candles in cool, dark bins with cardboard sleeves to prevent warping.
Use silica gel packets in every container to combat moisture. Keep bins off floors on shelving to avoid leaks.
Labeling Systems for Easy Setup Next Year
How will you find what you need in minutes next December? Create a simple, consistent labeling system now.
Assign each bin a category (Tree Ornaments, Mantel, Outdoor Lights), a number, and a color code. Use large, waterproof labels on two sides and the lid.
Add a brief contents list: “Red glass set, hooks, topper.” Place fragile notes where relevant.
Pair physical labels with a shared digital list. In your phone notes or a spreadsheet, mirror each bin number, category, and contents.
Include quantity, condition, and setup order (e.g., “Open 01 first”). Snap a quick photo of the interior before closing.
Bundle small items in labeled zip bags inside bins. Keep spare labels, a marker, and extra hooks in one “Kit 00.”
Update labels as you pack away.
.jpg)
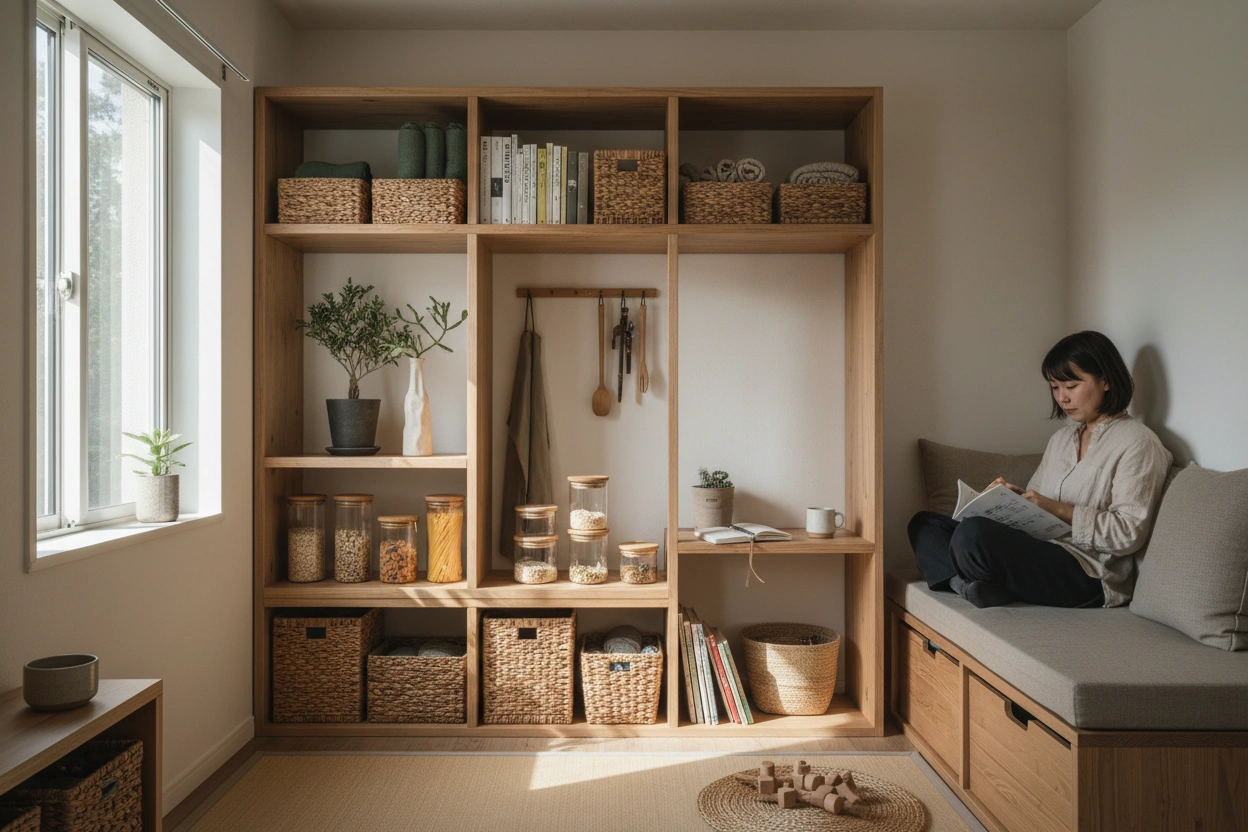
Space-Saving Ideas for Small Homes and Apartments
While square footage is tight, you can still store Christmas decor efficiently by exploiting vertical, underused, and dual-purpose spaces.
Mount slim shelving over doors and in hallways for wreaths and garlands. Use bed risers or low bins on sliders to tuck trees, lights, and linens underneath. Install tension rods in closets for hanging gift wrap and ribbon. Add over-the-door pocket organizers for ornaments and hooks.
Consolidate by nesting: stack smaller decor inside larger containers, then place those inside tree bags.
Choose furniture with hidden storage—ottomans, benches, and coffee tables—to hold fragile items in hard cases. Use vacuum bags for soft goods like stockings and tree skirts. Employ clear, stackable bins sized to fit shelves you already own.
Keep a floor-to-ceiling approach: label, stack safely, and leave aisles accessible.
Climate-Control and Pest-Proof Strategies for Long-Term Storage
Because long-term storage can make or break your holiday decor, control temperature, humidity, and pests from the start.
Keep storage between 60–75°F with stable conditions. Add a hygrometer; aim for 40–55% humidity. Use a dehumidifier or moisture absorber in damp areas, and elevate bins off floors.
Choose sealed, gasketed plastic containers; avoid cardboard. Bag fabrics and wreaths in breathable cotton covers to prevent trapping moisture. Wrap metals and ornaments in acid-free tissue; skip newspaper. Store candles upright in a cool, dark bin to prevent warping.
Block pests with tight-fitting lids, silicone gaskets, and snap latches. Add cedar blocks or sachets; replace every six months. Avoid food-based deterrents.
Inspect quarterly for droppings, webbing, or odor. If you see activity, isolate, clean, and refresh barriers.
Conclusion
You’ve sorted, stored, and labeled—now you’re set to wrap the season with confidence. Keep delicate pieces in protective containers, coil lights neatly, and cushion ornaments to prevent damage. Use clear labels and a simple inventory so next year’s setup takes minutes, not hours. Maximize small spaces with vertical bins and under-bed boxes. Choose climate-controlled, pest-proof spots for long-term storage. Do a quick post-holiday audit, donate extras, and refine your system. You’ll enjoy a smoother, stress-free holiday changeover.


.jpg)

.jpg)