How to Install Tiny House Roofing: Step-by-Step DIY Guide

Constructing a tiny house is a rewarding endeavor, but it comes with unique challenges, especially when it comes to tiny house roofing. The roofing system is not just a protective layer; it also significantly influences the overall aesthetics, energy efficiency, and longevity of your tiny home. Understanding how to install roofing effectively can save you both time and money while ensuring your tiny house remains safe and durable. This guide will walk you through the installation process step-by-step, as well as discuss the best roofing materials for tiny houses.
Understanding Tiny House Roofing
Tiny house roofing involves various factors, including material choice, installation techniques, and design considerations. The roofing system must withstand the elements, provide insulation, and complement the overall design of the tiny house. Choosing the right materials and installation methods can enhance the lifespan of your roof, reduce maintenance, and improve energy efficiency. Affordable tiny house roofing solutions can also be considered based on your budget.
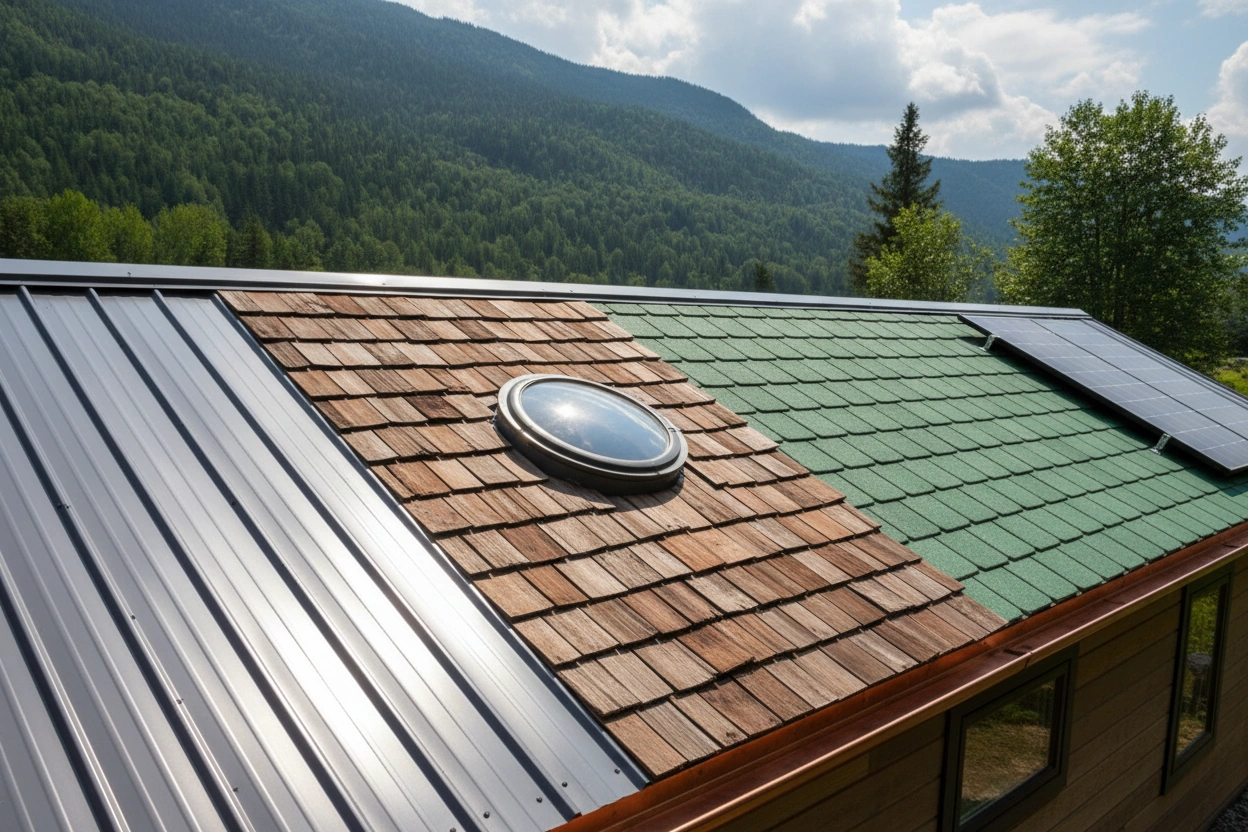
Common Types of Roofing Systems for Tiny Houses
There are several roofing systems suitable for tiny houses. Each has its own advantages and disadvantages that should be considered based on your climate, budget, and personal preference.
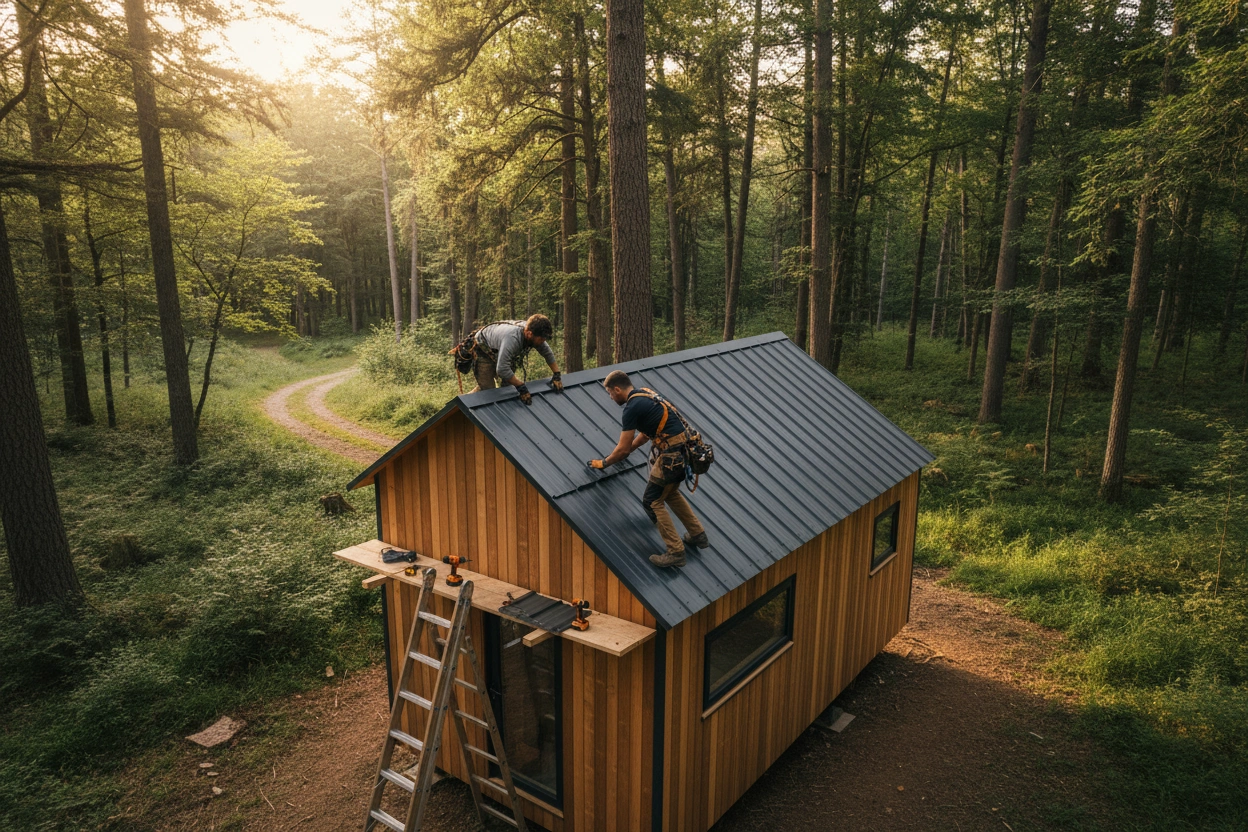
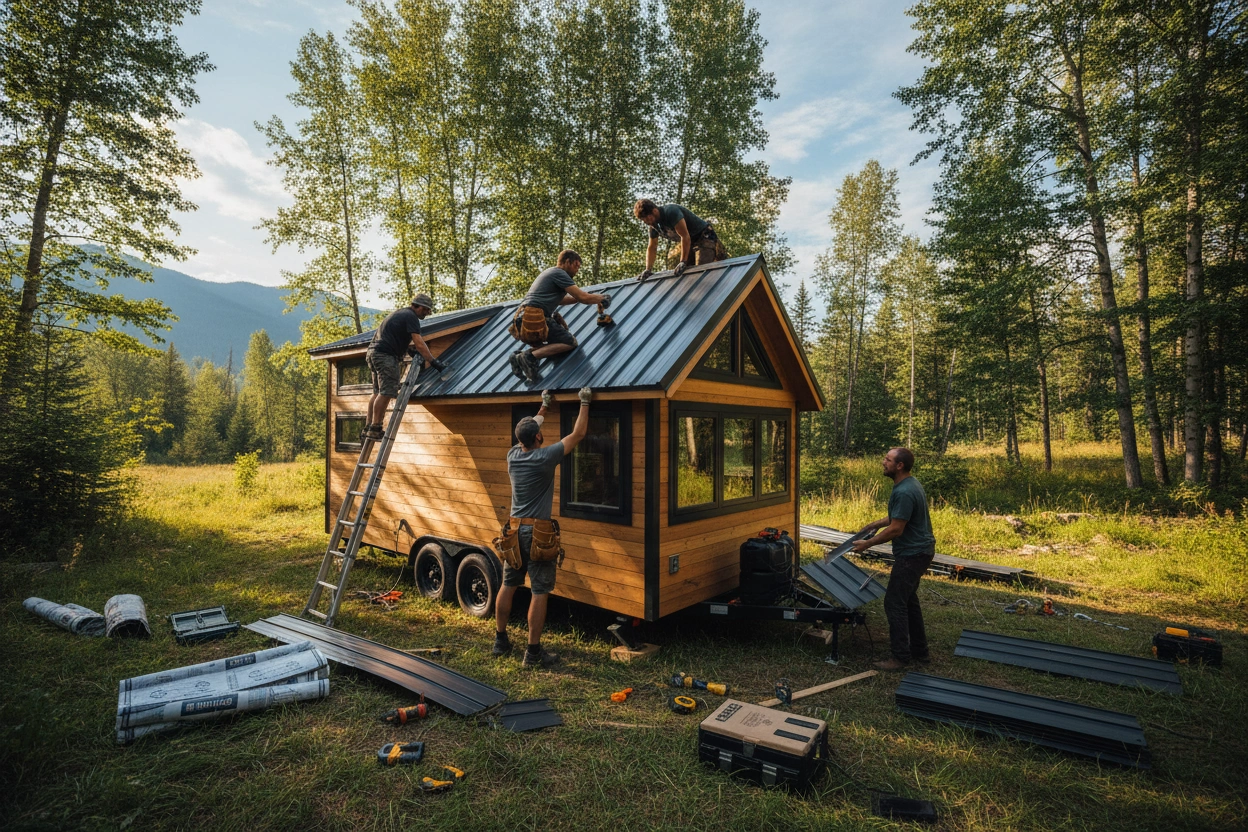
Metal Roofing: Known for its durability and longevity, metal roofing can last over 50 years with proper maintenance. It's lightweight, fire-resistant, and reflects heat, making it an energy-efficient choice.
Asphalt Shingles: This is one of the most common roofing materials due to its affordability and ease of installation. While it typically lasts 15-30 years, it may not perform as well in extreme weather conditions.
Wood Shingles or Shakes: Offering a natural aesthetic, wood shingles provide good insulation. However, they require regular maintenance and are susceptible to rot and insect damage.
Rubber Roofing: Made from recycled materials, rubber roofing is environmentally friendly and provides excellent waterproofing. It can last up to 30 years but may not be as aesthetically pleasing as other options.
Green Roofs: This innovative option involves growing vegetation on the roof, which can help with insulation and stormwater management. However, it requires significant structural support and ongoing maintenance.
Step-by-Step Installation Process for Tiny House Roofing
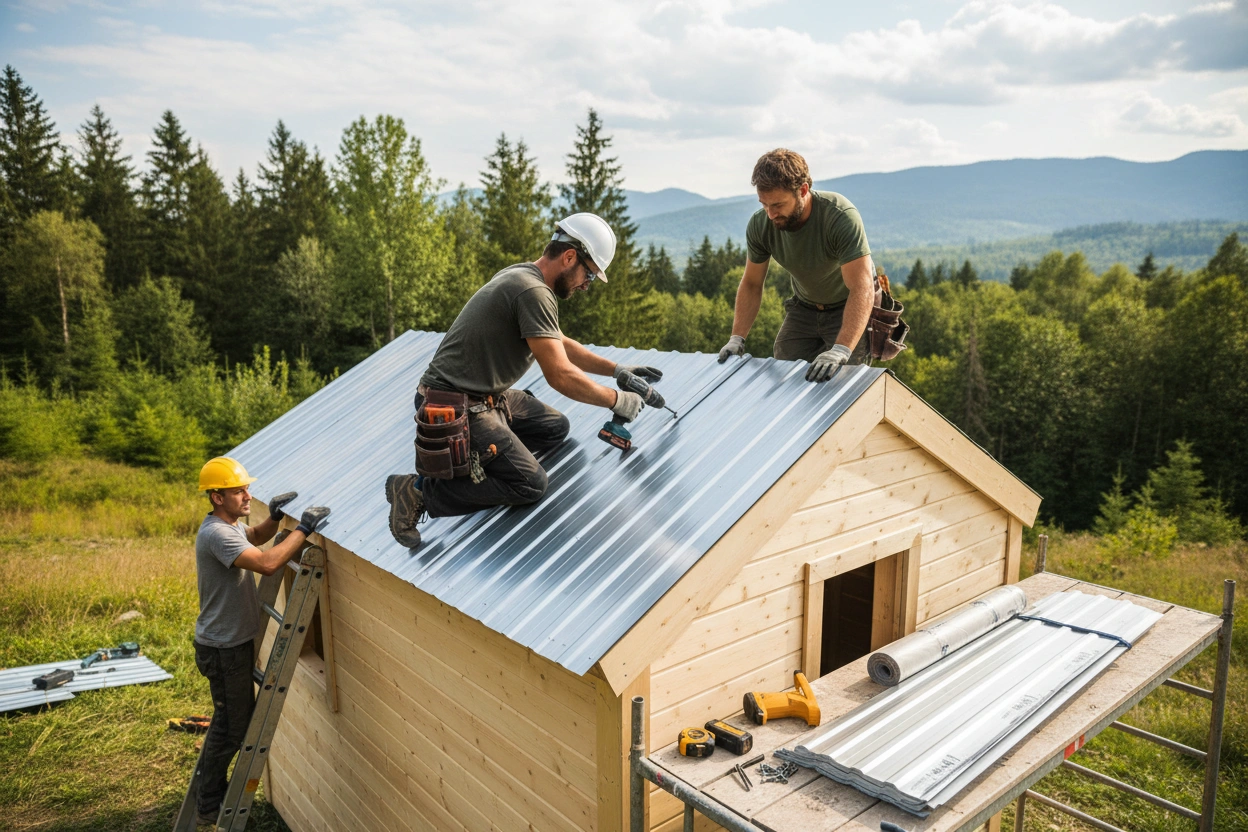
Installing roofing on your tiny house requires careful planning and execution. Follow these essential steps to ensure a successful installation.
Step 1: Gather Necessary Materials and Tools
Before starting the installation, gather all necessary materials and tools. Here’s a basic list to consider:
- Roofing material (metal sheets, shingles, etc.)
- Underlayment (waterproof barrier)
- Roofing nails or screws
- Flashing (for waterproofing around edges and protrusions)
- Safety gear (gloves, goggles, harness)
- Ladder or scaffolding
- Roofing hammer or nail gun
- Utility knife and measuring tape
Step 2: Prepare the Roof Structure
Ensure the roof structure is sound and ready for roofing. This includes:
- Inspecting the framing for any signs of damage.
- Ensuring the roof is properly pitched to facilitate water drainage.
- Installing the sheathing (plywood or OSB) if not already done.
Step 3: Install Underlayment
Underlayment is crucial for protecting your tiny house from water damage. Here’s how to install it:
- Roll out the underlayment across the roof, starting from the bottom edge.
- Overlap each row by at least six inches to ensure complete coverage.
- Secure the underlayment with roofing nails, ensuring it lies flat without wrinkles.
Step 4: Install the Chosen Roofing Material
Depending on your selected roofing material, the installation process will vary. Here are general guidelines for two common materials:
For Metal Roofing
- Begin at the lowest point of the roof and work upwards.
- Place the first metal panel, ensuring it overhangs the edge by at least an inch.
- Secure the panel with screws, placing them in the raised seams to avoid leaks.
- Continue installing panels, overlapping each subsequent panel by at least six inches.
For Asphalt Shingles
- Start with a starter strip along the eaves.
- Align the first row of shingles, ensuring they overhang the edge.
- Secure each shingle with nails, following the manufacturer's guidelines for spacing.
- Continue layering shingles, offsetting the seams for added waterproofing.
Step 5: Install Flashing and Ridge Cap
Flashing is essential for preventing water intrusion at roof edges and around features like chimneys or vents. Follow these steps:
- Cut flashing pieces to fit around protrusions and edges.
- Secure the flashing with roofing nails and seal edges with roofing cement.
- Finally, install a ridge cap at the peak of the roof to cover the joints between roofing panels or shingles.
Step 6: Inspect and Maintain
After installation, inspect your roof for any missed spots or potential leaks. Regular maintenance will prolong the life of your tiny house roofing system. Check for:
- Loose or damaged shingles or panels.
- Accumulated debris that may block drainage.
- Signs of water intrusion inside the house.
Top Roofing Materials for Tiny Houses: Pros and Cons
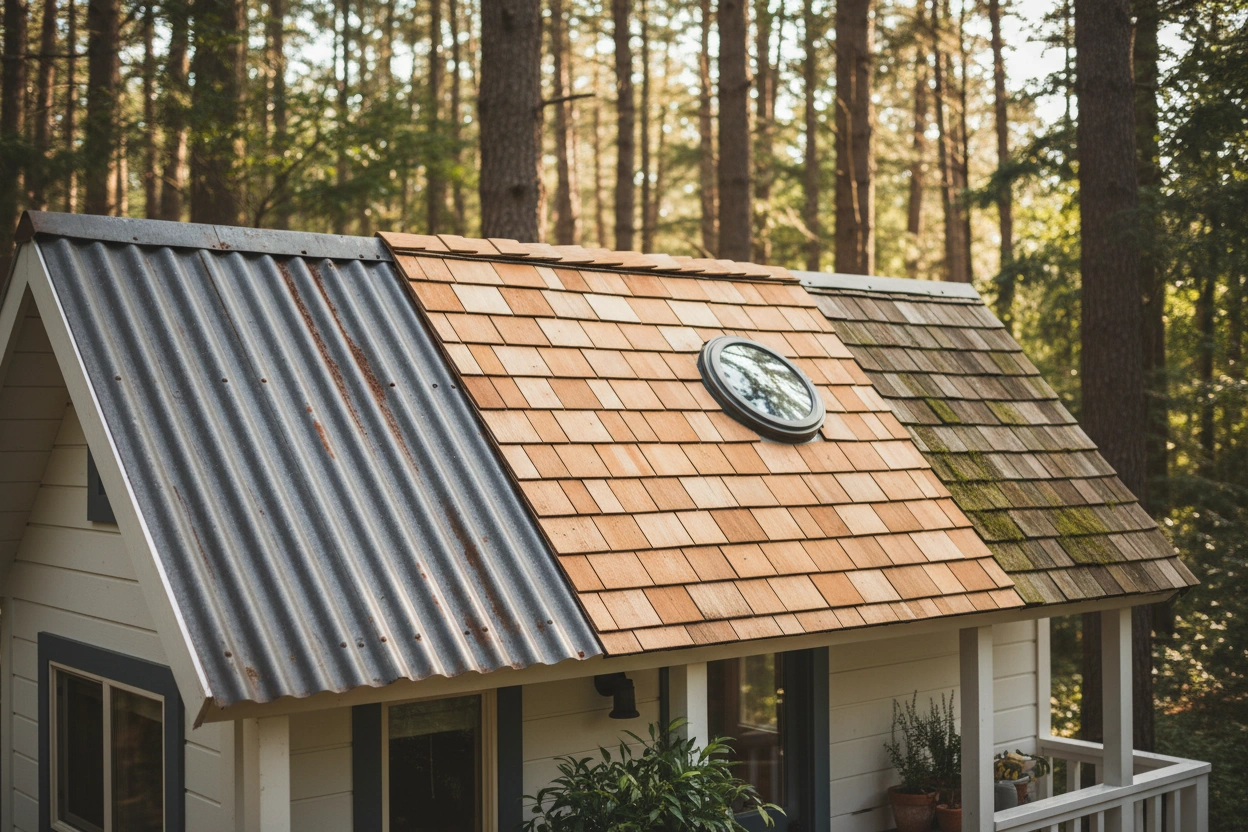
Choosing the best roofing materials for tiny houses is essential for durability and aesthetics. Here’s a breakdown of the pros and cons of popular options:
Metal Roofing
Pros:
- Long-lasting (up to 50 years)
- Lightweight and easy to install
- Energy-efficient due to reflective properties
Cons:
- Higher initial cost compared to asphalt shingles
- Can be noisy during rain or hail
Asphalt Shingles
Pros:
- Cost-effective and widely available
- Easy to install for DIY projects
- Variety of colors and styles
Cons:
- Shorter lifespan (15-30 years)
- Less effective in extreme weather conditions
Wood Shingles or Shakes
Pros:
- Attractive natural appearance
- Good insulation properties
Cons:
- Requires regular maintenance
- Susceptible to rot and pests
Rubber Roofing
Pros:
- Excellent waterproofing capabilities
- Eco-friendly option
Cons:
- Less visually appealing
- Can be prone to damage from UV exposure
Green Roofs
Pros:
- Improves insulation and air quality
- Reduces stormwater runoff
Cons:
- Requires significant structural support
- Ongoing maintenance is essential
Common Mistakes in Tiny House Roofing and How to Avoid Them
When installing tiny house roofing, several common mistakes can lead to costly repairs down the line. Here’s how to avoid them:
Ignoring Local Building Codes: Always check local regulations before starting your roofing project. Failure to comply can result in fines or the need for costly modifications.
Neglecting Proper Ventilation: Ensure that your roofing system has adequate ventilation to prevent moisture buildup, which can lead to mold and structural damage.
Skipping Underlayment: Always install an underlayment, even if your roofing material claims to be waterproof. This additional layer provides extra protection against leaks.
Improper Flashing Installation: Flashing is critical for waterproofing, especially around chimneys and vents. Ensure it’s installed correctly to avoid future leaks.
Overlooking Regular Maintenance: After installation, perform regular inspections and maintenance to catch potential issues early and prolong the life of your roof.
The Importance of Choosing the Right Roofing Material
The choice of roofing material can significantly impact your tiny house's durability, energy efficiency, and aesthetic appeal. When selecting materials, consider factors such as climate, budget, and personal preferences. Additionally, investing in quality materials can save you money in the long run by reducing maintenance and replacement costs.
Choosing the right tiny house roofing involves balancing aesthetics with functionality. Each material has its unique characteristics that can enhance your tiny home experience. By understanding the pros and cons of various roofing options, you can make an informed decision that aligns with your lifestyle and values.
Tailoring Tiny House Roofing to Your Needs
Installing a roof on a tiny house is not just about covering the structure; it’s about creating a safe and inviting living space. The roofing material you choose should complement your design vision while providing the necessary protection against the elements. Whether you opt for the modern look of metal roofing or the rustic charm of wood shingles, ensure that your choice aligns with your lifestyle and maintenance preferences.
Final Thoughts on Tiny House Roofing
Successfully installing tiny house roofing is an essential skill for any tiny home builder. By following the steps outlined in this guide, you can ensure a durable and aesthetically pleasing roof that meets your needs. Remember to select the right materials, prepare adequately, and maintain your roof for long-lasting results. Affordable tiny house roofing solutions can help you achieve your goals.
For those venturing into the tiny house lifestyle, understanding the intricacies of roofing can empower you to make informed choices that enhance your living experience. TinyHouse.com is here to assist you with further resources, guides, and support as you embark on your tiny house journey.
Visit TinyHouse.com for more information and resources on tiny house living, including tips on roofing, building, and maintaining your tiny home. Whether you're just starting or looking for detailed guidance, TinyHouse.com has the insights you need to succeed in your tiny house project.