How to Install Tiny House Roofing: DIY Tips for Success

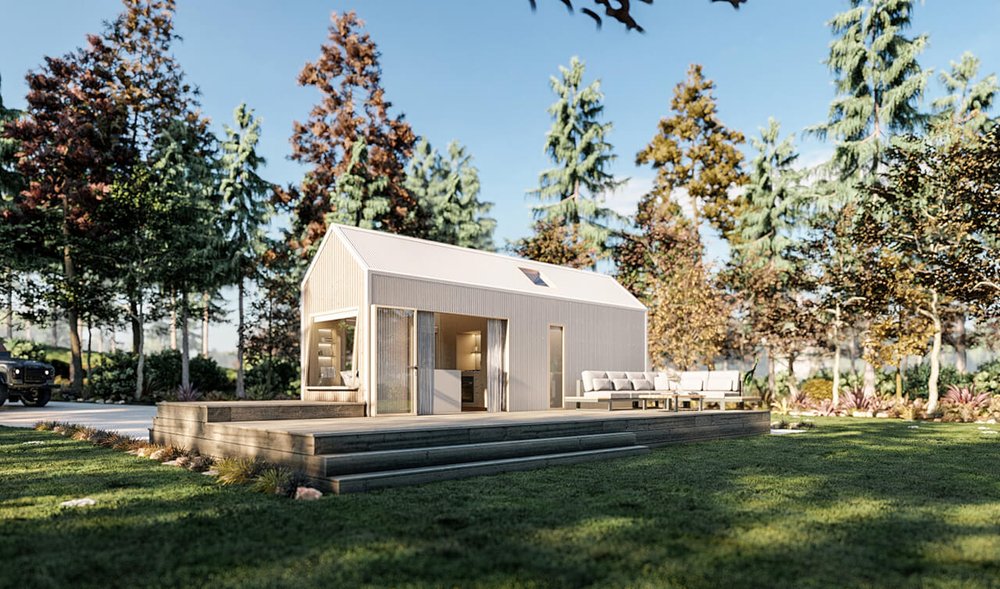
Building a tiny house is an exciting journey that offers the promise of minimalism and freedom. One critical aspect of this process is selecting and installing the right roofing material. Tiny house roofing not only protects your home from the elements but also contributes to its aesthetic appeal and energy efficiency. Understanding the best roofing materials for tiny houses, as well as the installation process, can make a significant difference in the longevity and performance of your roof. This article will guide you through the essential steps and considerations involved in installing roofing for your tiny home.
Understanding Tiny House Roofing
When it comes to tiny house roofing, the choices are vast, and each option comes with its own set of benefits and challenges. The right roofing material will depend on various factors, including climate, budget, and personal preference. For instance, some materials offer better insulation, while others are more lightweight and easier to install. Knowing these details can help you make informed decisions that will enhance the functionality and durability of your tiny home.
Additionally, many people may not realize that roofing is not merely about aesthetics; it also plays a crucial role in energy efficiency. The right roofing material can help regulate indoor temperatures, thus reducing heating and cooling costs. In the following sections, we will explore the top roofing types for tiny homes, followed by a detailed guide on how to install tiny house roofing.
Top 5 Roofing Types for Tiny Homes
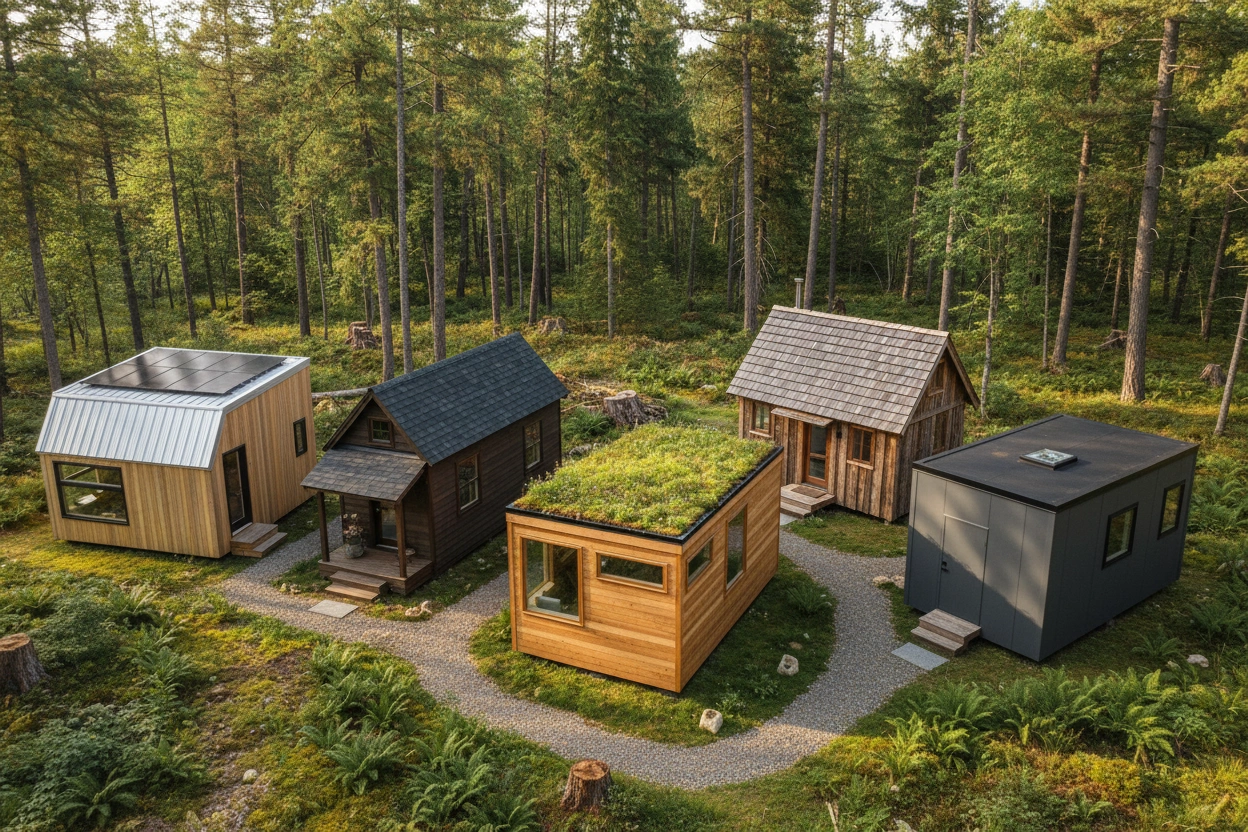
Choosing the right roofing type is essential for both functionality and aesthetics. Here are the top five roofing types that are particularly well-suited for tiny houses:
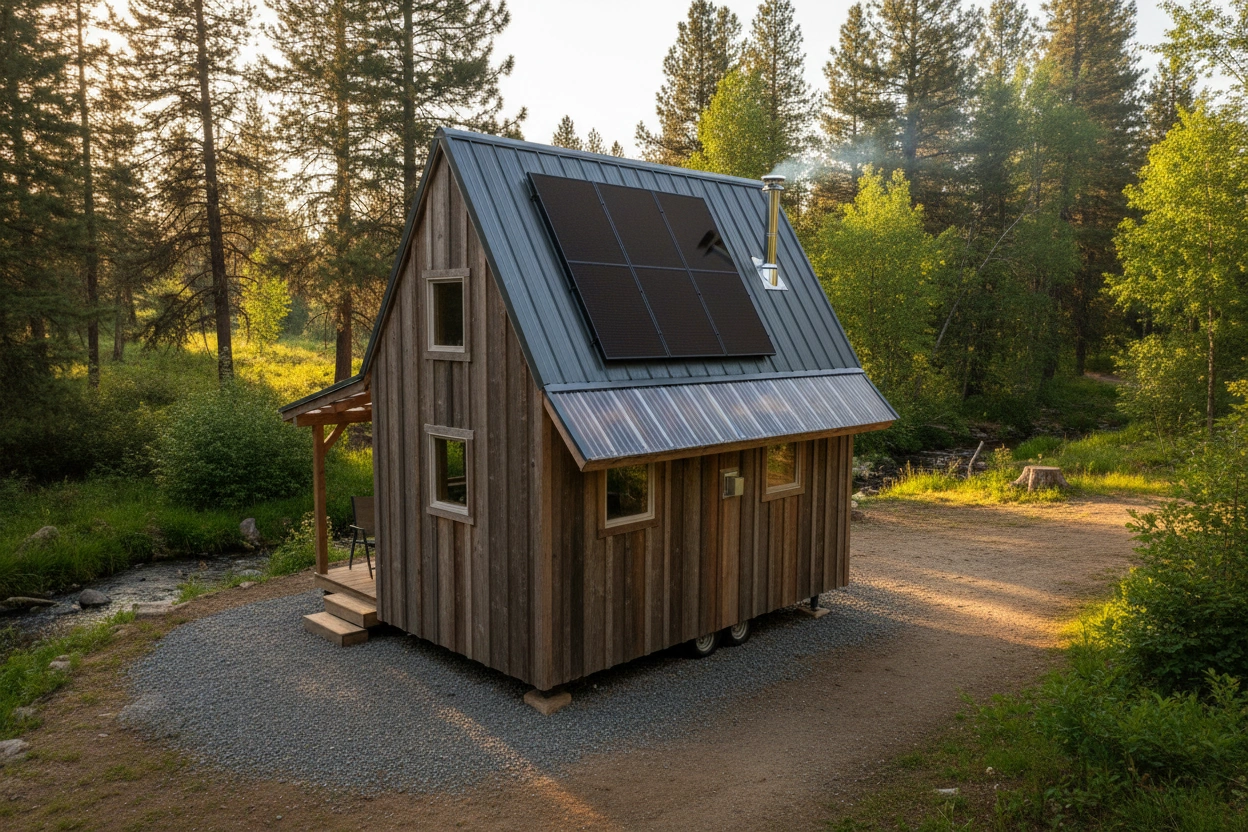
1. Metal Roofing
Metal roofing is a popular choice for tiny homes due to its durability and lightweight nature. It can withstand harsh weather conditions and is resistant to rust and corrosion.
- Benefits:
- Long lifespan (up to 50 years)
- Energy-efficient, reflecting heat in the summer
- Low maintenance requirements
2. Asphalt Shingles
Asphalt shingles are one of the most common roofing materials in the United States, making them an accessible choice for tiny house builders.
- Benefits:
- Cost-effective and readily available
- Variety of colors and styles
- Easy to install for DIY enthusiasts
3. Green Roofing
Green roofs involve planting vegetation on the roof surface, which can significantly improve insulation and reduce stormwater runoff.
- Benefits:
- Eco-friendly and sustainable
- Adds aesthetic appeal
- Improves air quality around the home
4. Tile Roofing
Tile roofs, made from clay or concrete, offer a unique aesthetic and are highly durable. They are particularly effective in hot climates.
- Benefits:
- Exceptional durability and longevity
- Excellent thermal properties
- Fire-resistant
5. Rubber Roofing
Rubber roofing, often made from recycled materials, is a flexible option that can be molded to fit various shapes and sizes of tiny homes.
- Benefits:
- Cost-effective and easy to install
- Good insulation properties
- Environmentally friendly
Preparing for Tiny House Roofing Installation
Once you have selected the roofing material for your tiny home, the next step involves thorough preparation. This phase is crucial for ensuring a successful installation that will stand the test of time.
Assessing Your Tiny Home Structure
Before starting the installation process, it is essential to evaluate the structure of your tiny home. This includes checking for any damages or weaknesses in the frame that could affect the roofing.
- Inspect for leaks, rot, or other structural issues.
- Ensure that the framework can support the weight of the chosen roofing material.
- Consider any local building codes or restrictions that may apply to your tiny home.
Gathering Necessary Tools and Materials
Preparing a comprehensive list of tools and materials is vital for an efficient installation. Here’s a checklist to consider:
- Roofing material (metal sheets, shingles, etc.)
- Underlayment (for added insulation and moisture barrier)
- Roofing nails or screws
- Hammer or nail gun
- Measuring tape
- Utility knife
- Safety gear (gloves, goggles, etc.)
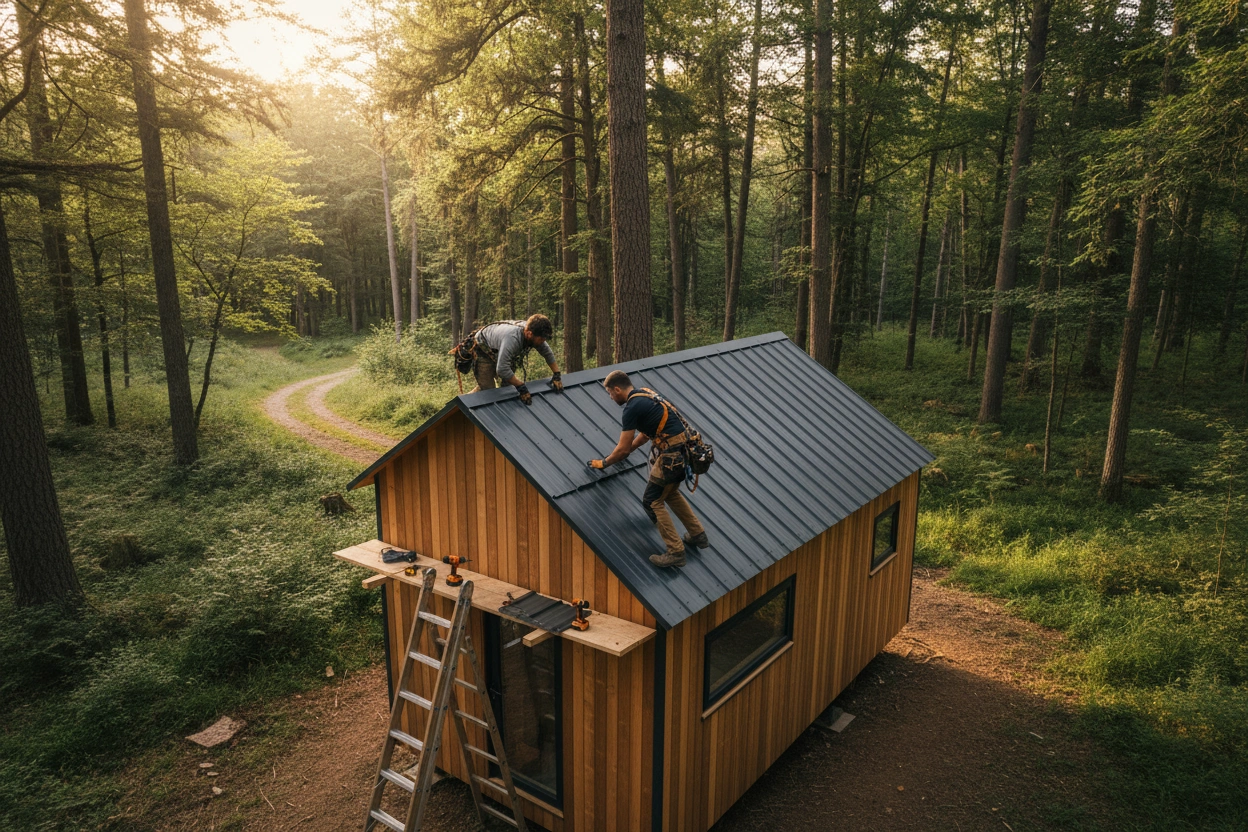
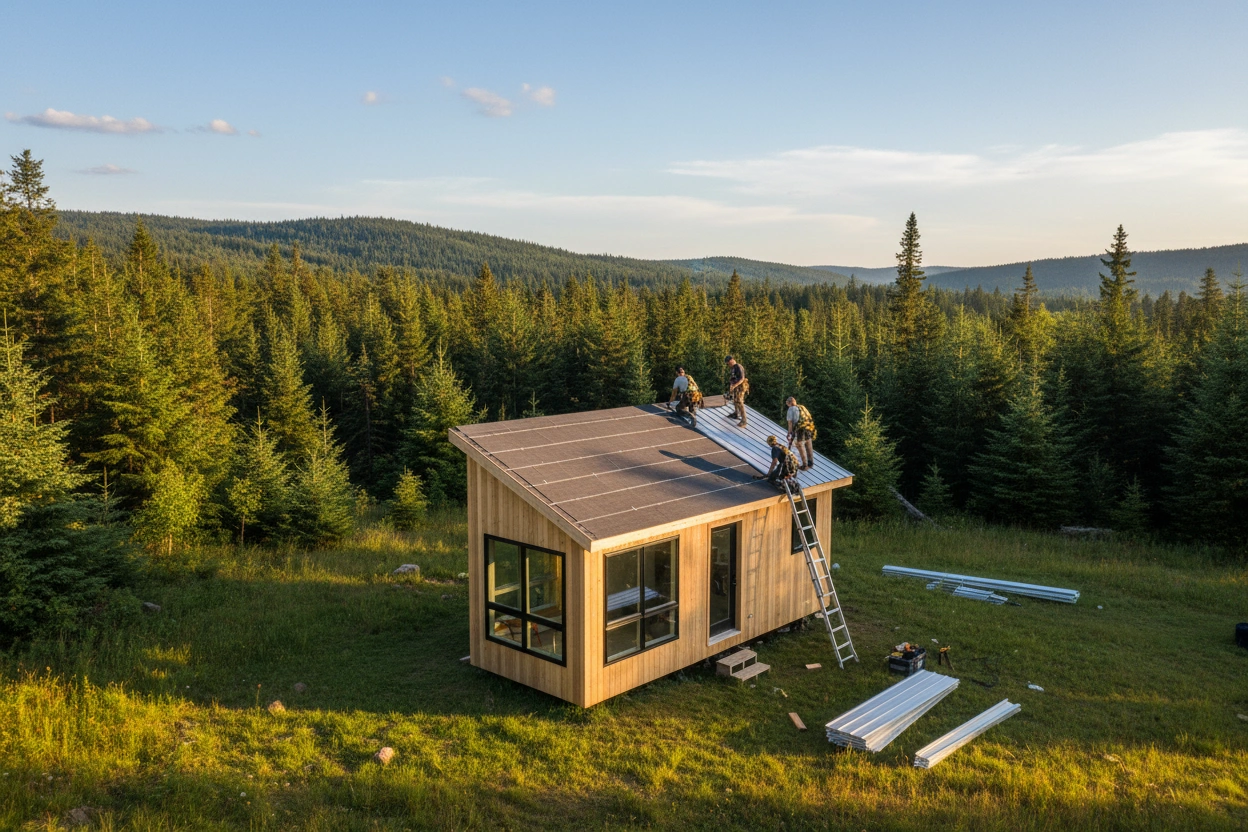
Step-by-Step Guide to Installing Tiny House Roofing
Installing tiny house roofing may seem daunting, but with the right approach and tools, it can be a manageable DIY project. Follow these essential steps to ensure a successful roofing installation.
1. Prepare the Roof Deck
Start by preparing the roof deck. This step involves cleaning the surface and removing any old roofing material.
- Remove debris, nails, and any remaining underlayment.
- Check for any damage to the roof deck and make necessary repairs.
2. Install Underlayment
The underlayment acts as a moisture barrier and adds an extra layer of protection.
- Roll out the underlayment across the roof deck.
- Overlap the edges by at least 6 inches and secure with roofing nails.
3. Lay Down the Roofing Material
Now it’s time to lay down your chosen roofing material.
- For metal roofing, start at the bottom edge of the roof and work your way up.
- For asphalt shingles, begin at the eaves and stagger the rows for better water runoff.
4. Secure the Roofing Material
Ensure that each piece of roofing material is securely fastened.
- Use roofing nails or screws as recommended for your specific material.
- Double-check that all pieces are aligned properly and overlap adequately to prevent leaks.
5. Finish with Flashing and Sealant
Flashing is essential for areas where the roof meets walls, chimneys, or vents.
- Install flashing around these areas to prevent water intrusion.
- Apply sealant where necessary to ensure a watertight finish.
Common Mistakes to Avoid When Installing Tiny House Roofing
While installing roofing can be a rewarding task, several common mistakes can lead to complications down the line. Here are some pitfalls to avoid:
1. Skipping the Underlayment
Neglecting to install underlayment can lead to moisture problems and reduced insulation. Always include this step in your process.
2. Improper Alignment
Misalignment of roofing materials can result in leaks and structural issues. Take your time to ensure that each piece is properly placed.
3. Ignoring Local Regulations
Many areas have specific building codes that must be adhered to. Failing to comply can lead to fines or even the need to redo the work.
4. Overlooking Ventilation
Poor ventilation can lead to heat buildup and moisture problems. Ensure that your roofing design incorporates adequate ventilation.
The Importance of Maintenance for Tiny House Roofing
After successfully installing your tiny house roofing, ongoing maintenance is vital to ensure its longevity. Regular inspections and upkeep can prevent significant issues down the line.
Routine Inspections
Conduct routine inspections to check for any signs of damage or wear.
- Look for loose shingles or metal panels.
- Check for signs of rust or corrosion, especially with metal roofing.
Cleaning and Repairs
Keeping your roof clean can help prolong its life.
- Remove leaves, branches, and other debris that can trap moisture.
- Repair any damages promptly to prevent further issues.
The Path to a Successful Tiny House Roof
Selecting and installing the right roofing for your tiny house is a significant step in your tiny home journey. By understanding the various roofing options available, preparing adequately, and following a structured installation process, you can create a durable and attractive roof that meets your needs.
Your Resource for Tiny House Success
TinyHouse.com is here to support you in your journey toward building or buying a tiny home. With valuable resources, expert insights, and a community of like-minded individuals, you can confidently navigate your tiny house adventure. Whether you are ready to start your roofing project or need further assistance, visit TinyHouse.com for more information and guidance tailored to your needs.
Embrace the freedom of tiny living and take the next step today. Contact TinyHouse.com to learn more about how we can help you succeed in your tiny house journey.


.webp)