How to Install Tiny House Roofing: Step-by-Step for DIYers

Building a tiny house is an exciting venture, often driven by the desire for a simpler, more sustainable lifestyle. One of the crucial aspects of this process is installing the roofing, which not only protects the structure but also contributes to its aesthetic appeal. This article provides a comprehensive guide on tiny house roofing, detailing the best roofing materials for tiny houses, their pros and cons, and a step-by-step installation process that DIYers can follow.
Understanding Tiny House Roofing
When considering tiny house roofing, it's essential to understand the unique challenges and opportunities presented by smaller structures. Unlike traditional homes, tiny houses often require lightweight, durable, and cost-effective roofing solutions. The choice of roofing material can significantly influence the overall energy efficiency, maintenance needs, and even the lifespan of your tiny home. best tiny house roofing material for your climate
In 2026, there are more options than ever for tiny house roofing materials, each with distinct advantages. By carefully selecting the right material and following a structured installation process, you can ensure that your tiny house is not only functional but also visually appealing.
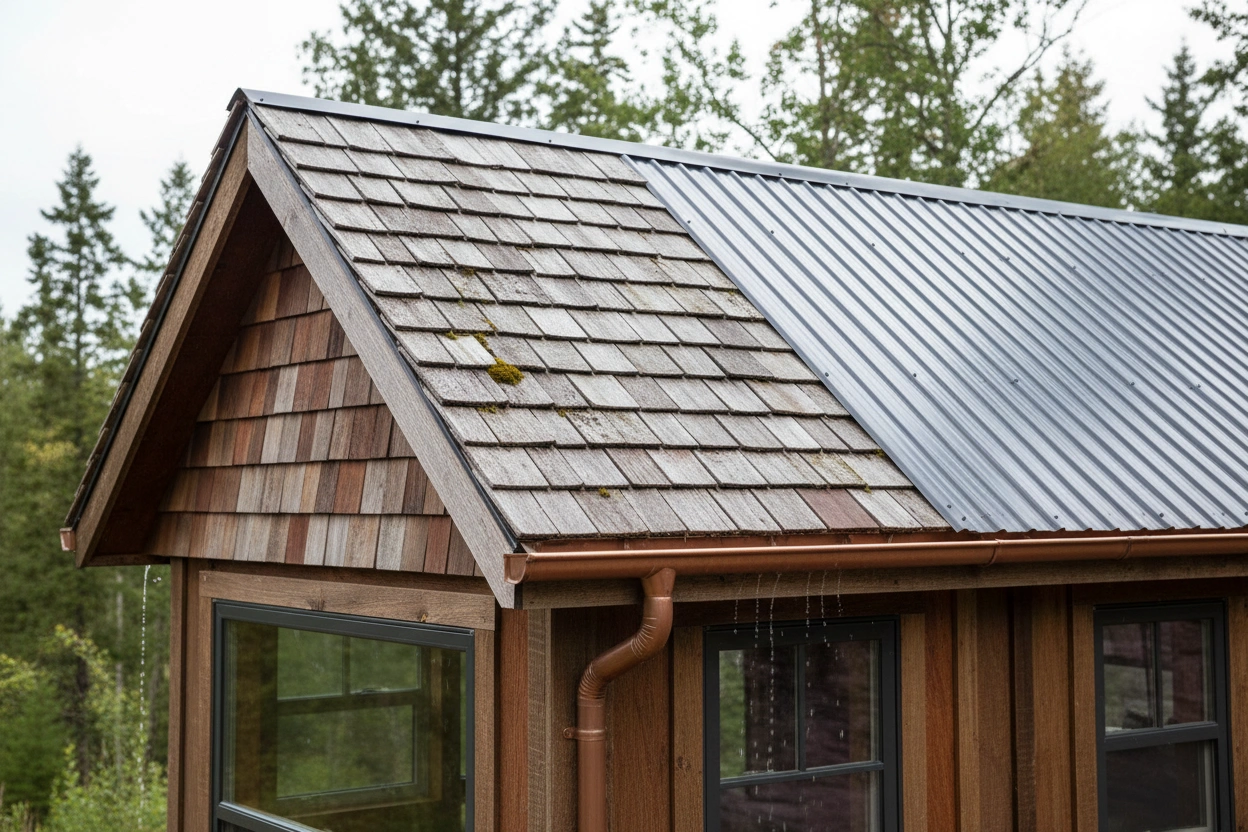
Top Roofing Materials for Tiny Houses: Pros and Cons

Selecting the best roofing materials for tiny houses is a critical decision that impacts both the construction process and long-term maintenance. Below are some popular options, along with their respective advantages and disadvantages.
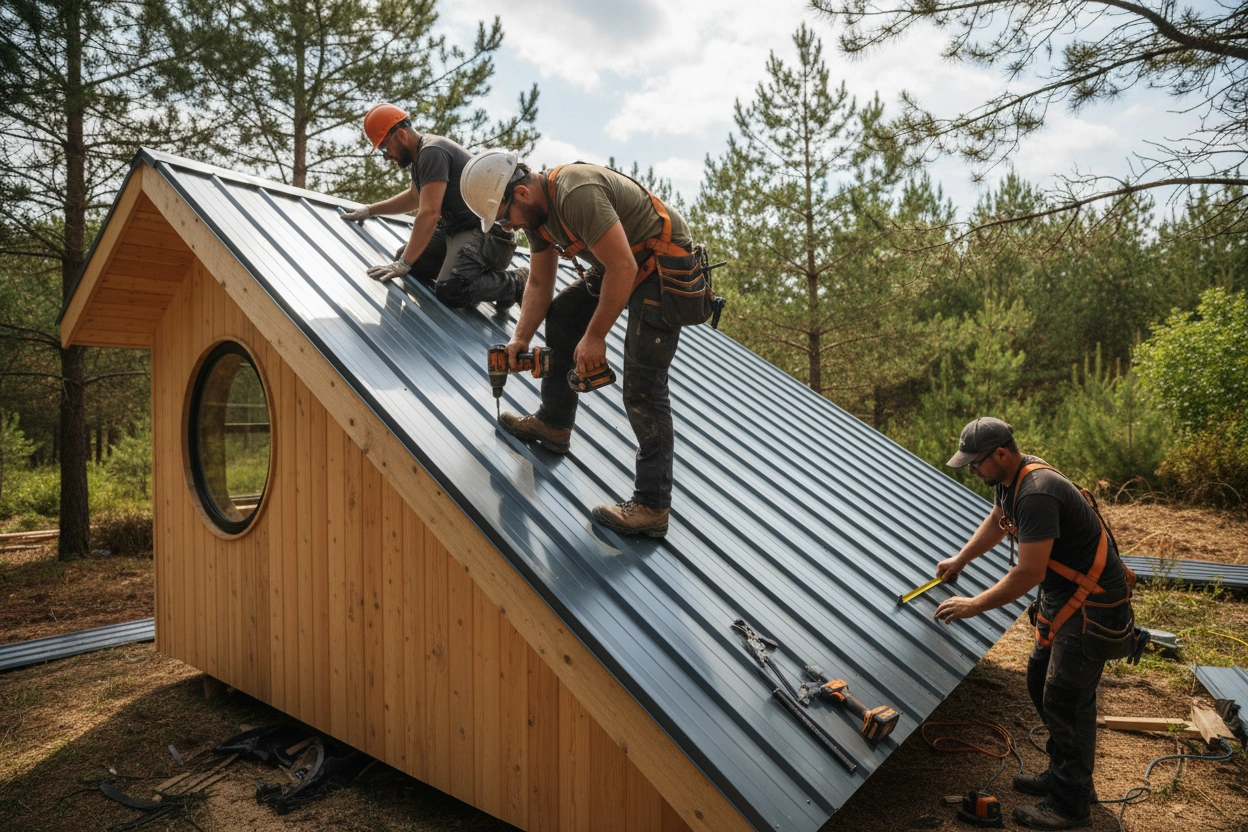
Metal Roofing
Pros:
- Durability: Metal roofing can last up to 50 years with proper maintenance.
- Lightweight: Ideal for tiny houses, reducing the overall weight on the structure.
- Reflective Properties: Helps in energy efficiency by reflecting sunlight, keeping interiors cooler.
Cons:
- Cost: Initial installation can be more expensive than other materials.
- Noise: Rain or hail can create a loud noise, which may be a concern for some homeowners.
Asphalt Shingles
Pros:
- Cost-Effective: One of the most affordable roofing options available.
- Variety: Available in numerous colors and styles, allowing for aesthetic customization.
- Easy to Install: Suitable for DIY projects due to straightforward installation processes.
Cons:
- Lifespan: Generally lasts 15-30 years, which is shorter than metal options.
- Weight: Heavier than some alternatives, which could impact tiny house designs.
EPDM Rubber Roofing
Pros:
- Waterproof: Excellent for flat roofs, providing a reliable barrier against leaks.
- Flexible: Can withstand extreme temperatures without cracking.
- Eco-Friendly: Often made from recycled materials.
Cons:
- Appearance: Limited aesthetic appeal compared to shingles or metal.
- Installation: Requires specific techniques to ensure proper adhesion and sealing.
Tile Roofing
Pros:
- Aesthetic Appeal: Offers a unique look that can enhance the character of a tiny house.
- Longevity: Can last over 50 years if properly maintained.
- Fire Resistance: Excellent fire-retardant properties.
Cons:
- Weight: Heavier than other materials, which may require additional structural support.
- Cost: Higher initial investment compared to asphalt shingles.
Thatch Roofing
Pros:
- Natural Look: Provides a rustic and traditional appearance.
- Insulation: Offers excellent insulation properties, keeping interiors warm in winter and cool in summer.
Cons:
- Maintenance: Requires regular upkeep to prevent mold and deterioration.
- Fire Risk: Can be more susceptible to fire unless treated with fire retardants.
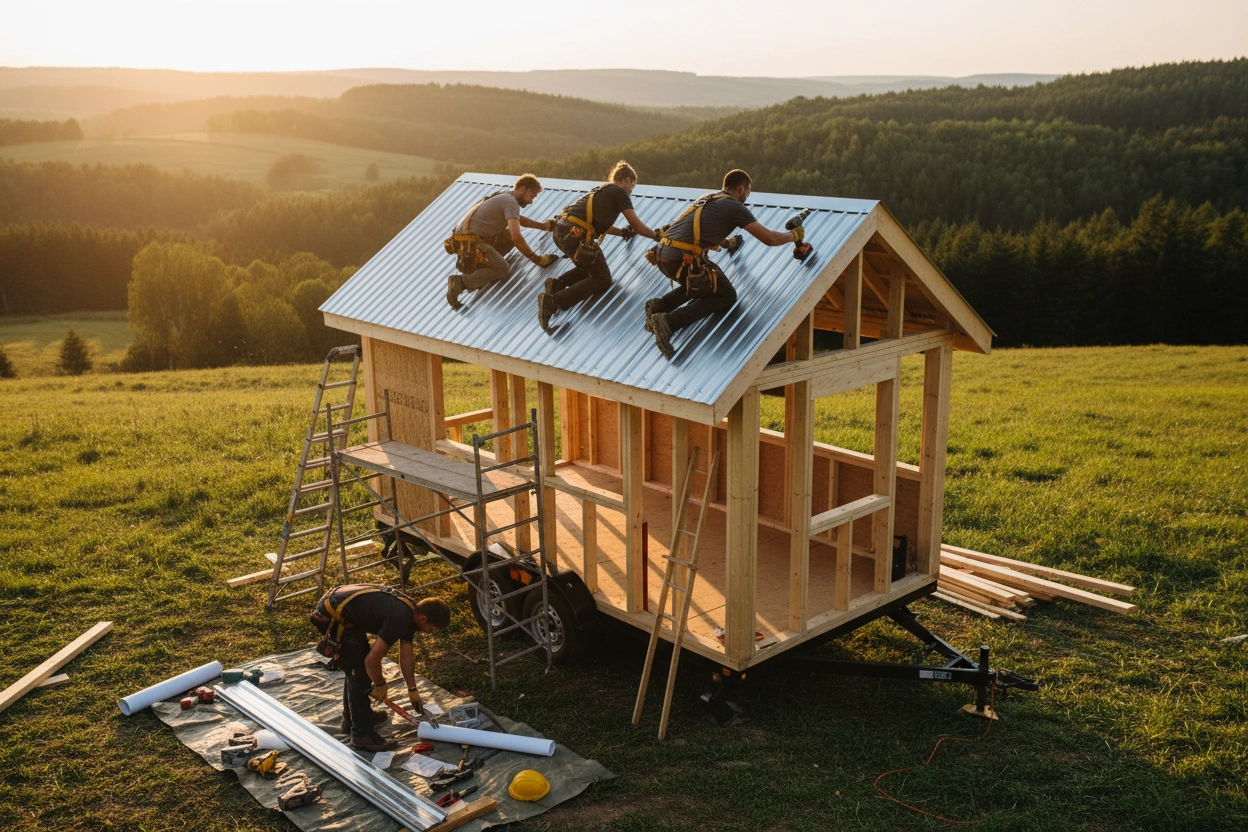
Step-by-Step Installation Process for Tiny House Roofing
Installing roofing on a tiny house involves careful planning and execution. Follow these essential steps to ensure a successful installation.
Preparation
Gather Materials:
- Choose your preferred roofing material based on the pros and cons discussed.
- Ensure you have all necessary tools, including a ladder, roofing nails, and a hammer.
Safety First:
- Use safety equipment such as gloves and goggles.
- Ensure your ladder is stable and positioned securely.
Measure and Cut:
- Measure the roof area accurately to determine how much material you will need.
- Cut the roofing material to the appropriate size, allowing for overlap where necessary.
Installation
Install Underlayment:
- Lay down a waterproof underlayment to protect against leaks.
- Ensure it covers the entire roof area and overlaps at seams.
Attach Roofing Material:
- Start at the bottom edge of the roof and work your way up.
- Secure each piece according to the manufacturer's instructions, ensuring proper alignment and overlap.
Seal Edges and Joints:
- Apply roofing sealant at edges and joints to prevent water infiltration.
- Pay special attention to areas around vents and chimneys.
Final Touches
Inspect the Roof:
- Once installed, inspect the roof for any loose sections or gaps.
- Make necessary adjustments or repairs as needed.
Clean Up:
- Remove any debris and excess materials from the installation area.
- Ensure that all tools are accounted for and stored properly.
Regular Maintenance:
- Schedule routine inspections to check for damage or wear.
- Clean gutters and downspouts regularly to prevent blockages.
Common Mistakes to Avoid in Tiny House Roofing
When undertaking tiny house roofing, certain pitfalls can lead to future problems. Here are common mistakes to watch for:
Neglecting Roof Pitch: A flat roof may seem appealing, but without proper pitch, water can accumulate and cause leaks. Ensure your roof has an adequate slope to facilitate drainage.
Ignoring Local Building Codes: Familiarize yourself with local regulations regarding roofing materials and construction standards. Failing to comply can lead to costly fines or the need for rework.
Skipping Underlayment: Some DIYers may overlook the importance of underlayment. This layer is crucial for moisture protection and should never be omitted.
Improper Ventilation: Inadequate ventilation can lead to heat buildup and condensation, potentially damaging the roofing structure. Ensure your design allows for sufficient airflow.
Conclusion: Protecting Your Tiny Home with Quality Roofing
Tiny house roofing is an integral part of creating a safe and comfortable living space. By understanding the various materials available and following a structured installation process, you can ensure that your tiny house is well-protected from the elements. TinyHouse.com offers resources and support to help you navigate every aspect of tiny house construction, including roofing.
For more information on how to effectively implement what you've learned about tiny house roofing, visit TinyHouse.com. Whether you’re looking for materials, advice, or community support, TinyHouse.com is here to assist you in your tiny house journey.


.jpg)