Tiny House Community Landscaping: Shared Green Space Guide


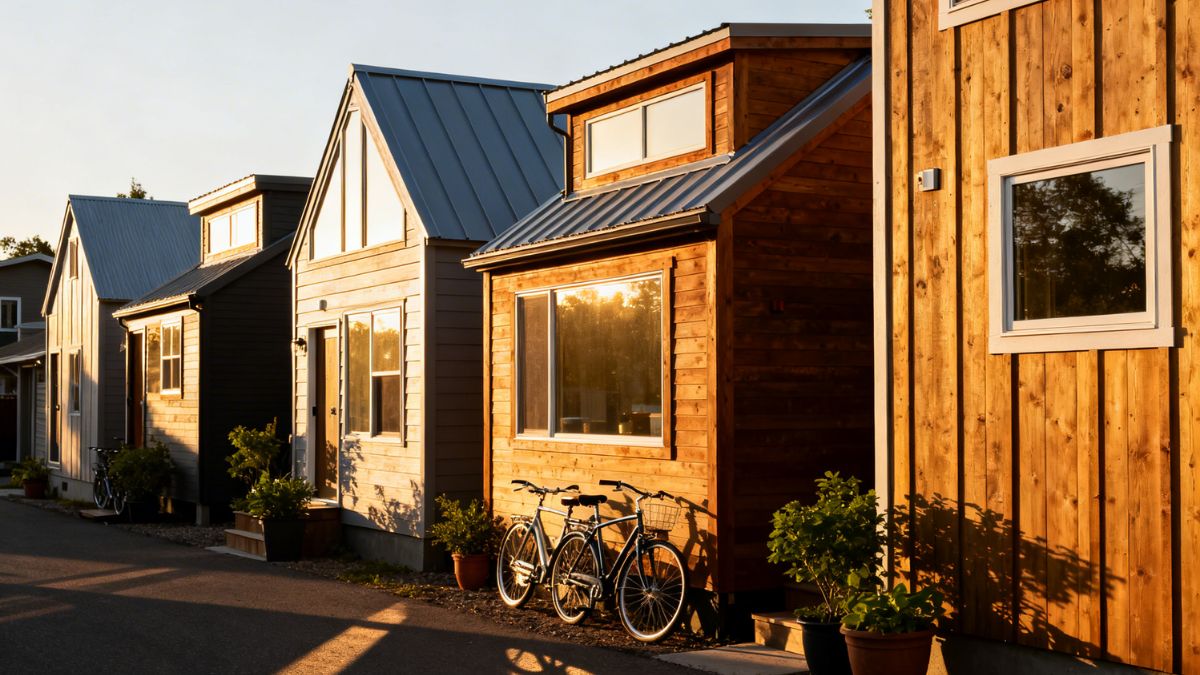
In a tiny house community, outdoor spaces often serve as extensions of the home. A shaded seating area becomes a gathering place, while a shared garden gives residents room to grow food and connect with neighbors.
However, tiny house community landscaping involves more than choosing attractive plants. Developers must balance communal activities, resident privacy, limited land, accessibility, and ongoing maintenance.
A thoughtful landscape plan brings these priorities together, creating outdoor areas that are practical, welcoming, and manageable throughout the year.
Start With the Site Layout and Residents' Needs
Effective landscape planning begins with understanding the property's physical conditions and how residents will use the space.
Before selecting plants or designing gardens, assess the site's sunlight exposure, drainage, soil conditions, slopes, and existing vegetation. Identify trees worth preserving and areas that become waterlogged after heavy rainfall.
Consider how people will move between homes, parking areas, communal facilities, and entrances. Frequently used routes deserve particular attention because poorly positioned planting beds can interfere with everyday movement.
Resident needs also shape the design. Some communities may benefit from vegetable gardens and picnic areas, while others need quiet seating, pet-friendly spaces, or accessible walking paths.
Landscaping works best when incorporated into the initial site layout rather than added after construction. Early coordination helps avoid conflicts with underground utilities, drainage infrastructure, building setbacks, and emergency access routes.
Design Shared Green Spaces That Encourage Community Living
Shared green spaces give tiny house residents opportunities to enjoy outdoor activities without requiring large private yards.
A central garden can become a natural meeting place, while shaded seating areas provide comfortable spots for conversation or relaxation. Picnic tables, community planting beds, and small recreational lawns can support different activities throughout the day.
The key is designing spaces that residents will actually use.
For example, a community with several families might benefit from an open gathering area near shared facilities. A development catering to retirees may prioritize accessible paths, comfortable seating, and quiet garden spaces.
Location also matters. Communal amenities should be convenient to reach without placing frequent activity directly outside residents' windows.

Prioritize Multi-Functional Outdoor Areas
Multi-functional spaces make better use of limited land.
A modest lawn might accommodate weekend gatherings, informal recreation, and occasional community events. Seating beside a vegetable garden can provide both a resting place and a social space.
Similarly, shade trees positioned near pedestrian paths can improve comfort while creating attractive gathering points.
Flexible designs allow residents to use outdoor areas differently as community needs evolve.
Use Landscaping to Balance Privacy and Open Space
Living close to neighbors creates opportunities for community interaction, but residents also need private outdoor areas.
Thoughtful planting can establish boundaries without making the development feel divided or overcrowded.
Shrubs, ornamental grasses, and carefully positioned screening plants can soften views between neighboring homes. Raised planters provide another option where permanent hedges might occupy too much ground space.
However, mature plant size matters. A shrub that initially fits beside a tiny house may eventually block windows, crowd pathways, or require frequent pruning.
Choose plants according to their expected height and spread, leaving sufficient room for growth.
Privacy features should also preserve natural light and visibility along shared routes. Dense screening near entrances, intersections, or pedestrian paths can create unnecessary blind spots.
Combining taller plants with lower borders often provides a better balance between separation and openness.
Choose and Source the Right Plants for the Community
Plant selection influences how a tiny house community looks, functions, and ages.
Rather than focusing entirely on appearance, evaluate plants according to local growing conditions, water requirements, maintenance needs, and their intended purpose.
A successful planting scheme might combine shade trees, privacy shrubs, ground covers, and seasonal flowering plants. Each should have a clear role within the overall landscape.
Select Plants That Suit the Local Climate
The best tiny house landscaping ideas start with plants adapted to the site.
Consider local hardiness zones, seasonal temperatures, rainfall patterns, soil drainage, and sun exposure. Native and regionally adapted species are often useful choices when they suit the property's specific conditions.
Plants with similar watering requirements can be grouped together, making irrigation easier to manage.
Tropical plants may provide attractive foliage and screening in suitable warm climates. In colder regions, frost-sensitive varieties may need to be grown in movable containers and overwintered in suitable indoor conditions. Confirm each species' temperature, light, and space requirements before including it in the planting plan.
Check local invasive-species guidance and exclude plants identified as invasive in the region. Assess thorny shrubs and plants toxic to pets separately, particularly near paths, seating, and designated pet areas.
Plan Plant Procurement for Larger Developments
For larger tiny house communities, plant sourcing becomes an important part of the landscaping budget and project timeline. Instead of purchasing plants individually for each home or shared garden, developers and landscape contractors can coordinate orders through a plant wholesaler. This approach can simplify procurement across multiple planting areas, particularly when selecting tropical varieties suitable for the local climate. Confirm trade-account eligibility, any minimum order requirements, plant availability, delivery access, and growing conditions before placing orders.
Plan Walkways, Drainage, and Efficient Irrigation
Walkways connect individual homes with communal facilities, making them an essential part of the landscape.
Main pedestrian routes should have firm, stable, slip-resistant surfaces and sufficient clear width for residents with different mobility needs. Have a qualified designer check slopes, cross slopes, turning spaces, and connections to shared amenities against applicable accessibility requirements. Thoughtful lighting can also improve everyday usability.
Materials such as permeable pavers may help manage surface runoff where soil conditions and construction methods support infiltration.
Drainage requires equal attention. Roof runoff, paved surfaces, and sloped terrain can direct water toward buildings or gathering areas unless properly managed.
Rain gardens, drainage channels, and carefully graded planting beds can help manage runoff when designed for local conditions. Assess soil infiltration and drainage routes before choosing a solution, and position infiltration features an appropriate distance from building foundations.
Irrigation should reflect plant requirements rather than treating every landscaped area equally. Drip irrigation can deliver water directly to planting beds, while separate watering zones allow gardens and lawns to receive different amounts.
Keep plant growth, irrigation equipment, and drainage features clear of essential access routes.
Keep Landscaping Costs and Maintenance Manageable
A visually appealing community landscape is only successful if it remains affordable and practical to maintain.
Start by identifying essential improvements, including safe walkways, drainage, shade, and basic planting. Decorative features can follow once these priorities are covered.
Low-maintenance landscaping often involves choosing appropriately sized plants, reducing unnecessary lawn areas, and using ground covers or mulch where suitable.
Water-efficient planting can also simplify irrigation management, although every landscape requires some care during establishment.
Budgets need to account for more than installation. Include soil preparation, irrigation equipment, replacement plants, seasonal pruning, and routine maintenance.
Clearly define who will handle shared outdoor spaces. Depending on the community's management structure, responsibilities may fall to property staff, contracted landscapers, or residents participating in garden activities.
A written maintenance schedule helps prevent neglected planting beds, overgrown pathways, and unclear responsibilities.
Create a Phased Landscaping Plan
Landscaping does not need to happen all at once, particularly when a tiny house development is being constructed in stages.
Before construction begins, have a qualified arborist identify protection zones around retained trees and keep excavation, equipment, and material storage outside those areas. Then complete essential infrastructure, including site grading, drainage, utility coordination, and permanent walkways. Completing this work first reduces the likelihood of damaging finished gardens during construction.
Next, establish important shared spaces such as central gardens, seating areas, and shade planting.
Privacy screens, ornamental beds, and decorative features can follow as individual homes become occupied.
Establish a maintenance schedule as each phase is completed, covering watering, pruning, seasonal inspections, and plant replacement.
Each phase should have an estimated budget, installation window, and responsible contractor or team.
This approach allows the landscape to develop alongside the community while keeping essential outdoor areas functional.
Next Steps: Turn the Landscaping Plan Into Action
Start by walking the property and identifying potential gathering areas, private zones, existing vegetation, and drainage concerns.
Sketch a basic layout showing homes, paths, gardens, and shared amenities. Then shortlist climate-appropriate plants based on their mature size and maintenance requirements.
Consult local landscape professionals about drainage, accessibility, and planting conditions. Request estimates covering both installation and ongoing care.
Finally, assign responsibilities and establish a realistic schedule.
A clear plan built around how residents will use the grounds is the foundation of a functional, lasting community landscape.