
DIY Tiny House Roofing Installation: Step-by-Step for Beginners

Tiny house roofing is a critical component of any tiny home build, providing not just protection from the elements but also contributing to the overall aesthetic and energy efficiency of the structure. For those who are new to tiny house construction or looking to undertake a DIY project, understand the basics of roofing installation can seem daunting. However, with the right information and approach, anyone can successfully install a roof on their tiny home.
In this article, we will cover essential aspects of tiny house roofing installation, including the top five roofing types suitable for tiny homes and a detailed, step-by-step guide to help you through the installation process. By the end of this article, you will have a solid foundation of knowledge to tackle your tiny house roofing project.
Understanding Tiny House Roofing
The Importance of Choosing the Right Roofing Material
When it comes to tiny house roofing, selecting the right material is crucial. The roof not only protects your home from weather elements but also plays a significant role in insulation and energy efficiency. Different roofing materials have varying lifespans, maintenance requirements, and costs.
- Durability: The roofing material must withstand local weather conditions. For instance, areas with heavy snowfall require stronger materials.
- Weight: Since tiny houses are often built on trailers, the weight of the roofing material can affect the overall stability and mobility.
- Aesthetic Appeal: The roofing material should complement the overall design of the tiny house, enhancing its visual appeal.
Common Misconceptions About Tiny House Roofing
Many people underestimate the complexity of roofing a tiny house. Some common misconceptions include:
- All roofing materials are the same: Each type has unique properties, making some more suitable for tiny homes than others.
- DIY roofing is easy: While DIY projects can be fulfilling, roofing requires precision and knowledge of local building codes.
- Cost is the only factor: While budget is important, long-term durability and maintenance should also be considered.
Understanding these factors will help you make informed decisions about your roofing project.
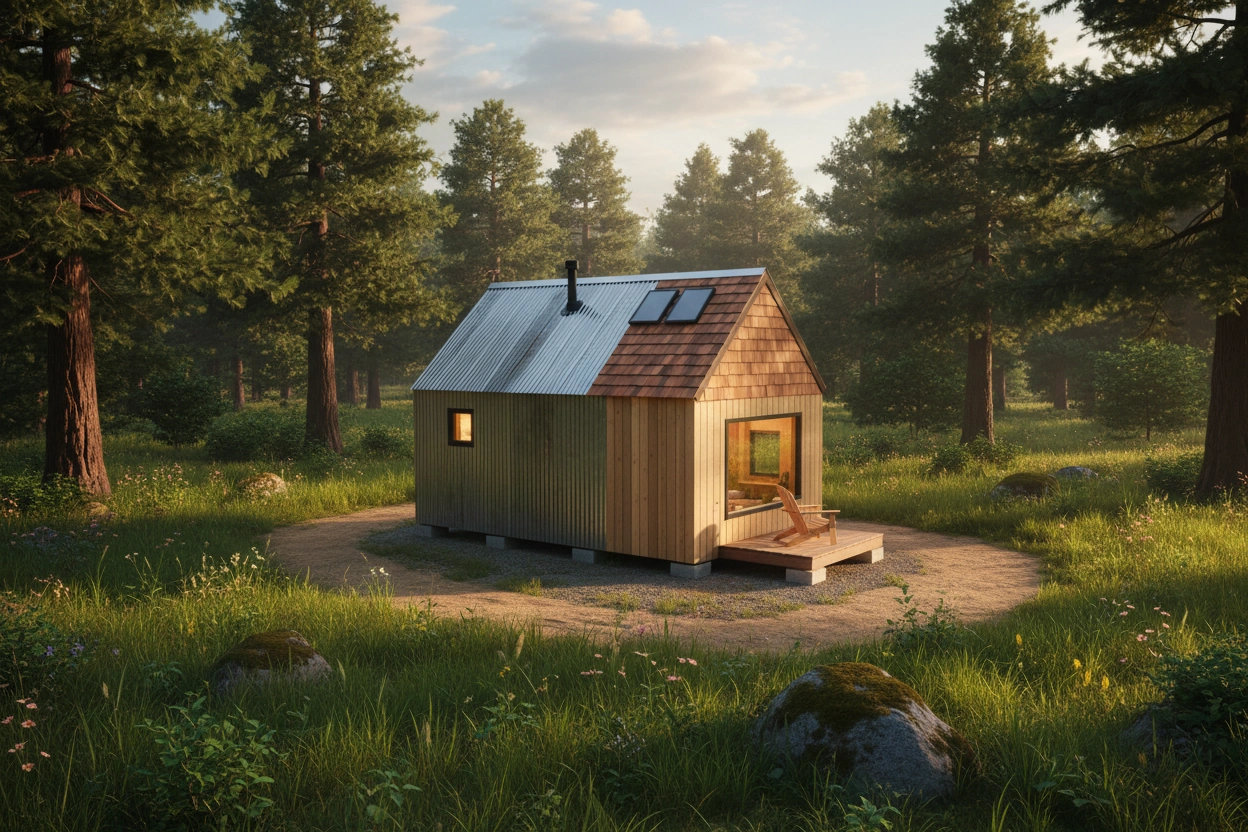
Top 5 Roofing Types for Tiny Homes

Choosing the right roofing material for your tiny house is essential for ensuring longevity, functionality, and style. Here are the top five roofing types that are particularly well-suited for tiny homes:
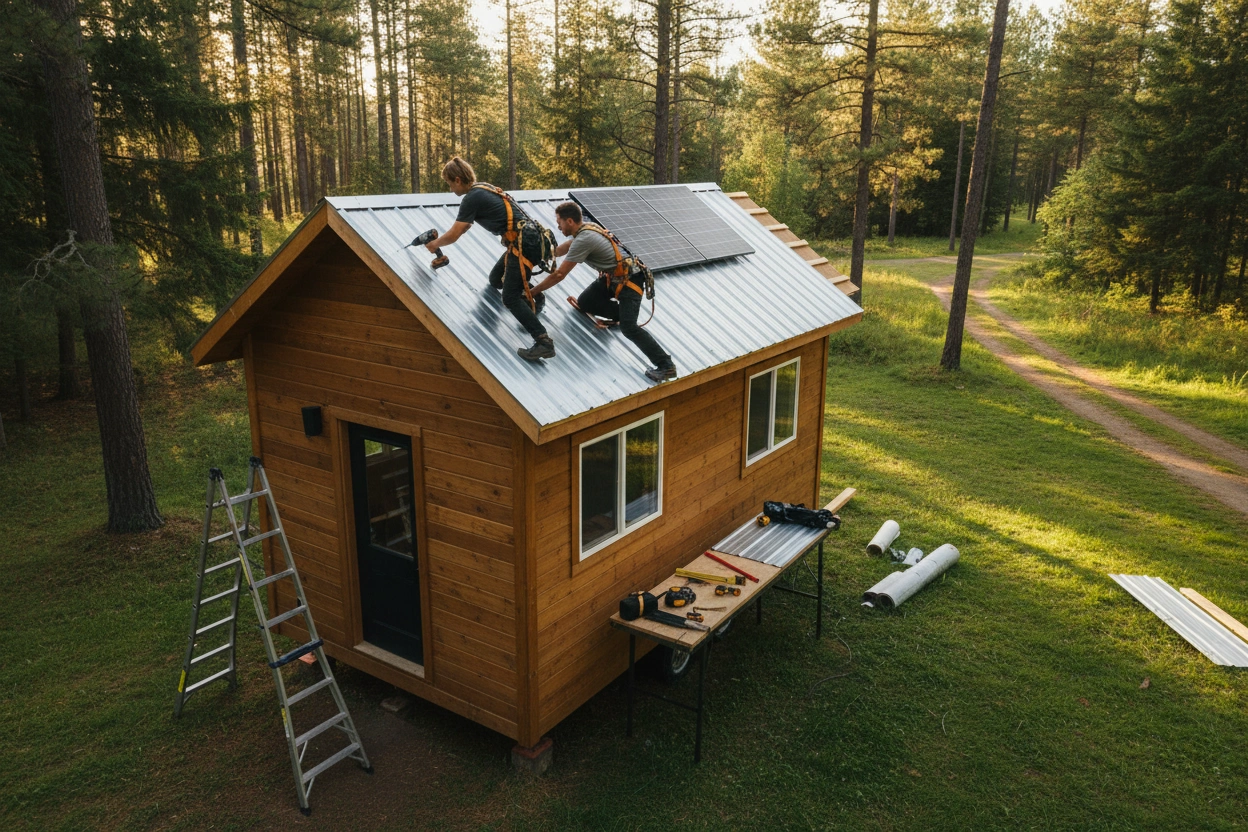
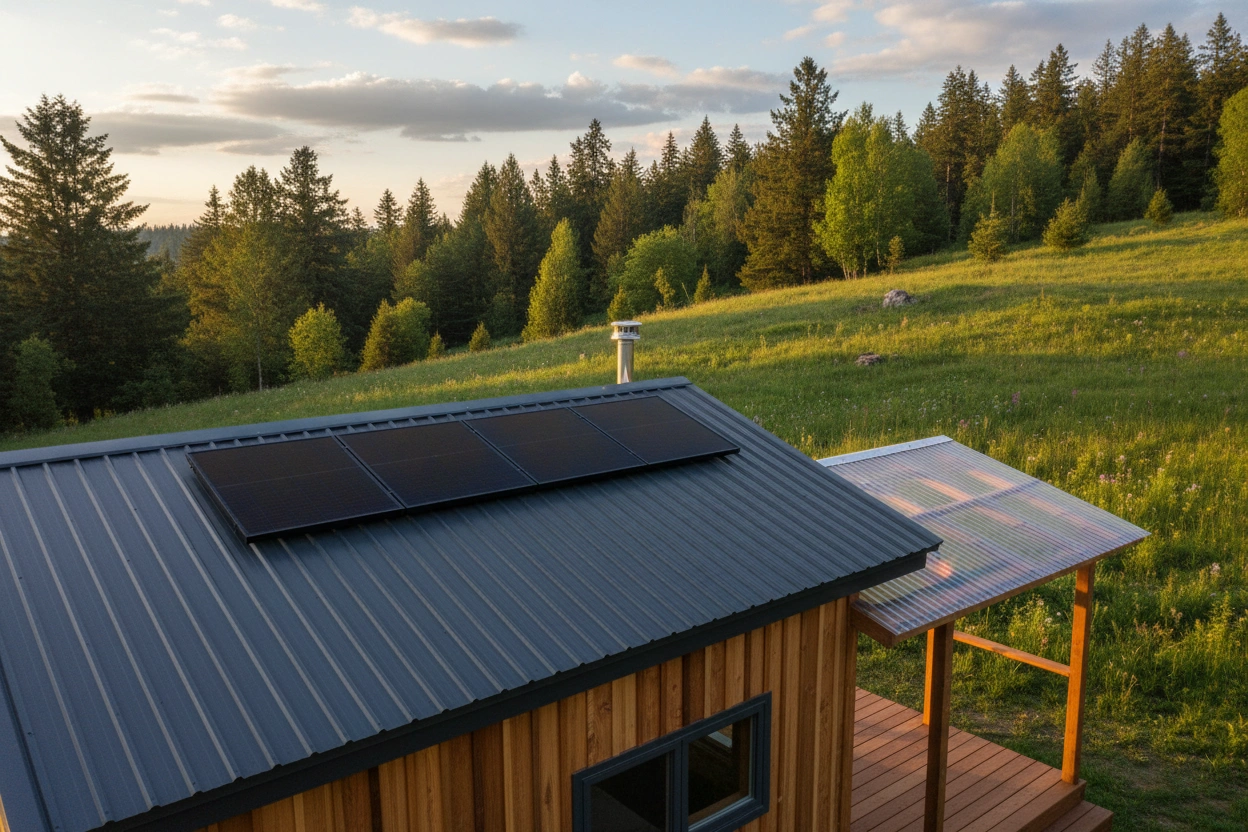
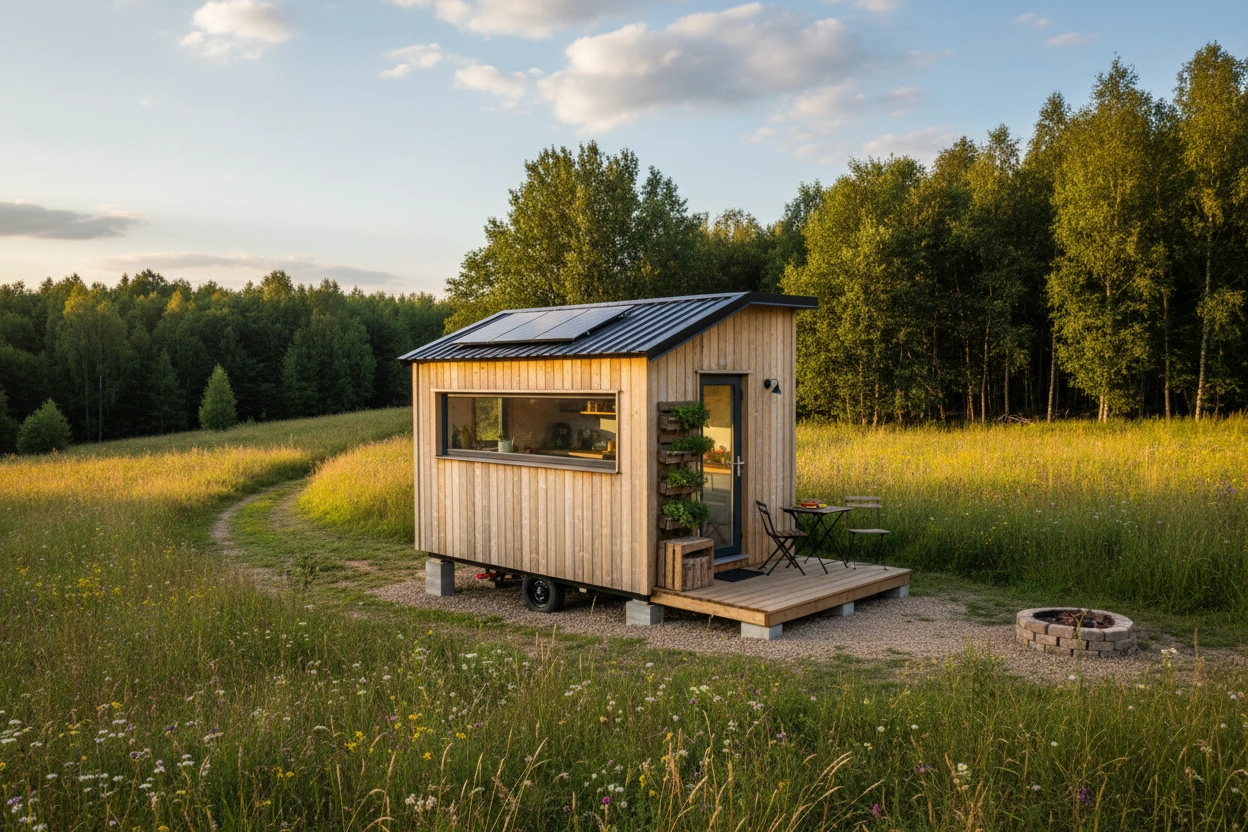
1. Metal Roofing
Metal roofing has gained popularity for tiny houses due to its durability and lightweight nature.
- Longevity: Metal roofs can last up to 50 years with proper maintenance.
- Energy Efficiency: Reflective coatings can help reduce cooling costs.
- Installation: Metal roofing is relatively easy to install, making it a great DIY option.
2. Asphalt Shingles
Asphalt shingles are one of the most common roofing materials used in residential construction, including tiny homes.
- Cost-Effective: They are generally less expensive than other materials.
- Variety: Available in numerous colors and styles, they can fit any aesthetic.
- Installation: Requires careful alignment and layering, which can be a bit challenging for beginners.
3. TPO (Thermoplastic Olefin) Roofing
TPO is a single-ply roofing membrane that is becoming increasingly popular for tiny homes.
- Energy Efficiency: TPO reflects heat and can lower energy costs.
- Easy Installation: This material can be installed in a single layer, making it suitable for DIY projects.
- Durability: Resistant to UV rays and chemical exposure.
4. Wood Shingles or Shakes
Wood shingles or shakes offer a classic and natural look, making them an appealing choice for many tiny homeowners.
- Aesthetic Appeal: Provides a rustic charm that blends well with natural surroundings.
- Insulation: Wood has natural insulating properties.
- Maintenance: Requires regular maintenance to prevent rot and insect damage.
5. Slate Roofing
Slate is a premium roofing material known for its elegance and durability.
- Longevity: Slate roofs can last over 100 years.
- Fire Resistance: Non-combustible material adds safety.
- Weight: Slate is heavy, which may not be ideal for all tiny homes, especially those on trailers.
Selecting the right roofing type involves considering factors such as budget, climate, and personal preference. Each of these materials has its advantages and potential drawbacks that should be carefully evaluated.
Step-by-Step Guide to Tiny House Roofing Installation
Now that you have a good understanding of the various roofing types, let's walk through the steps to install your tiny house roof.
Preparing for Installation
Before you begin the installation process, thorough preparation is essential.
Gather Necessary Tools and Materials: Ensure you have the following:
- Safety gear (gloves, goggles, hard hat)
- Ladder
- Measuring tape
- Roofing materials (chosen type)
- Hammer or nail gun
- Roofing adhesive (if applicable)
- Utility knife
- Chalk line
Check Local Building Codes: Before starting, familiarize yourself with local regulations regarding roofing, including required permits and specifications.
Measure and Cut: Measure the dimensions of your roof carefully. Cut your roofing materials according to the specifications for your chosen type.
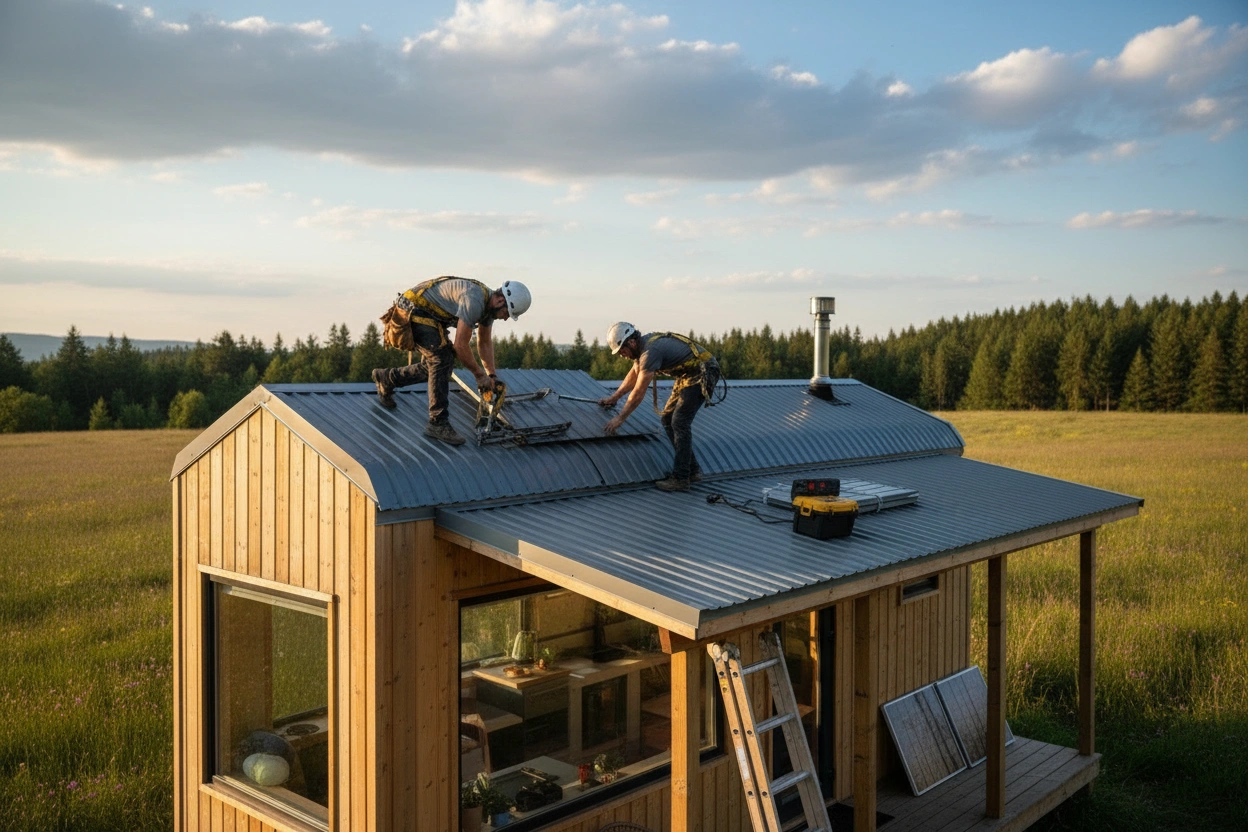
Installation Steps
Follow these essential steps to install your roofing material:
Install the Underlayment: Lay down a waterproof underlayment to prevent moisture from penetrating your roof. Ensure it overlaps at the seams to create a barrier against leaks.
Begin Laying the Roofing Material: Start from the bottom edge of the roof and work your way up. If using shingles, stagger the seams to prevent water from seeping through.
Secure Each Piece: Use nails or adhesive to secure each piece of roofing material. Follow the manufacturer's guidelines for spacing and fastening to ensure a tight fit.
Create Flashing: Install flashing around roof edges and any protrusions (like vents or chimneys) to direct water away from vulnerable areas.
Finish the Roof: Once the roofing material is installed, inspect for any gaps or loose sections. Make necessary adjustments to ensure a secure and watertight finish.
Clean Up: Remove any debris and ensure the work area is clean and safe. Dispose of any excess materials responsibly.
Common Mistakes to Avoid
When installing tiny house roofing, avoid these common pitfalls:
- Neglecting Safety: Always prioritize safety by using appropriate gear and ensuring your ladder is secure.
- Ignoring Weather Conditions: Avoid roofing during inclement weather. Wet materials can be slippery and dangerous.
- Skipping the Underlayment: This critical step can lead to leaks and water damage if overlooked.
By following these guidelines and taking the time to prepare adequately, you can successfully install your tiny house roof.
The Intersection of DIY and Tiny House Roofing
Installing a roof on your tiny home not only enhances its functionality but also allows you to express your personal style. TinyHouse.com is dedicated to providing resources and support for aspiring tiny homeowners, guiding you through each step of the process.
Understanding the essentials of tiny house roofing can empower you to make informed decisions that align with your vision and budget. Whether you opt for the durability of metal, the classic appeal of wood, or the right roofing choice will enhance your tiny home's longevity and aesthetic.
If you are ready to take the next step in your tiny house journey, visit TinyHouse.com for expert advice, resources, and community support. Building or buying a tiny home doesn’t have to be overwhelming—let TinyHouse.com help you along the way.


.jpg)