How to Install Tiny House Roofing: Step-by-Step DIY Guide

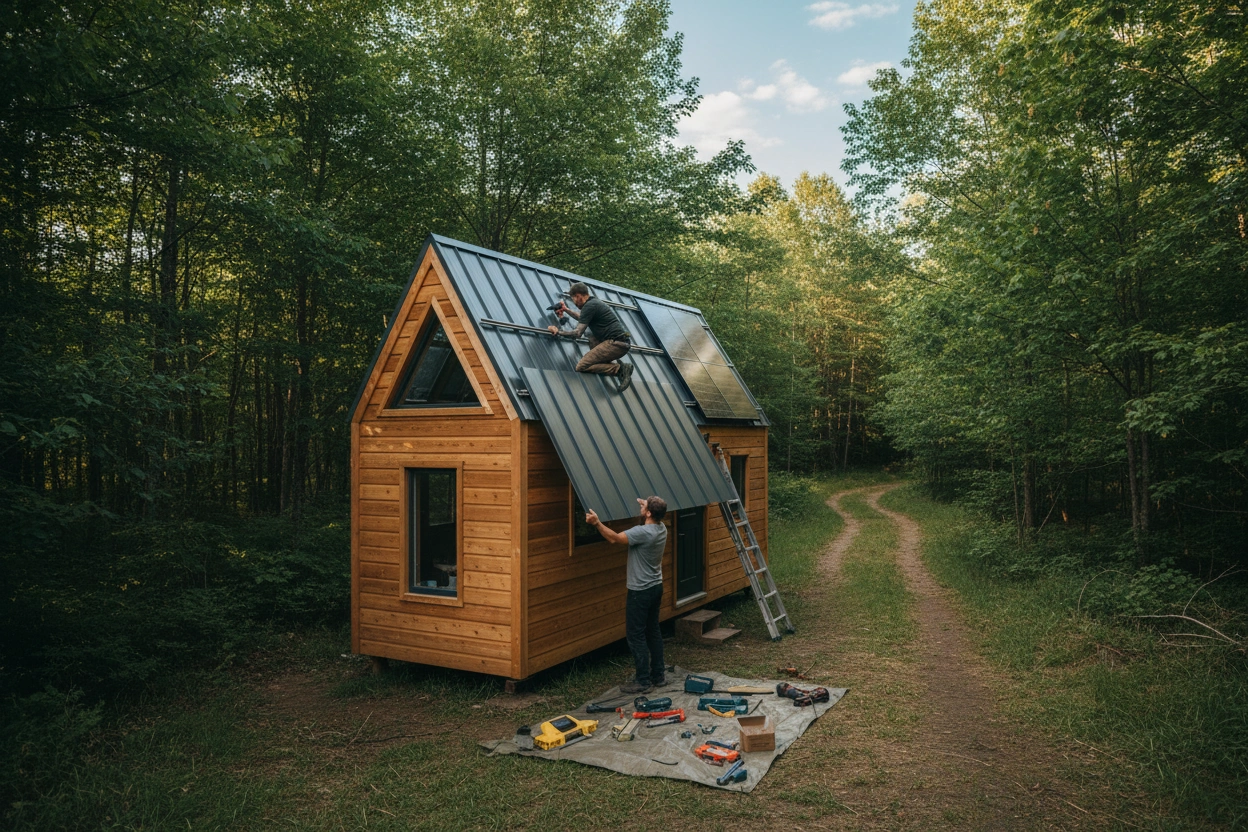
Installing a roof on a tiny house is a significant task that requires careful planning and execution. The roof not only protects your home from the elements but also contributes to its overall aesthetic and energy efficiency. This guide will provide a comprehensive overview of the installation process, including Step-by-Step Guide to Installing Tiny House Roofing and the top roofing types you might consider.
Understanding the various aspects of tiny house roofing can help you make informed decisions, whether you are building your own tiny home or renovating an existing structure. With the right materials and techniques, you can ensure a durable and visually appealing roof that enhances your tiny house's functionality and style.
Top 5 Roofing Types for Tiny Homes
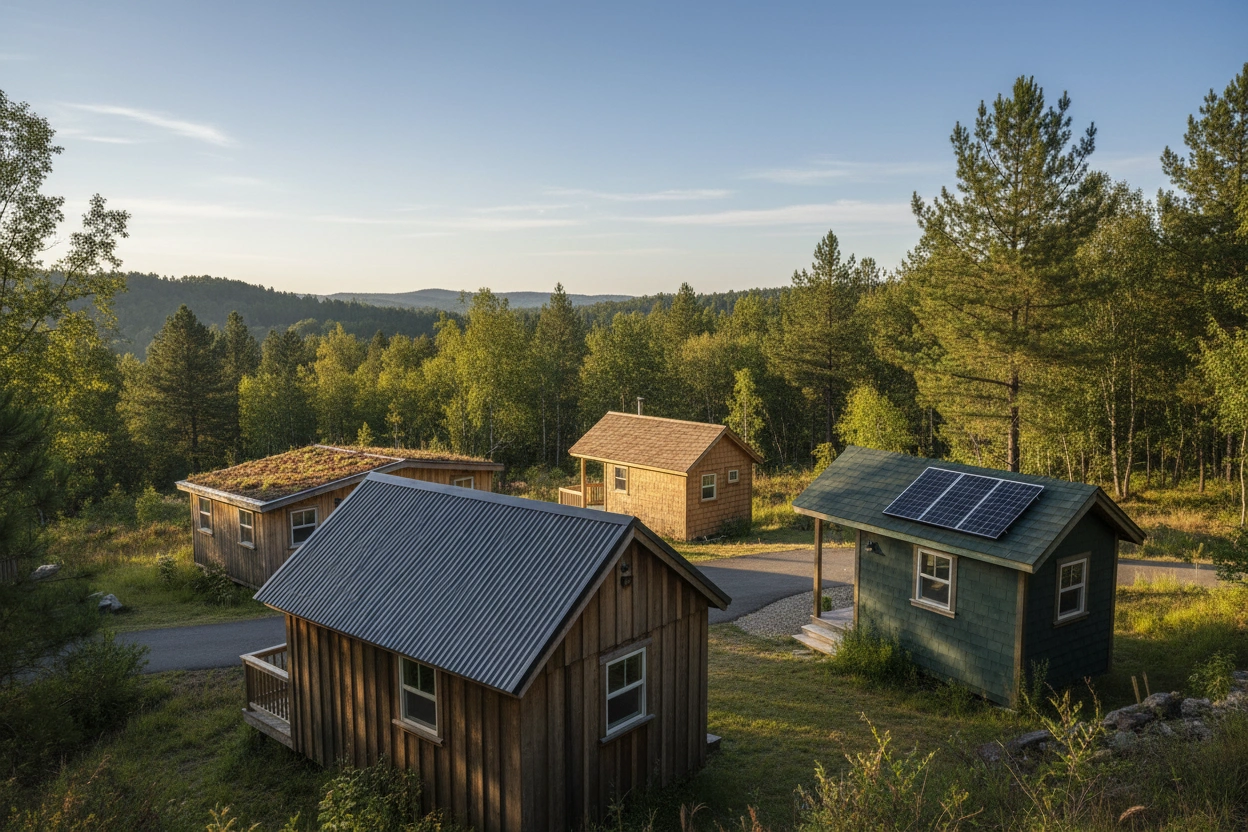
Choosing the right roofing type is crucial for the longevity and performance of your tiny house. Here are the five best options for tiny house roofing, along with their pros and cons.
1. Metal Roofing
Metal roofing is a popular choice for tiny houses due to its durability and lightweight nature. It can withstand harsh weather conditions, making it ideal for various climates.
Pros:
- Long lifespan (up to 50 years)
- Lightweight and easy to install
- Reflects heat, which can help with energy efficiency
- Available in various colors and styles
Cons:
- Higher upfront cost compared to some other materials
- Can be noisy during rain or hail
2. Asphalt Shingles
Asphalt shingles are one of the most common roofing materials used in residential construction, including tiny homes. They are affordable and relatively easy to install.
Pros:
- Cost-effective
- Wide variety of styles and colors
- Good insulation properties
Cons:
- Shorter lifespan (typically 15-30 years)
- Can be less durable in extreme weather conditions
3. Wood Shingles
Wood shingles offer a natural aesthetic that many homeowners find appealing. They can blend beautifully with the environment, enhancing the overall look of your tiny house.
Pros:
- Attractive and eco-friendly option
- Provides good insulation
- Can last up to 30 years with proper maintenance
Cons:
- Requires regular maintenance to prevent rot and insect damage
- Higher cost compared to asphalt shingles
4. Slate Roofing
Slate roofing is known for its elegance and durability. While it is on the pricier side, its longevity and low maintenance make it a worthwhile investment for some homeowners.
Pros:
- Extremely durable (can last over 100 years)
- Fire-resistant
- Unique and high-end appearance
Cons:
- Heavy, requiring additional structural support
- High installation cost
5. Rubber Roofing
Rubber roofing is an innovative material that is often used for flat or low-sloped roofs. It provides excellent waterproofing and is a sustainable option.
Pros:
- Lightweight and flexible
- Excellent waterproofing properties
- Eco-friendly and often made from recycled materials
Cons:
- Can be less aesthetically appealing
- May require professional installation for best results
Step-by-Step Guide to Installing Tiny House Roofing
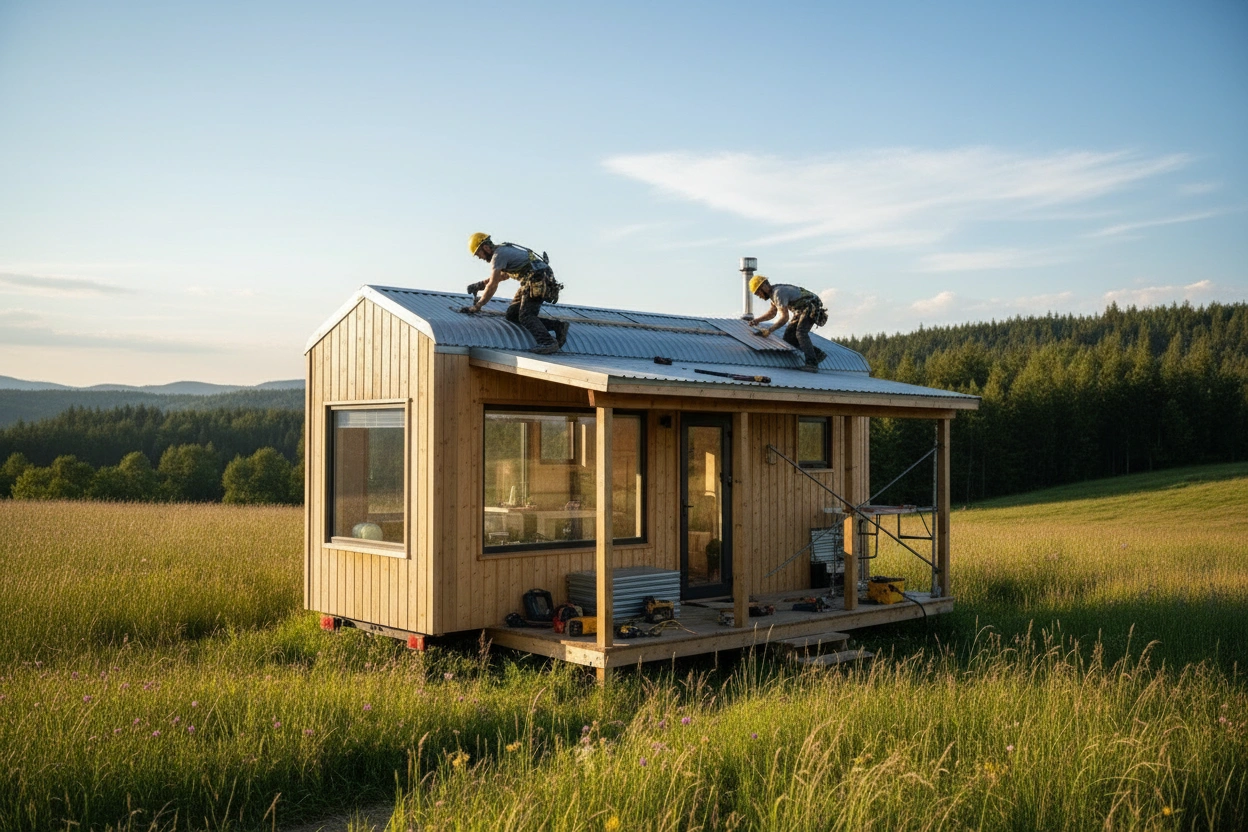
Once you have selected your roofing material, it's time to move on to the installation process. This section outlines the essential steps for installing tiny house roofing effectively.
Preparation and Planning
Before beginning the installation, thorough preparation is essential. This includes:
Gathering Tools and Materials:
- Roofing materials (chosen type)
- Hammer, nails, or screws
- Ladder
- Safety gear (gloves, goggles, etc.)
- Measuring tape and chalk line
Assessing the Roof Structure:
- Ensure the roof frame is sturdy and can support the chosen roofing material.
- Repair any damaged areas before proceeding.
Installation Process
Step 1: Measure and Cut
Begin by measuring the roof area accurately. This will help determine how much roofing material you will need. Use a chalk line to mark where the roofing will be installed.
Step 2: Install Underlayment
Lay down a waterproof underlayment to provide an extra layer of protection against moisture. This is particularly important for materials like asphalt shingles or wood shingles.
- Roll out the underlayment from the bottom of the roof to the top.
- Overlap each row to ensure complete coverage.
Step 3: Install the Roofing Material
Now it's time to install your chosen roofing material. The installation process will vary based on the material.
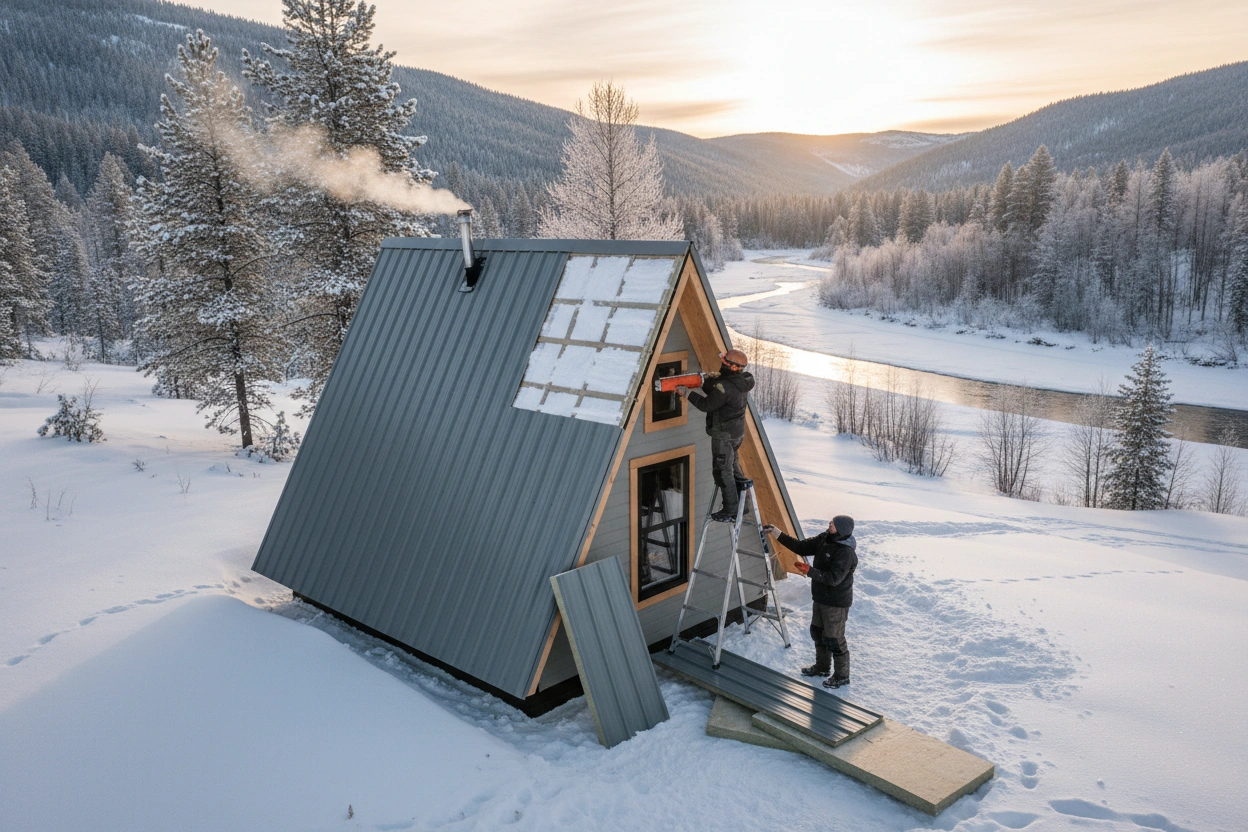
For Metal Roofing:
- Start from the bottom edge and work upwards.
- Fasten the panels securely, ensuring they overlap to prevent leaks.
For Asphalt Shingles:
- Begin at the eaves and work your way up.
- Nail each shingle into place, following the manufacturer's guidelines for overlap.
For Wood Shingles:
- Install from the bottom up, ensuring each shingle overlaps the one below it.
- Use stainless steel nails to prevent rust.
For Slate Roofing:
- Secure each slate tile with nails, ensuring proper alignment and overlap.
- Use a slate cutter for any necessary trimming.
For Rubber Roofing:
- Roll out the rubber membrane, ensuring it covers the entire roof.
- Seal the edges and seams with adhesive.
Step 4: Finishing Touches
After the roofing material is installed, it's time to add finishing touches to ensure everything is sealed and secure.
Install Flashing:
- Flashing is essential around chimneys, vents, and any roof penetrations to prevent leaks.
Inspect the Roof:
- Conduct a thorough inspection to ensure there are no gaps or exposed areas.
Clean Up:
- Remove any debris and tools from the roof to ensure a safe environment.
Common Mistakes to Avoid When Installing Tiny House Roofing
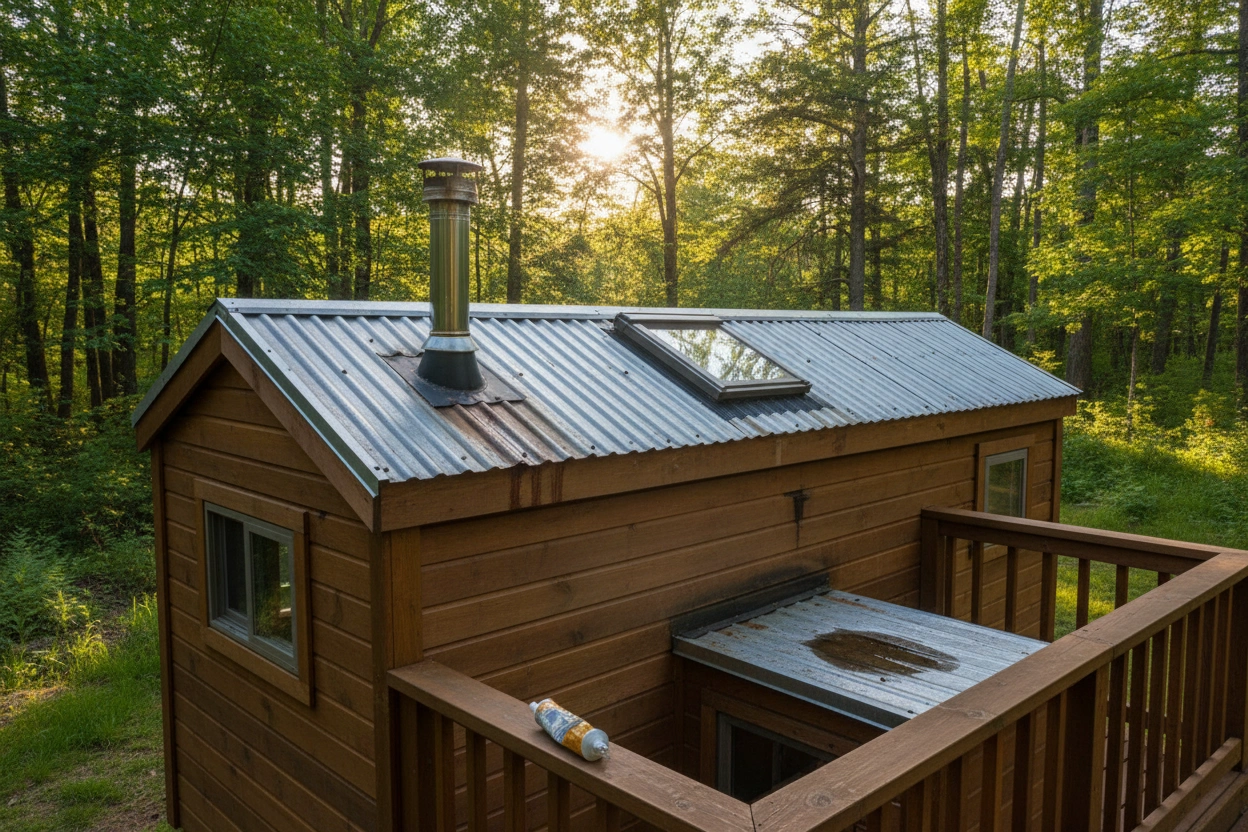
Even with a clear plan, mistakes can happen during the installation of tiny house roofing. Here are some common pitfalls to watch out for:
- Neglecting Local Building Codes: Always check local regulations to ensure compliance with roofing standards.
- Ignoring Weather Conditions: Schedule your installation for a dry day, as rain or snow can complicate the process.
- Overlooking Ventilation Needs: Proper ventilation is critical for preventing moisture buildup and ensuring the longevity of the roofing material.
- Failing to Use Proper Safety Equipment: Always wear safety gear, especially when working at heights.
Conclusion: A Solid Roof Over Your Tiny House
Installing tiny house roofing is an essential step in creating a safe and functional living space. By choosing the right materials and following the correct installation procedures, you can ensure that your tiny home is well-protected against the elements. Whether you opt for metal roofing, asphalt shingles, or any other material, understanding the intricacies of the installation process will help you achieve a successful outcome.
For those looking to deepen their understanding of tiny house living and construction, TinyHouse.com offers a wealth of resources and information. From detailed guides on building and buying tiny homes to tips on maximizing space and efficiency, there is something for everyone. If you have questions or need assistance, don’t hesitate to reach out. Visit TinyHouse.com today to explore all the resources available for your tiny house journey.


.svg)