Tiny Home Water Damage Repair in Philadelphia: What to Do First


Water damage in a tiny home can escalate quickly, especially in a city like Philadelphia where seasonal storms, ageing infrastructure, and freezing winters all increase the risk. Because tiny homes have limited space, even a small amount of water can spread fast and affect walls, flooring, and essential systems. From leaking pipes to storm-related flooding, water intrusion can cause serious damage if it’s not handled correctly from the start.
In this guide, we’ll walk through the first steps to take after water damage, explain when professional support becomes necessary, and share practical strategies to protect your tiny home and avoid costly repairs down the line. Acting early isn’t just about fixing what’s visible, it’s about protecting the long-term safety, structure, and livability of your home.
Step One: Make the Home Safe
Before addressing visible damage, safety comes first. If water has entered living areas, it’s essential to shut off the electricity to avoid potential hazards. Wet electrical components can pose serious risks, including electric shock and fire hazards, and in a compact space, exposure is harder to avoid than in larger homes.
If the source of the water is known and safe to access, stopping it immediately can limit further damage. This may involve shutting off the main water supply or isolating a specific line. When the source isn’t clear, it’s best to avoid disturbing wet areas until a proper assessment is done. Moving water-damaged materials without knowing the source can sometimes spread moisture further into the structure.
Step Two: Identify the Source of the Water
Water damage repairs should always start with understanding where the water came from. Common causes in Philadelphia include stormwater intrusion, frozen or burst pipes, roof leaks, and plumbing failures. Each source presents different risks and requires different repair approaches.
Identifying whether the issue is clean water, grey water, or contaminated water helps determine the right next steps. Clean water may come from supply lines, while grey or contaminated water may come from drainage systems or flooding. Each type carries different health risks, especially in a tiny home where air circulation is limited and contaminants can spread quickly.

Step Three: Remove Standing Water and Moisture
Once the area is safe, removing any standing water is critical. In tiny homes, moisture can soak into materials quickly, including subfloors, insulation, cabinetry, and wall panels. Even after visible water is removed, hidden moisture can remain trapped behind walls or under flooring.
This is where professional support such as We Know Mold & Water Restoration becomes important, as specialised equipment is often needed to properly dry compact spaces and prevent mold growth. Industrial dehumidifiers, air movers, and moisture detection tools help ensure water is fully removed, not just from surfaces, but from hidden structural areas as well.
Step Four: Dry and Ventilate the Space Thoroughly
Drying a tiny home takes more than opening windows. Proper ventilation, dehumidification, and air movement are essential to ensure moisture is fully removed. Without thorough drying, mold can begin to develop within days, especially in hidden areas like wall cavities, subfloors, and insulation layers.
Consistent airflow and controlled humidity protect structural materials and maintain indoor air quality during the recovery process. This step is critical because incomplete drying is one of the most common causes of long-term water damage problems and mold recurrence.
Step Five: Assess Damage and Plan Repairs
After drying is complete, the next step is assessing what needs repair or replacement. Flooring, cabinetry, insulation, and wall panels may need attention, depending on how far the water spreads. In some cases, materials may look intact on the surface but be compromised underneath.
In tiny homes, repairs often need to be strategic to preserve space and structural integrity. Addressing damage properly the first time helps prevent recurring issues and unexpected costs later on. Long-term durability should always take priority over quick cosmetic fixes.
Common Areas Where Water Damage Starts in Tiny Homes
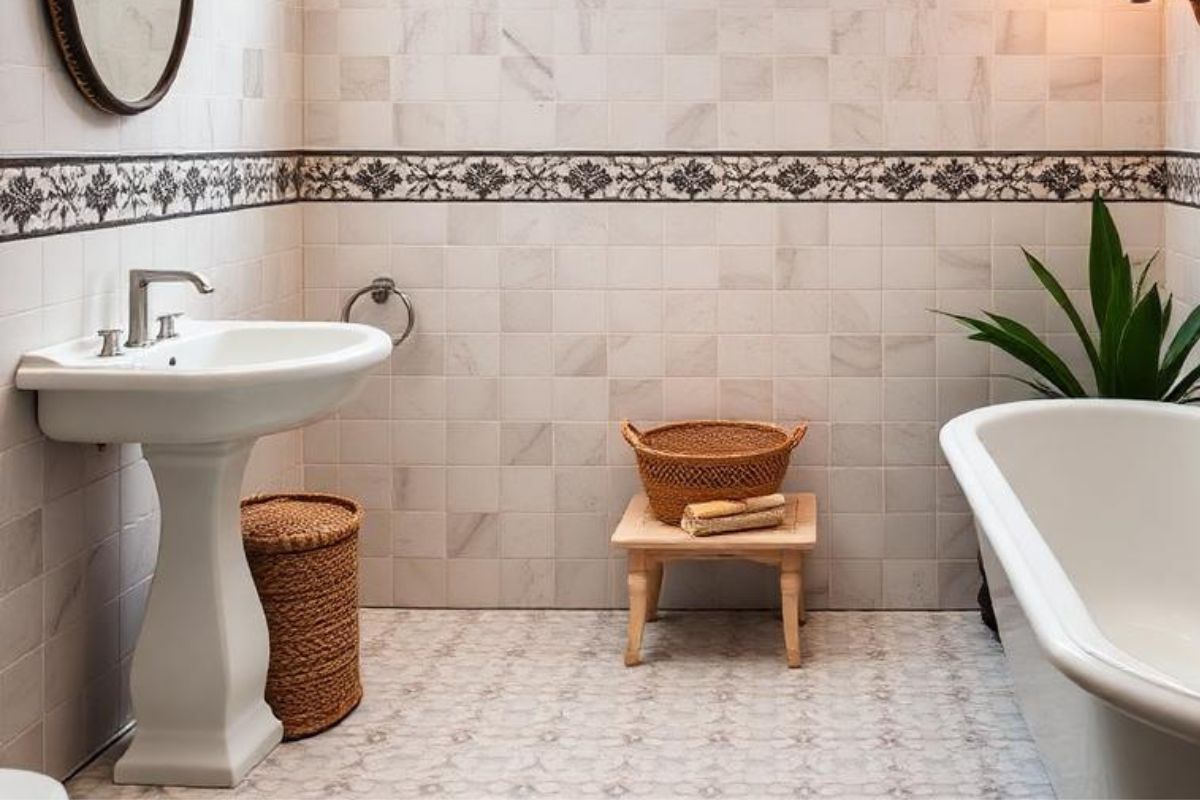
Bathrooms and Compact Plumbing Runs
Tiny home bathrooms pack plumbing into very small areas, making leaks harder to spot. Slow drips behind walls or beneath flooring can cause damage long before visible signs appear, especially when ventilation is limited. Moisture in these areas often leads to mold growth if not detected early.
Roof Joints and Window Seals
Roof edges, skylights, and window frames are frequent entry points for water. In older builds or homes exposed to harsh weather, sealant failure is often the first sign of a developing problem. Small gaps can allow water intrusion that slowly saturates insulation and framing.
Subfloors and Insulation
Because tiny homes sit closer to the ground, water can affect subfloors and insulation more easily. Moisture trapped in these areas can weaken structural components and lead to mold growth if not addressed quickly. This type of damage is often hidden and only discovered once odors or structural issues appear.
How Philadelphia’s Climate Affects Tiny Home Water Damage
Philadelphia experiences heavy rainfall, freezing winters, and humid summers, all of which increase the risk of water damage in small living spaces. Freeze-thaw cycles can cause pipes to crack, while sudden downpours can overwhelm drainage systems. Summer humidity can also lead to condensation buildup inside compact interiors.
For tiny homes, these conditions mean moisture problems can develop quickly and spread faster than expected. Seasonal weather shifts place constant stress on plumbing systems, seals, and structural materials, making regular inspections and preventive maintenance especially important.
Why Acting Fast Matters in a Small Living Space
In a tiny home, water doesn’t have far to travel. What starts as a small leak can affect multiple systems in a short time, including electrical, insulation, and structural elements. Moisture spreads through compact spaces rapidly, making early action critical.
Acting quickly reduces repair costs and limits the extent of damage, especially when moisture is removed before it spreads into hidden spaces. Delayed response increases the risk of mold growth, air quality issues, and long-term structural deterioration.
Building Long-Term Protection After Repairs
Once repairs are complete, prevention becomes the priority. Regular inspections, moisture monitoring, proper ventilation, and plumbing maintenance all help reduce future risks. Installing moisture sensors, maintaining drainage, and managing indoor humidity levels can significantly lower the chances of repeat damage.
In a city like Philadelphia, where seasonal changes are unpredictable, proactive protection is one of the most effective ways to safeguard a tiny home long-term.
Final Thoughts
Tiny home water damage repair in Philadelphia requires quick action, careful assessment, and a clear recovery plan. Acting early, prioritising safety, and ensuring moisture is fully removed can significantly reduce long-term damage and health risks. With the right steps and professional support when needed, tiny homeowners can restore their space and protect it against future water-related issues. Water damage doesn’t have to define the future of your tiny home, but how you respond to it does.