How to Install Tiny House Roofing: A Step-by-Step Guide

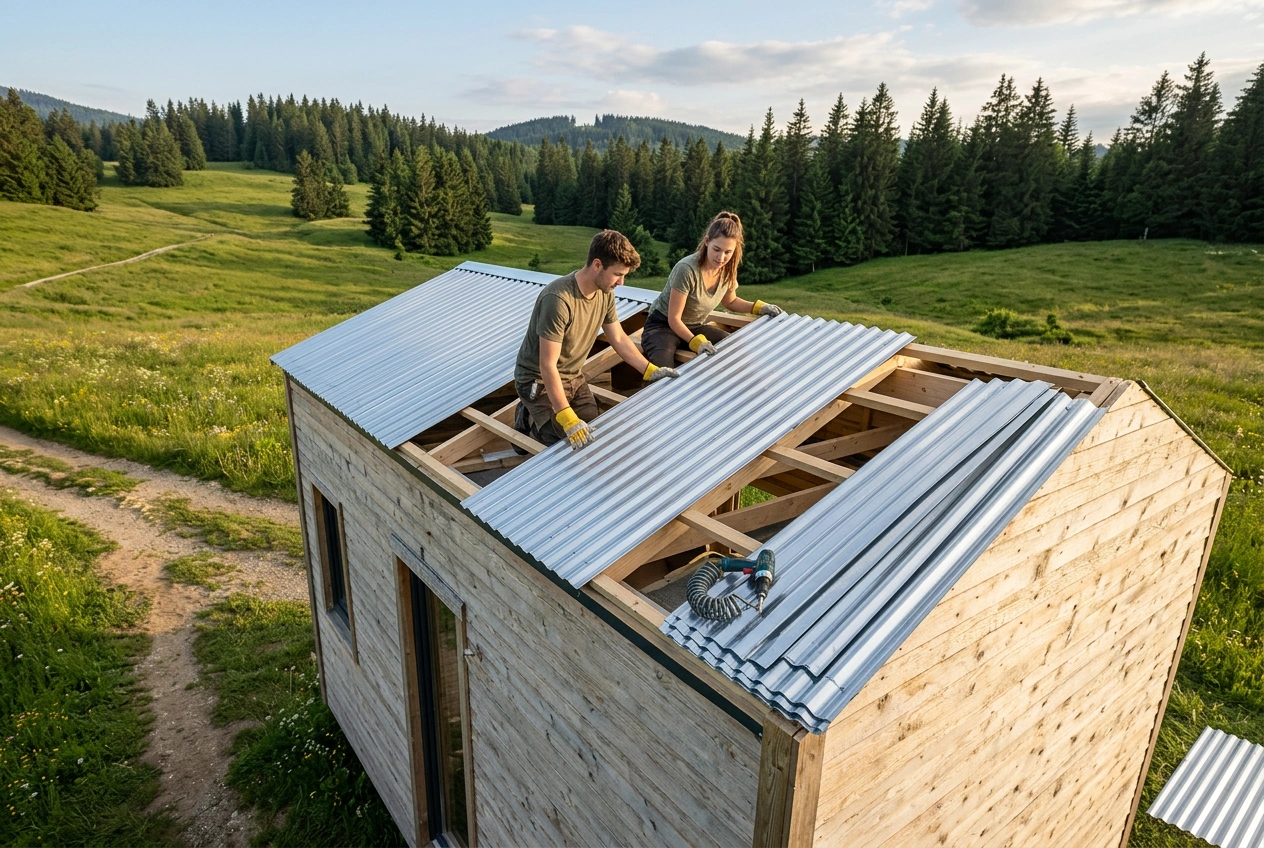
Building a tiny house offers a unique blend of creativity and practicality, especially when it comes to roofing. Tiny house roofing is not just about aesthetics; it plays a crucial role in protecting your home from the elements. Whether you're considering a DIY approach or hiring professionals, understanding the nuances of roofing for tiny homes is essential. This guide will walk you through the installation process and the best roofing materials for tiny houses, ensuring that your roof is both functional and stylish.
Understanding Tiny House Roofing
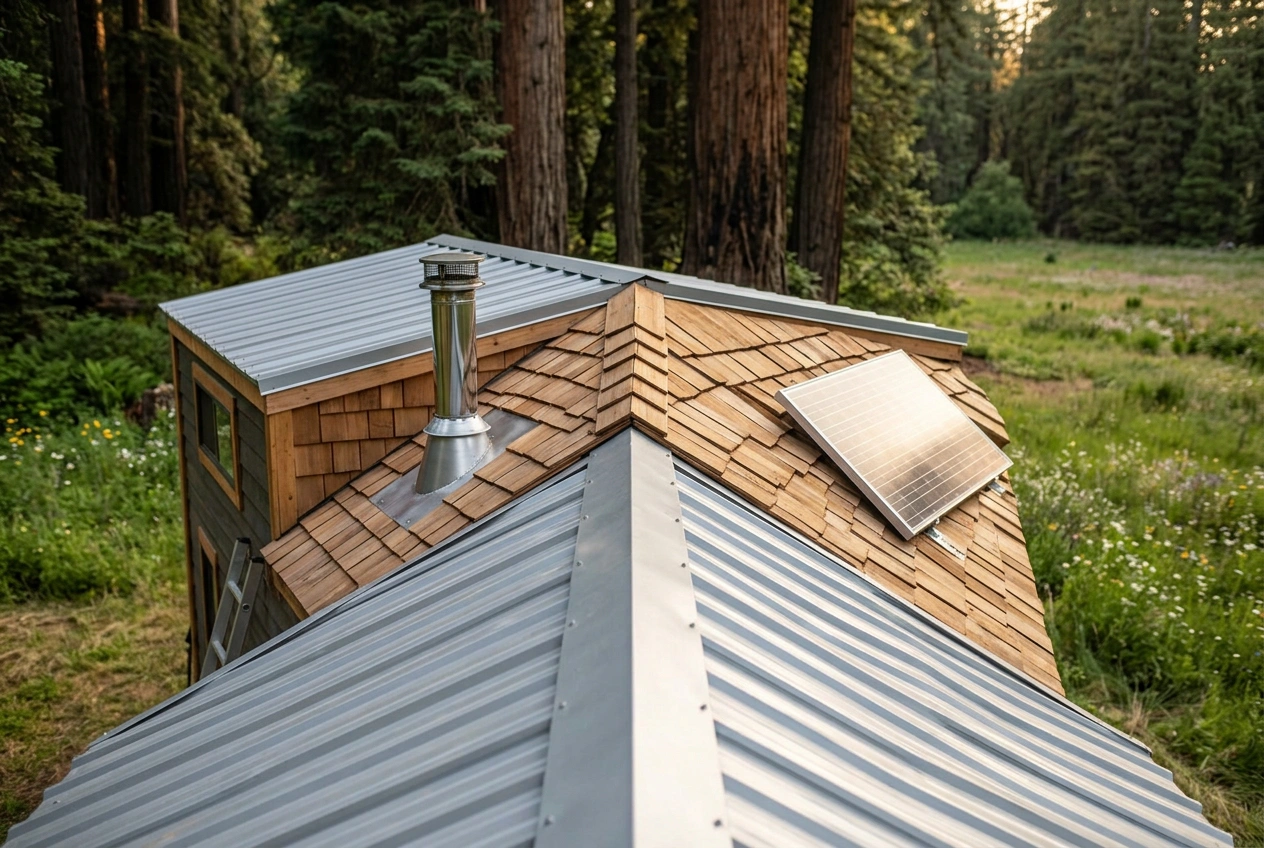
Tiny house roofing encompasses various styles and materials tailored to the specific needs of smaller structures. Given the limited space and potential for unique designs, selecting the right roofing type is paramount. The roof not only protects against weather but also contributes to the overall energy efficiency of your tiny home.
When considering tiny house roofing, it's crucial to assess factors such as weight, durability, insulation, and local climate conditions. Each roofing type has its advantages and disadvantages, which can significantly influence the performance and longevity of your tiny house.
Factors to Consider
- Weight: Lighter materials are generally better for tiny homes, as they reduce the load on the structure.
- Durability: The roofing material should withstand local weather conditions, including wind, rain, and snow.
- Insulation: Proper insulation helps maintain a comfortable indoor temperature, reducing energy costs.
- Cost: Budget constraints often guide the choice of roofing materials, so it's essential to find a balance between quality and affordability.
Top 5 Roofing Types for Tiny Homes
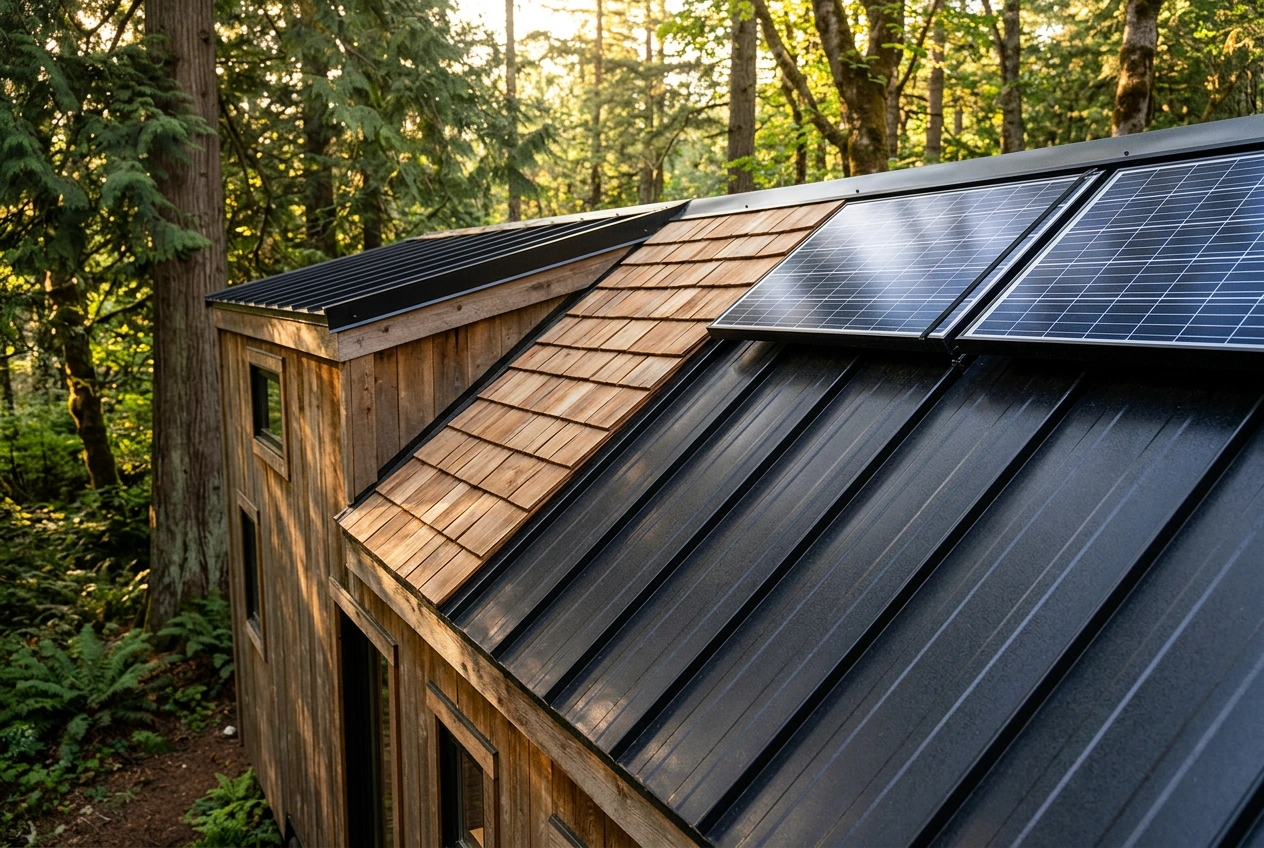
Choosing the right roofing type for your tiny house can significantly affect both the functionality and aesthetic appeal. Here are the top five roofing types that are well-suited for tiny homes:
Metal Roofing
- Metal roofing is lightweight, durable, and easy to install, making it a popular choice for tiny houses. It offers excellent resistance to harsh weather conditions and can last for decades with minimal maintenance. The reflective surface also helps with energy efficiency, keeping your home cooler in the summer.
Asphalt Shingles
- Asphalt shingles are one of the most common roofing materials due to their affordability and ease of installation. They come in various colors and styles, allowing for customization. However, they may not be as durable as metal options and typically have a shorter lifespan.
Wood Shingles or Shakes
- Wood roofing provides a rustic aesthetic that many tiny home builders prefer. While wood shingles or shakes can be more expensive and require regular maintenance to prevent rot and insect damage, they offer a unique charm and can blend seamlessly into natural surroundings.
Rubber Roofing
- Rubber roofing is an eco-friendly option made from recycled materials. It is lightweight, waterproof, and can withstand extreme temperatures. This type of roofing is ideal for flat or low-slope roofs commonly found in tiny homes.
Tile Roofing
- Although heavier than other materials, tile roofing is incredibly durable and offers a distinctive look. Clay or concrete tiles can withstand extreme weather and are energy-efficient. However, due to their weight, proper structural support is necessary.
Preparing for Installation
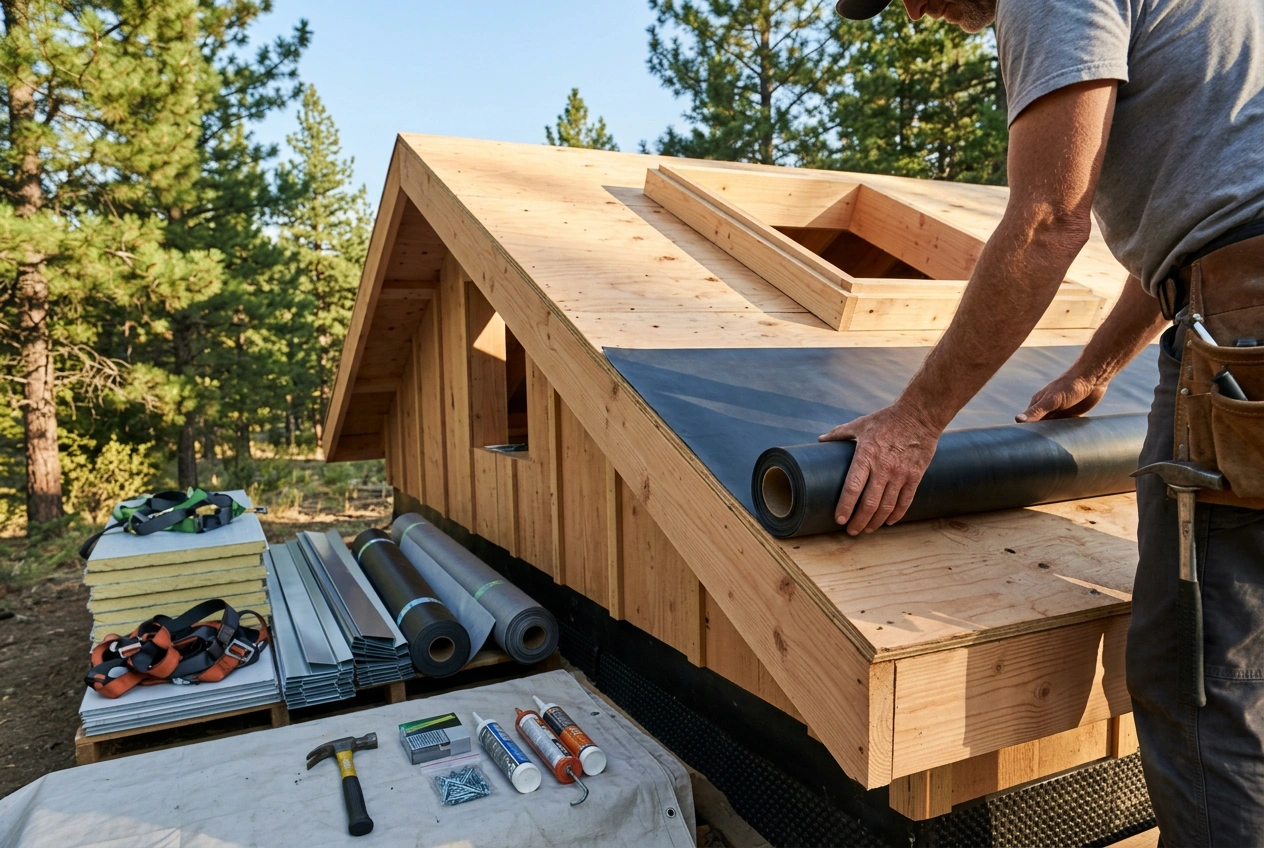
Before you begin the installation of your tiny house roofing, adequate preparation is essential. This ensures a smoother process and minimizes potential issues during construction. Here’s how to prepare effectively:
Gather Necessary Tools and Materials
Tools Required:
- Hammer
- Nail gun
- Measuring tape
- Level
- Safety goggles
- Ladder
- Utility knife
- Roofing square
Materials Needed:
- Chosen roofing material (metal, shingles, etc.)
- Underlayment (for added protection)
- Flashing (to prevent leaks)
- Nails or screws appropriate for the roofing type
- Sealant
Assess Structural Integrity
Before installation, it is vital to assess the structural integrity of your tiny house. Ensure that the framing is strong enough to support the weight of the roofing material you have selected. If necessary, reinforce the structure to accommodate heavier materials like tile roofing.
Step-by-Step Installation Process
Now that you have prepared adequately, follow these steps to install your tiny house roofing:
Step 1: Prepare the Roof Deck
Begin by cleaning the roof deck to remove any debris or old roofing material. Ensure that the surface is smooth and dry. If there are any damaged areas, repair them before proceeding.
Step 2: Install Underlayment
Lay down a waterproof underlayment across the entire roof deck. This will serve as a secondary barrier against moisture. Overlap the edges of the underlayment, following the manufacturer's recommendations for installation.
Step 3: Install Flashing
Apply flashing around roof penetrations, such as vents and chimneys, to prevent leaks. Flashing should be secured tightly to the roof surface and should extend up the sides of any protrusions.
Step 4: Install the Chosen Roofing Material
For Metal Roofing:
- Start at the bottom edge and work your way up. Fasten the panels with screws, ensuring that each panel overlaps the previous one to prevent water intrusion.
For Asphalt Shingles:
- Begin with the first row, ensuring that the shingles are aligned properly. Use nails to secure each shingle, following the manufacturer's guidelines for spacing and overlap.
For Wood Shingles:
- Install from the bottom up, overlapping each row. Use stainless steel nails to avoid corrosion.
For Rubber Roofing:
- Roll out the rubber membrane and trim it to fit. Use adhesive to secure it to the roof deck, ensuring there are no bubbles or wrinkles.
For Tile Roofing:
- Lay the tiles starting from the bottom. Each tile should interlock with the next, and secure them with the recommended fasteners.
Step 5: Finish with Ridge Cap
Once the main roofing material is installed, add a ridge cap at the peak of the roof. This will provide additional protection against leaks and give your tiny house a finished look.
Common Mistakes to Avoid
Installing tiny house roofing can be straightforward, but several common mistakes can lead to issues down the line. Here are some pitfalls to avoid:
- Neglecting Proper Ventilation: Insufficient ventilation can lead to moisture buildup, causing mold and structural damage.
- Overlapping Incorrectly: Ensure that materials are overlapped correctly to prevent water from seeping underneath.
- Ignoring Local Building Codes: Always check local building codes to ensure compliance with regulations regarding roofing materials and installation methods.
- Skipping the Underlayment: Failing to install an underlayment can lead to leaks and water damage, negating the benefits of your roofing material.
Conclusion: Mastering Tiny House Roofing with TinyHouse.com
Successfully installing tiny house roofing requires careful planning, the right materials, and adherence to best practices. By understanding the various roofing types and their unique benefits, you can make informed decisions that enhance the durability and aesthetic of your tiny home. Whether you choose metal, asphalt, wood, rubber, or tile, ensuring proper installation will protect your investment for years to come.
For those looking to deepen their knowledge or find resources related to tiny house construction and maintenance, TinyHouse.com is an invaluable platform. With a wealth of information and support, you can confidently navigate the intricacies of tiny house living and construction. roofing maintenance tips tailored to your needs.
If you're ready to take the next step in your tiny house journey, visit TinyHouse.com for expert advice and resources tailored to your needs.