
How to Install Tiny House Roofing: Step-by-Step DIY Guide

Constructing a tiny house is an exciting venture that allows for personalization and creativity in design. One of the most critical elements to consider during this process is the roofing. Tiny house roofing not only protects the home from the elements but also plays a significant role in energy efficiency and aesthetic appeal. This guide will provide a comprehensive overview of how to install roofing on a tiny house, alongside insights into the best roofing materials for tiny houses.
Understanding Tiny House Roofing
Choosing the right roofing material is essential for any tiny house. The roof must withstand various weather conditions while also being lightweight and easy to install. Many tiny house builders opt for materials that are durable, affordable, and complement the overall design of their homes. This section will explore the various roofing types available, their benefits, and the installation process.
Benefits of Quality Roofing for Tiny Houses
- Weather Resistance: Quality roofing materials protect against rain, snow, and UV rays, ensuring the longevity of the structure.
- Energy Efficiency: Well-insulated roofs contribute to lower heating and cooling costs, making tiny living more sustainable.
- Aesthetic Appeal: The right roofing can enhance the visual appeal of a tiny home, adding to its charm and individuality.
Top 5 Roofing Types for Tiny Homes
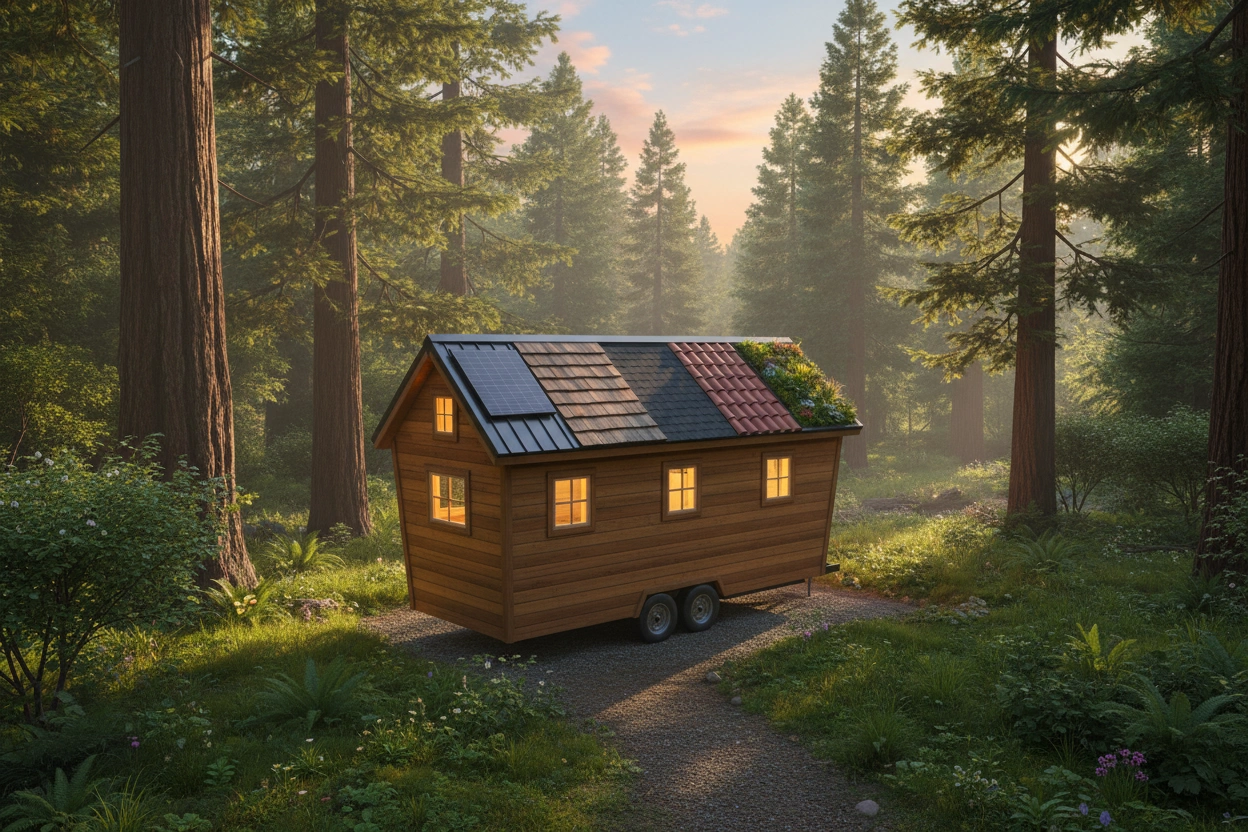
When it comes to tiny house roofing, several options stand out for their practicality and aesthetic qualities. Here are the top five roofing types to consider:
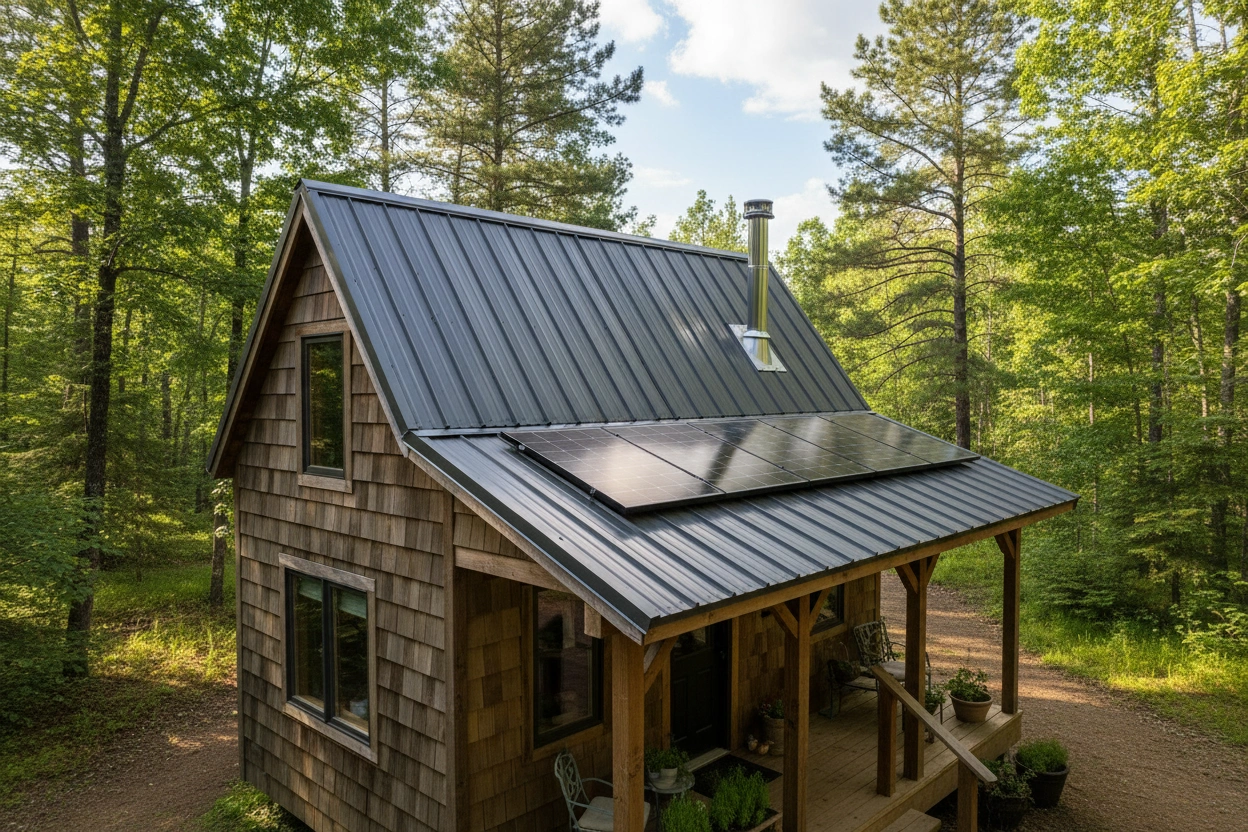
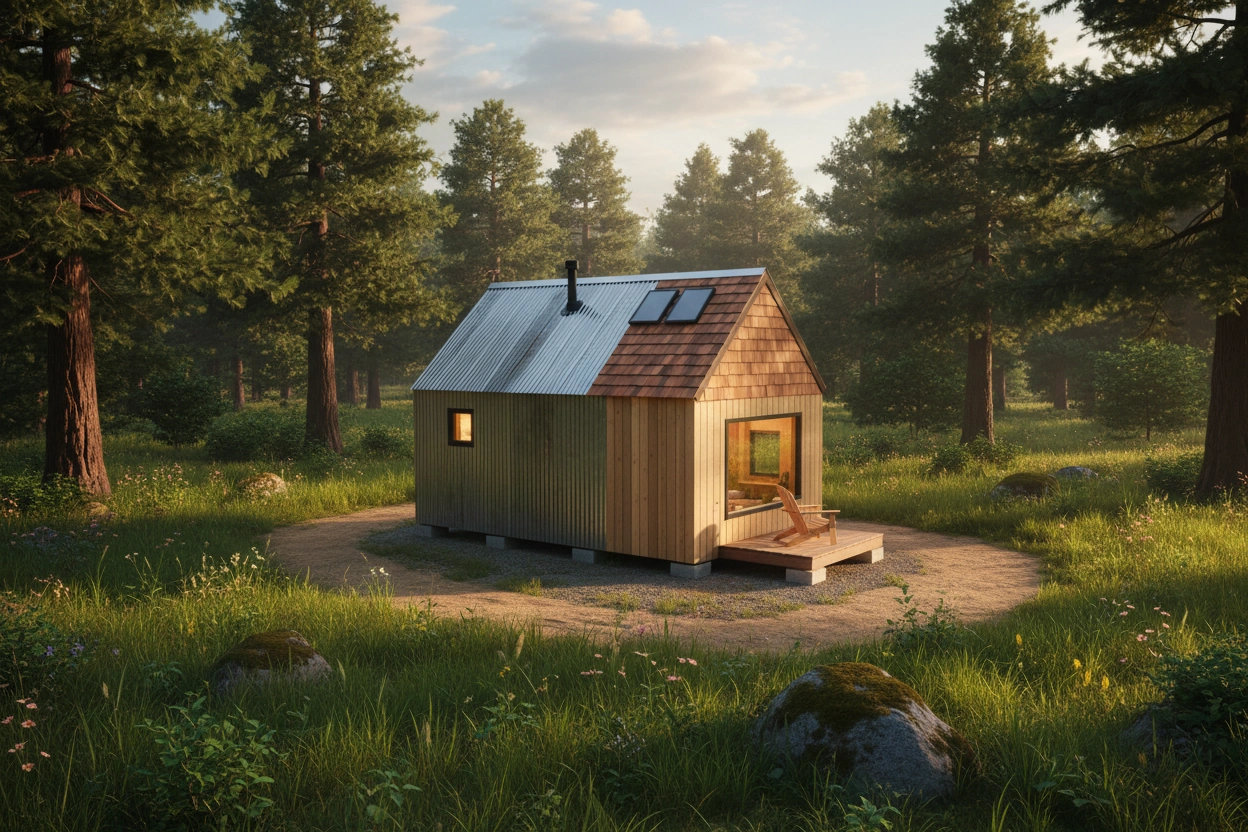
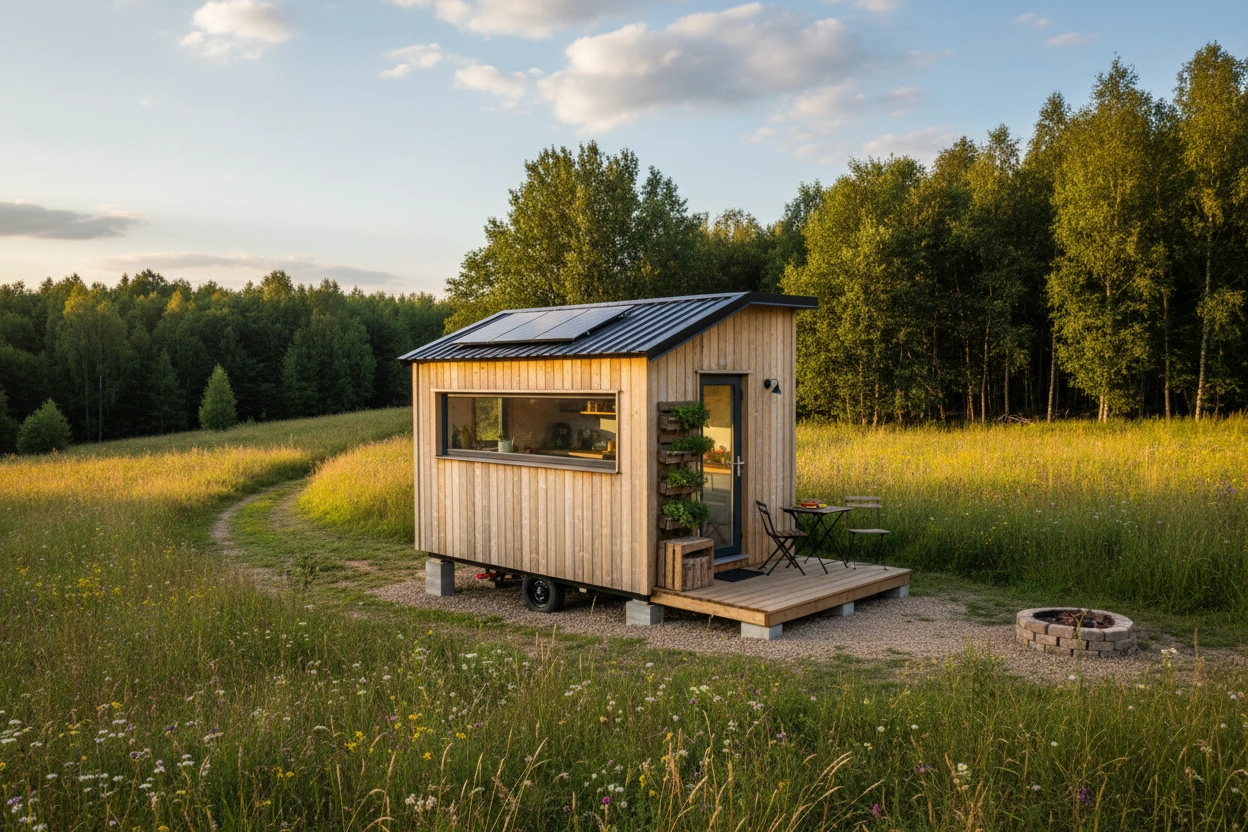
Metal Roofing
- Durability: Metal roofs can last 40 to 70 years and are resistant to extreme weather conditions.
- Energy Efficiency: Reflective surfaces can help reduce cooling costs during hot months.
- Installation: Lightweight and easy to install, metal roofing can be placed over existing structures.
Asphalt Shingles
- Affordability: One of the most cost-effective roofing materials, asphalt shingles are widely available.
- Variety: Available in numerous colors and styles, they can suit various design preferences.
- Installation: Relatively easy to install, making it a popular choice for DIY builders.
Clay or Concrete Tiles
- Longevity: These tiles can last over 100 years and offer excellent fire resistance.
- Aesthetic Appeal: They provide a unique look that can enhance the character of a tiny home.
- Weight Consideration: Requires a sturdy frame due to their heaviness.
EPDM Rubber Roofing
- Waterproofing: EPDM is known for its excellent waterproofing capabilities, making it ideal for flat roofs.
- Cost-Effective: Generally less expensive than other materials, it offers great value for tiny house builders.
- Installation: Can be installed in a single piece, reducing seams and potential leaks.
Green Roofs
- Eco-Friendly: Incorporating vegetation on the roof can improve insulation and air quality.
- Aesthetic Value: Provides a unique, natural look that integrates the home with its surroundings.
- Maintenance: Requires regular upkeep to ensure plant health and proper drainage.
Preparing for Installation
Before beginning the installation of your tiny house roofing, proper preparation is key. This involves gathering materials, tools, and understanding the installation process.
Necessary Tools and Materials
Tools:
- Hammer or nail gun
- Utility knife
- Measuring tape
- Level
- Safety gear (gloves, goggles)
Materials:
- Chosen roofing material (metal sheets, shingles, tiles, etc.)
- Underlayment (for added protection)
- Flashing (to prevent leaks at joints)
Essential Steps for Preparation
- Measure the Roof Area: Accurate measurements ensure you purchase the correct amount of materials.
- Check Local Building Codes: Ensure compliance with any local regulations regarding roofing materials and installation practices.
- Choose the Right Time: Pick a dry, calm day for installation to minimize complications.
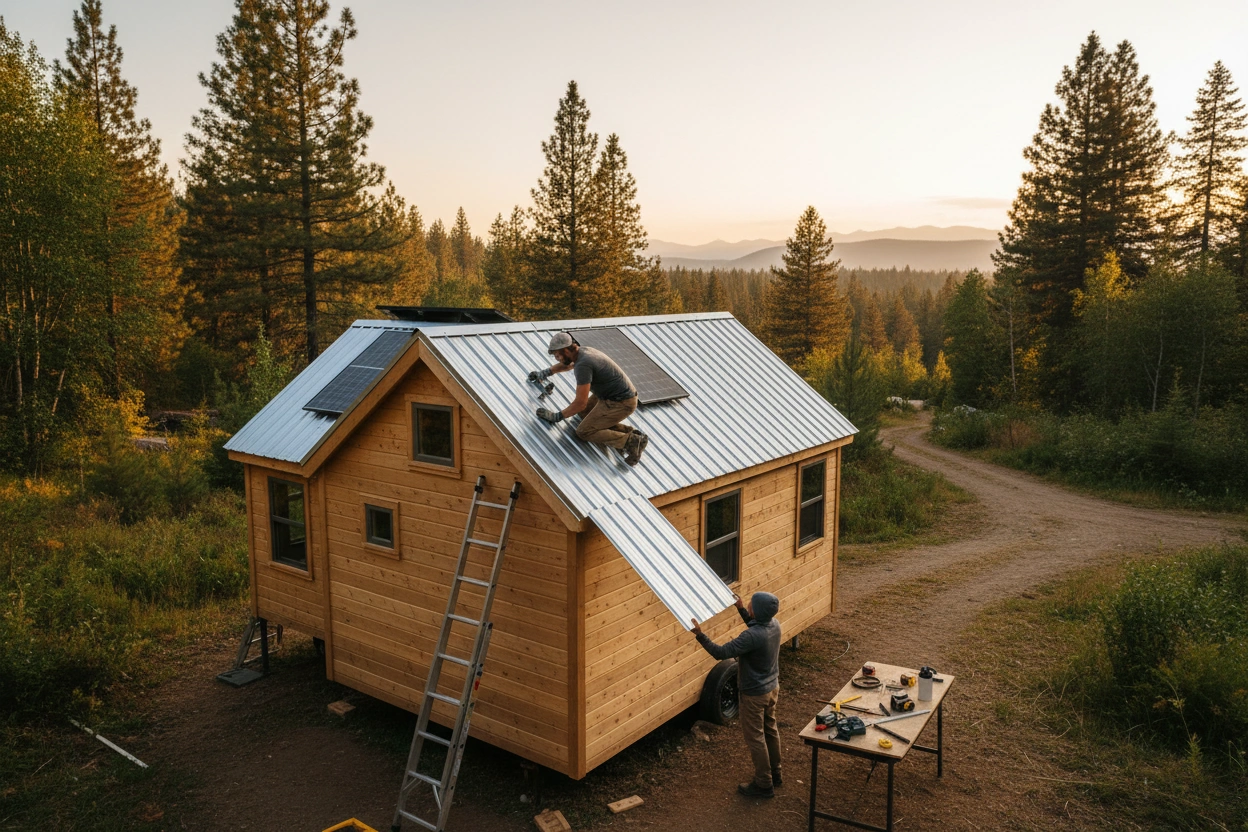
Step-by-Step Installation Process
Installing roofing on a tiny house can be broken down into systematic steps. Follow these essential steps to ensure a successful installation.
Step 1: Prepare the Roof Structure
Start by inspecting the roof framing to ensure it is sturdy and secure. Any weak spots should be reinforced before proceeding.
Step 2: Install Underlayment
Lay down a waterproof underlayment over the roof deck. This acts as an additional barrier against moisture. Overlap the edges to ensure complete coverage and secure it with staples or roofing nails.
Step 3: Install the Chosen Roofing Material
Follow the specific instructions for your roofing material. Here are general guidelines for each type:
For Metal Roofing:
- Start at the eaves and work your way up.
- Secure each panel with screws, ensuring they overlap adequately.
For Asphalt Shingles:
- Begin at the bottom edge and work upward.
- Use roofing nails to secure each shingle, following the manufacturer's recommended spacing.
For Tile Roofing:
- Ensure the first row is straight and level.
- Secure each tile with the appropriate fasteners, making sure they interlock properly.
Step 4: Install Flashing
Flashing should be installed around chimneys, vents, and other roof protrusions to prevent water intrusion. This is a critical step that requires attention to detail.
Step 5: Final Inspection
Once the roofing is installed, conduct a thorough inspection to ensure everything is secure and properly sealed. Look for any gaps or potential weak points that may lead to leaks.
Common Mistakes to Avoid
When installing tiny house roofing, several common mistakes can lead to issues down the line. Being aware of these can save time and money.
- Neglecting Local Codes: Always check local building codes to avoid fines or required modifications later.
- Ignoring Ventilation: Proper ventilation is essential to prevent moisture buildup and prolong the life of the roof.
- Rushing the Process: Take your time to ensure each step is completed correctly. Rushing can lead to mistakes that are costly to fix.
Maintaining Your Tiny House Roof
After installation, maintaining your tiny house roof is essential for its longevity. Regular inspections and maintenance can prevent major issues in the future.
Maintenance Tips
- Regular Inspections: Check for signs of damage or wear at least twice a year, particularly after severe weather.
- Clean Gutters and Drains: Keep gutters free of debris to ensure proper drainage.
- Address Issues Promptly: If any damage is detected, address it immediately to prevent further problems.
The Importance of Choosing the Right Roofing Material
Selecting the best roofing materials for tiny houses is not just about aesthetics; it also impacts functionality, durability, and overall living experience. Consider factors such as climate, budget, and personal preference when making your choice. affordable tiny house roofing solutions.
Factors to Consider
- Climate: Choose materials that can withstand the weather conditions typical for your area.
- Budget: Assess your budget and opt for materials that offer the best value for your investment.
- Design Compatibility: Ensure the roofing complements the overall design of your tiny house.
The Intersection of Tiny House Roofing and Sustainable Living
Tiny house roofing is more than just a protective covering; it embodies the principles of sustainable living. By selecting materials that are energy-efficient and environmentally friendly, tiny house owners can minimize their ecological footprint. choose the right roofing material.
Sustainable Roofing Options
- Recycled Materials: Consider roofing made from recycled products, which can reduce waste and environmental impact.
- Solar Panels: Integrating solar panels into your roofing design can provide renewable energy and lower utility costs.
By understanding the various roofing options and installation processes, aspiring tiny house builders can create a safe and efficient living space. The right roof not only protects the home but also enhances its aesthetic appeal and functionality.
For those looking to learn more about tiny house roofing or seeking guidance on their tiny house journey, TinyHouse.com offers resources and support to help you make informed decisions.
Call to Action
Ready to start your tiny house project? Visit TinyHouse.com for expert advice, resources, and community support as you embark on your tiny house journey. Whether you need tips on roofing or guidance on building, TinyHouse.com is here to help you every step of the way.


.jpg)