How to Install Tiny House Roofing: Step-by-Step DIY Guide

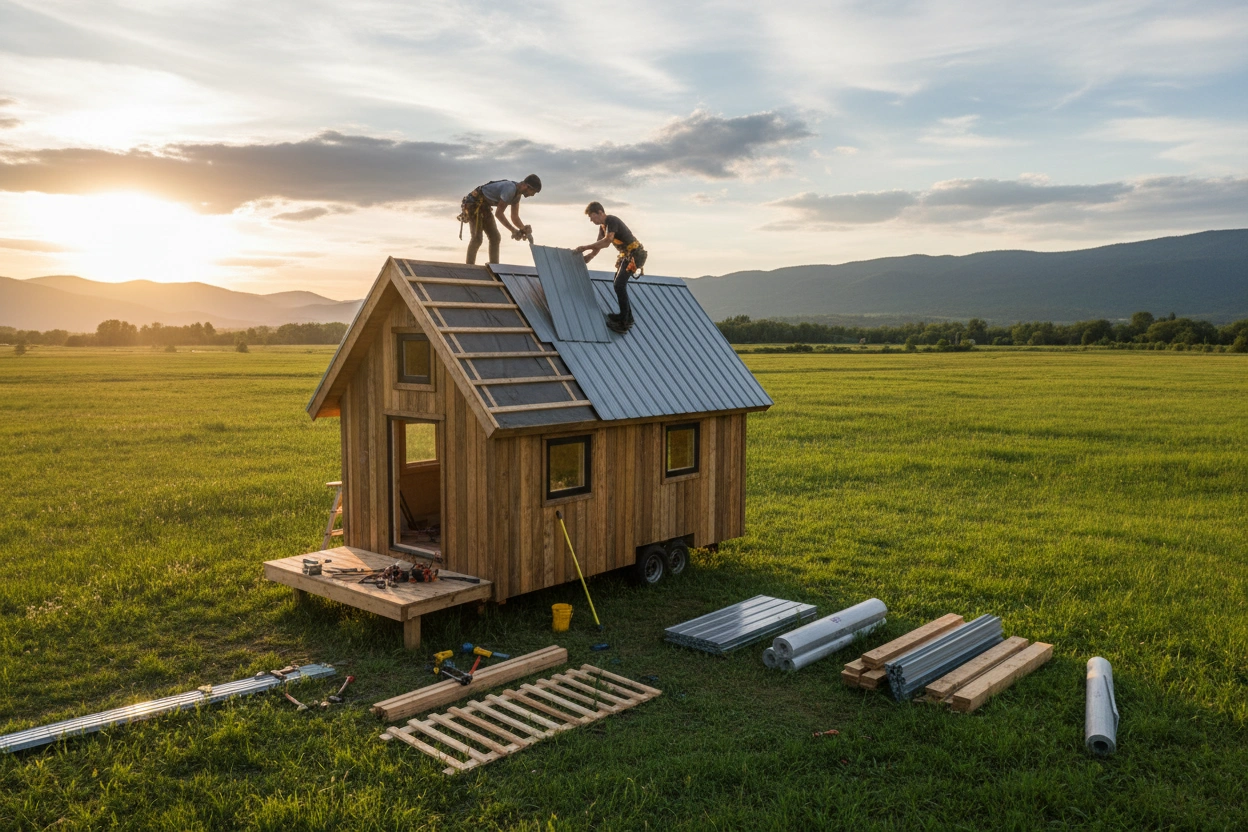
Building a tiny house is an exciting venture that allows for creativity and a minimalist lifestyle. One of the most critical components of this process is selecting and installing the right roofing. Tiny house roofing not only protects your home but also contributes to its aesthetic appeal and energy efficiency. This guide will provide you with detailed, actionable steps on how to install roofing on your tiny house, along with insights into the best roofing materials available.
Understanding Tiny House Roofing
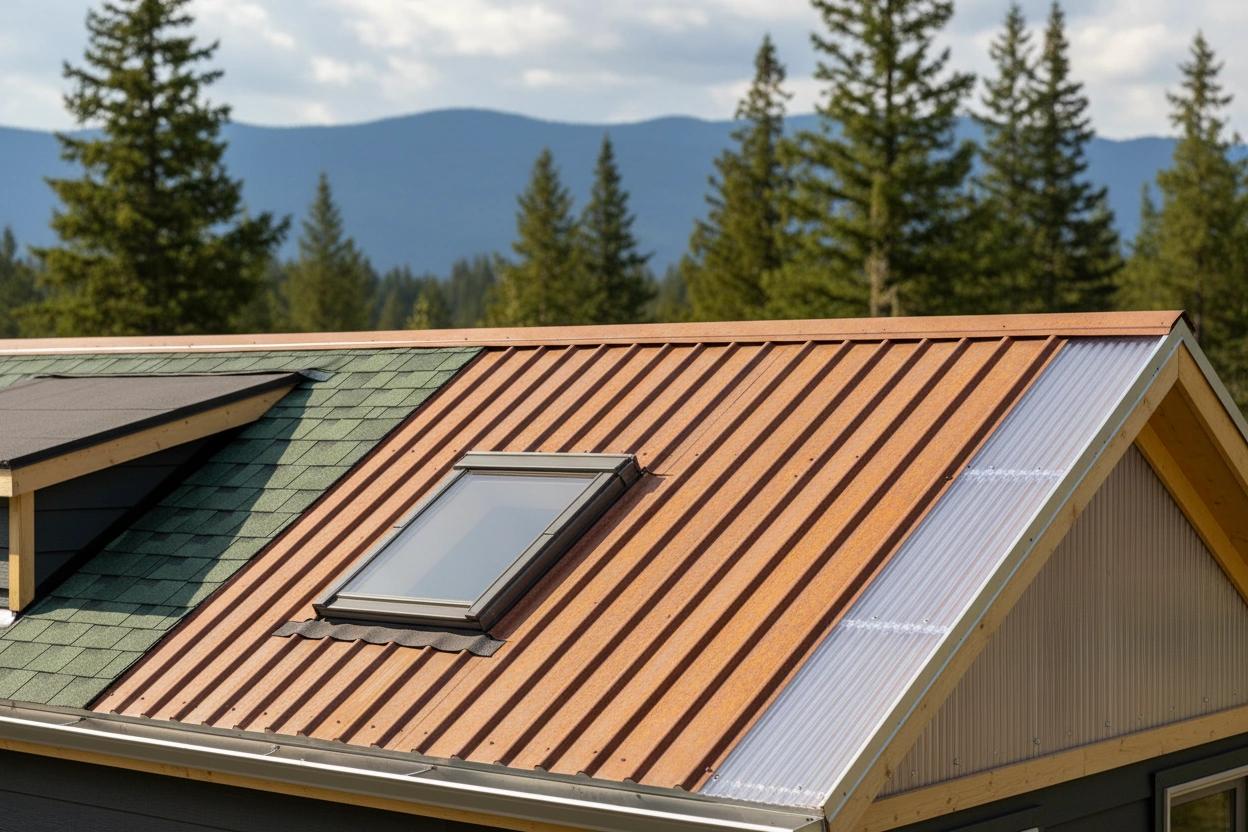
Tiny house roofing involves more than just picking a material; it requires understanding the unique challenges and considerations that come with a smaller structure. The roof must be lightweight yet durable, energy-efficient, and capable of withstanding various weather conditions. Additionally, proper installation is essential to prevent leaks and ensure longevity.
The choice of roofing material can significantly impact the overall performance and appearance of your tiny house. Factors such as climate, budget, and desired aesthetics all play a role in determining the best roofing option. Below, we will explore the top roofing materials for tiny houses, along with their pros and cons, to help you make an informed decision.
Top Roofing Materials for Tiny Houses: Pros and Cons
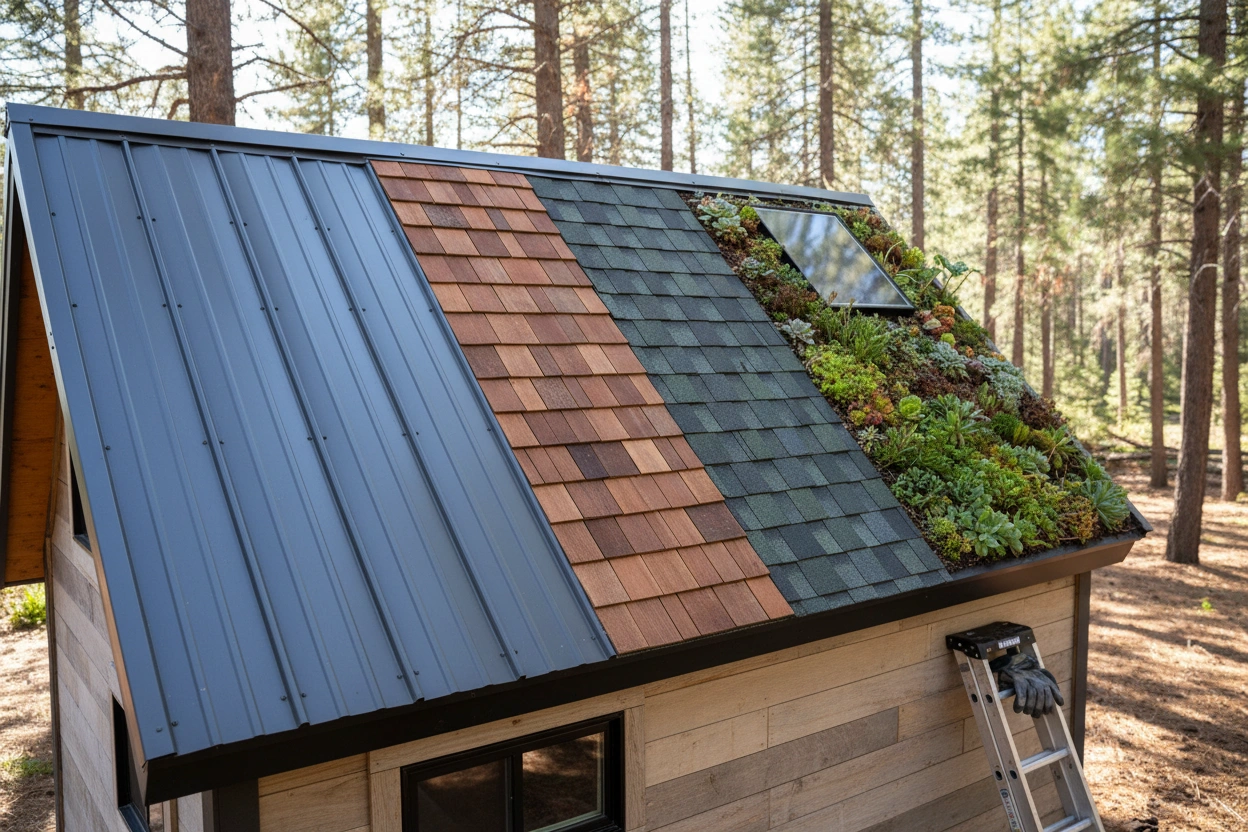
When selecting roofing materials for your tiny house, consider the following options:
1. Metal Roofing
Pros:
- Durability: Metal roofs can last 40-70 years with proper maintenance.
- Weather Resistance: They are excellent for shedding snow and rain, which is crucial in areas with heavy precipitation.
- Energy Efficiency: Metal reflects solar heat, helping to keep your tiny house cooler in summer.
Cons:
- Cost: Initial installation can be more expensive than other materials.
- Noise: Rain and hail can create noise, which may be a concern for some homeowners.
2. Asphalt Shingles
Pros:
- Affordability: Asphalt shingles are one of the most cost-effective roofing materials available.
- Variety: They come in numerous colors and styles, allowing for customization.
- Ease of Installation: Many DIYers find asphalt shingles straightforward to install.
Cons:
- Lifespan: They typically last 15-30 years, which is shorter than metal options.
- Weight: Asphalt shingles can be heavier, which may require additional structural support.
3. Rubber Roofing
Pros:
- Waterproof: Rubber roofing is highly resistant to leaks and water damage.
- Lightweight: This material is easy to handle and install, making it suitable for tiny houses.
- Eco-Friendly: Many rubber roofing products are made from recycled materials.
Cons:
- Appearance: Some may find the look of rubber roofing less appealing than traditional materials.
- Limited Lifespan: While durable, it may not last as long as metal roofing.
4. Wood Shingles
Pros:
- Aesthetic Appeal: Wood shingles provide a natural look that many find attractive.
- Insulation: Wood has good insulating properties, which can help regulate temperature.
Cons:
- Maintenance: Wood shingles require regular maintenance to prevent rot and insect damage.
- Fire Risk: They are more susceptible to fire compared to other materials unless treated.
5. Thatch Roofing
Pros:
- Unique Look: Thatch roofs offer a distinctive, rustic appearance that can enhance the charm of a tiny house.
- Insulation: The natural materials provide excellent insulation.
Cons:
- Maintenance: Thatch requires significant upkeep and may need to be replaced more frequently.
- Availability: Sourcing quality thatch can be difficult in some regions.
Step-by-Step Guide to Installing Tiny House Roofing
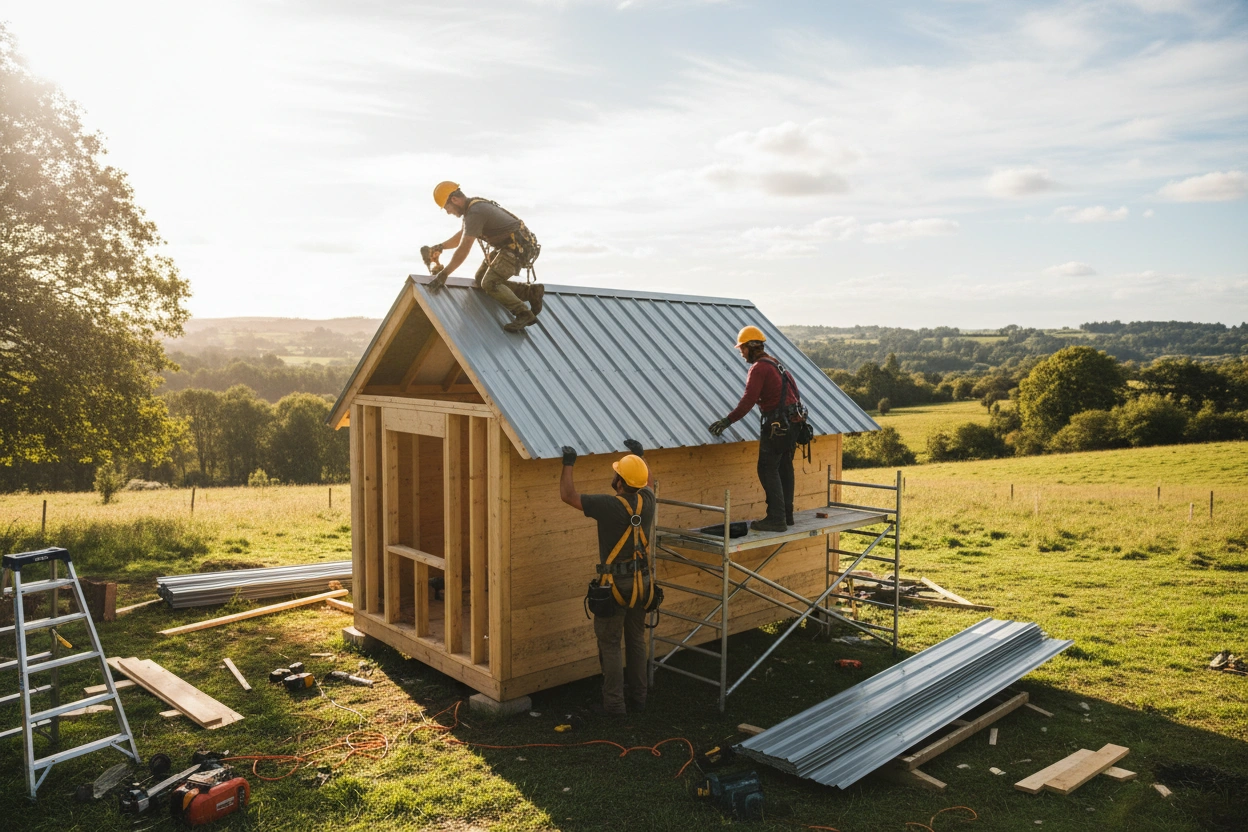
Once you’ve selected your roofing material, you can begin the installation process. Follow these essential steps for a successful tiny house roofing project:
Preparation Phase
Gather Your Materials and Tools: Ensure you have all necessary materials, including your chosen roofing material, underlayment, flashing, nails, and sealant. Tools may include a hammer, saw, level, measuring tape, and safety gear.
Assess the Roof Structure: Inspect your tiny house's frame to ensure it can support the weight of the roofing material. Make necessary reinforcements if needed.
Measure and Cut: Measure the roof area to determine how much roofing material you’ll need. Cut the materials according to the measurements, ensuring precision for a snug fit.
Installation Process
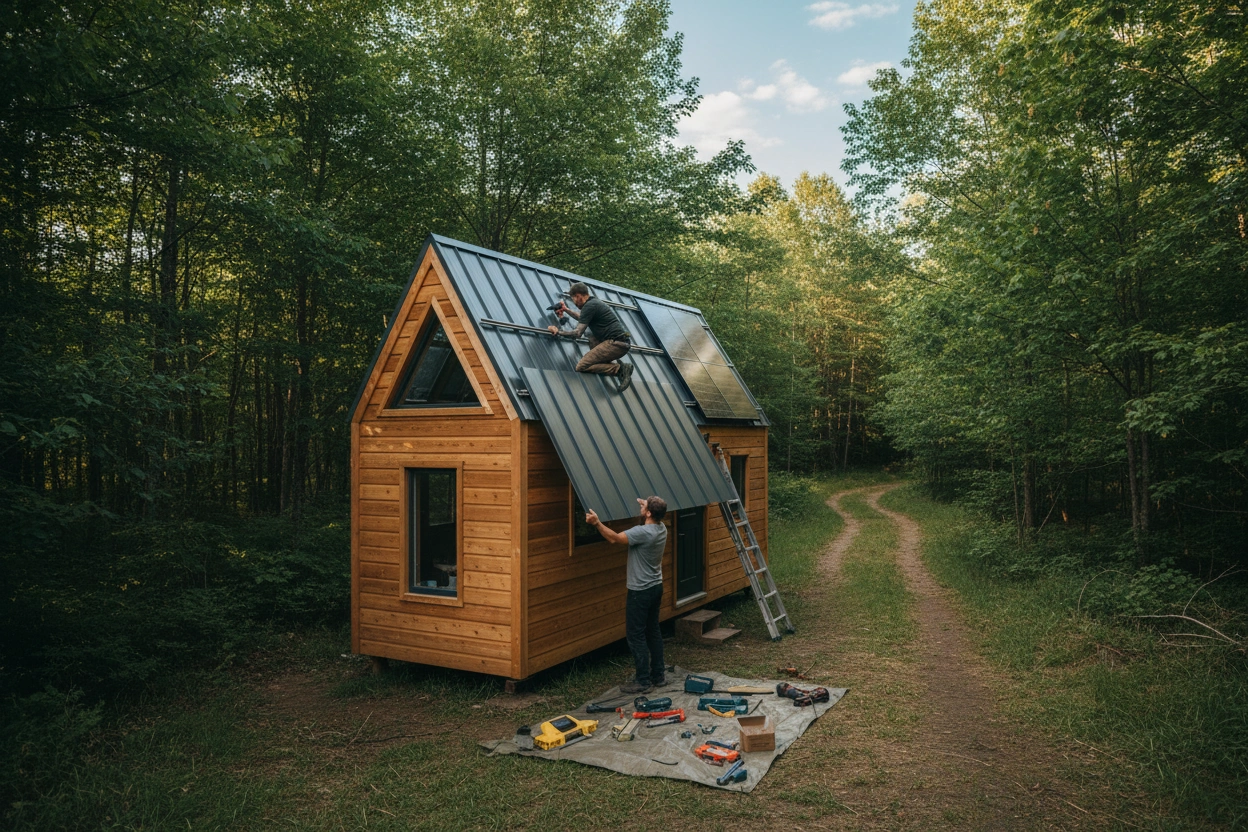
Install Underlayment: Begin by laying down a waterproof underlayment across the entire roof surface. This will serve as an additional layer of protection against leaks.
Apply Flashing: Install flashing around areas that are prone to leaks, such as chimneys or vents. Flashing should be secured tightly to prevent water intrusion.
Install the Roofing Material: Depending on your chosen material, follow the specific installation guidelines. For example:
- Metal Roofing: Start from the bottom and work your way up, overlapping each row to ensure water runs off properly.
- Shingles: Begin at the bottom edge of the roof, nailing each shingle in place, overlapping as you move upwards.
Seal Joints and Edges: Use sealant to secure any joints and edges, which helps prevent water from seeping in.
Final Inspection: Once the roofing is installed, conduct a thorough inspection. Check for any loose materials, gaps, or potential leak points.
Maintenance Tips for Tiny House Roofing
Maintaining your tiny house roofing will extend its lifespan and keep it functioning effectively. Consider these maintenance tips:
- Regular Inspections: Check your roof at least twice a year for signs of damage or wear.
- Clean Gutters: Ensure gutters are free of debris to prevent water buildup and damage.
- Address Issues Promptly: If you notice leaks or damage, address them immediately to prevent further problems.
Common Mistakes in Tiny House Roofing Installation
Even experienced DIYers can make mistakes during the roofing process. Here are some common pitfalls to avoid:
- Neglecting Proper Measurements: Always double-check measurements before cutting materials to avoid waste and ensure a perfect fit.
- Ignoring Weather Conditions: Avoid roofing installation during rainy or windy weather, as this can lead to improper application and safety hazards.
- Skipping the Underlayment: Failing to install underlayment can lead to leaks and water damage over time.
The Benefits of Choosing the Right Roofing for Your Tiny House
Selecting the right roofing material impacts not just aesthetics but also energy efficiency and maintenance costs. The right choice can lead to lower energy bills and less frequent repairs. Additionally, a well-installed roof enhances the overall value of your tiny home.
The Significance of Tiny House Roofing in Sustainable Living
Tiny house roofing plays a vital role in the sustainable living movement. Choosing energy-efficient materials and installation practices contributes to a lower environmental footprint. For instance, metal roofs are recyclable, and rubber roofing can often be made from recycled materials. Understanding the environmental impact of your roofing choice aligns with the principles of minimalism and sustainability that many tiny house dwellers embrace.
Making Informed Choices with TinyHouse.com
Installing tiny house roofing is a significant step in creating a comfortable and efficient living space. By understanding the various roofing materials and installation processes, you can make informed decisions that suit your lifestyle and budget.
TinyHouse.com is committed to providing resources and guidance for those interested in tiny living. Whether you need more information on roofing materials or tips for DIY projects, our platform offers valuable insights tailored to aspiring tiny homeowners.
For further assistance or to learn more about tiny house living, visit TinyHouse.com today. Let us help you navigate the exciting journey of building or buying your tiny home, ensuring it meets all your needs and aspirations.


.svg)