
Step-by-Step Guide to DIY Tiny House Roofing Installation

Building a tiny house is an exciting venture that offers the benefits of minimalism, affordability, and mobility. One of the most critical aspects of constructing a tiny home is the roofing. Selecting the right type of roofing not only enhances the aesthetic appeal of your tiny house but also provides essential protection against the elements. In this guide, we will provide a comprehensive, step-by-step process for installing tiny house roofing while exploring various roofing options and costs associated with each.
Understanding Tiny House Roofing
When considering tiny house roofing, it is essential to recognize the different styles and materials available. The roof of your tiny home can significantly affect its overall design, energy efficiency, and durability. Here are some popular roofing styles and materials to consider:
Common Tiny House Roofing Options
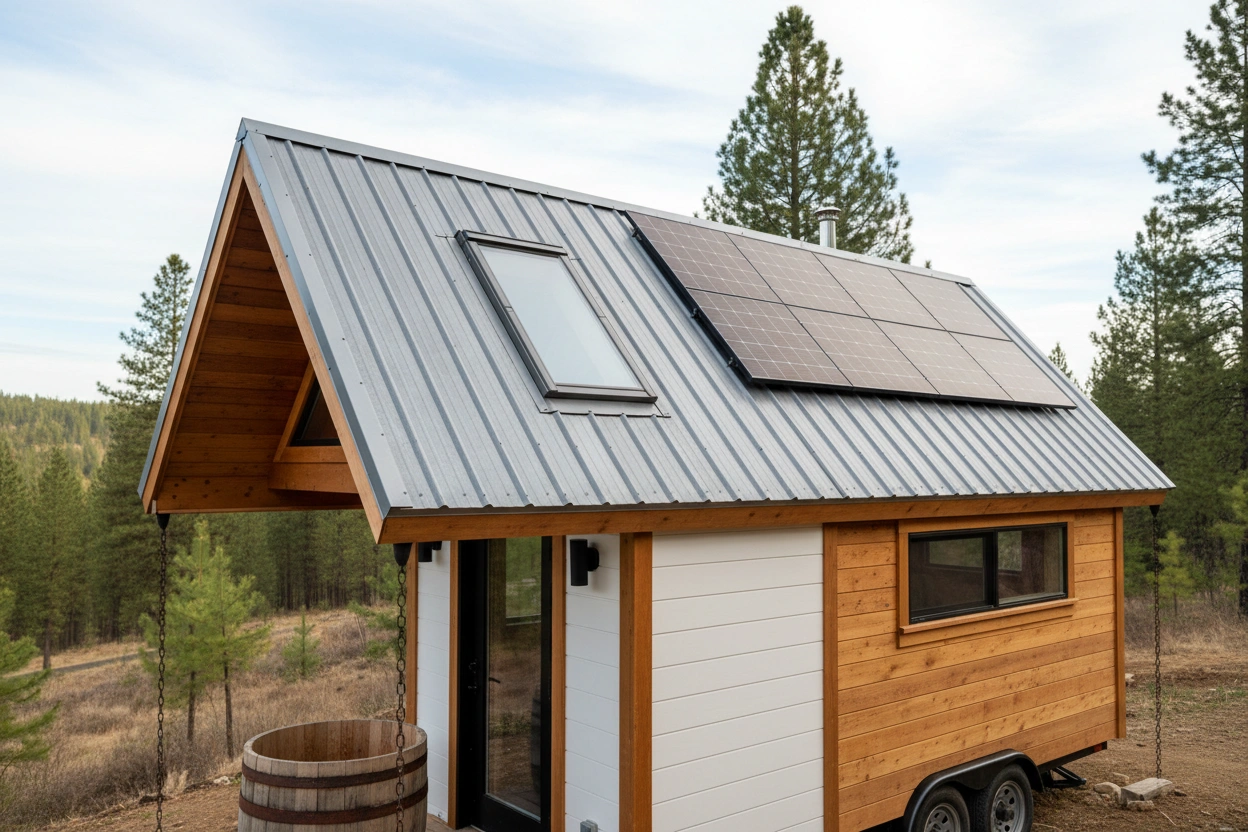
Metal Roofing
- Metal roofing is known for its longevity and resistance to harsh weather. It is lightweight, easy to install, and available in various colors and styles. Metal roofs can last up to 50 years with proper maintenance, making them an excellent investment for tiny house owners.
Asphalt Shingles
- Asphalt shingles are a traditional roofing option that offers affordability and ease of installation. They come in various colors and styles, allowing for customization. However, they have a shorter lifespan, typically lasting around 20-30 years, and may not perform as well in extreme weather conditions.
Wood Shakes
- Wood shakes provide a rustic look and are made from natural materials, which can be appealing for those who prioritize sustainability. While they can be aesthetically pleasing, wood shakes require regular maintenance and are susceptible to rot and insect damage.
Green Roofs
- A green roof involves planting vegetation on the roof surface, providing natural insulation and improving air quality. This option is eco-friendly but requires a more complex installation process and ongoing maintenance.
Flat Roofs
- Flat roofs are a popular choice for tiny houses due to their modern aesthetic and simplicity. They can be made from various materials, including rubber, PVC, or modified bitumen. However, flat roofs can pose drainage issues if not designed correctly.
Cost Considerations for Tiny House Roofing
Understanding the costs associated with tiny house roofing is crucial for budgeting your project effectively. Here are some cost estimates based on different roofing materials:
- Metal Roofing: $3 to $6 per square foot
- Asphalt Shingles: $1 to $3 per square foot
- Wood Shakes: $4 to $7 per square foot
- Green Roofs: $10 to $25 per square foot
- Flat Roofs: $5 to $10 per square foot
Keep in mind that installation costs can vary based on your location, the complexity of the roof design, and whether you choose to hire a professional or tackle the project yourself.
Step-by-Step Guide to Installing Tiny House Roofing
Once you've chosen the right roofing material for your tiny house, it's time to get started on the installation process. Follow these essential steps:
Step 1: Gather Materials and Tools
Before beginning your roofing project, ensure you have all the necessary materials and tools. Common materials include:
- Roofing material (metal, shingles, etc.)
- Underlayment (if required)
- Roofing nails or screws
- Flashing
- Sealant or roofing adhesive
Essential tools may include:
- Hammer or nail gun
- Measuring tape
- Level
- Ladder
- Safety gear (gloves, goggles)
Step 2: Prepare the Roof Structure
Preparing the roof structure is crucial for a successful installation. Start by inspecting the roof framing to ensure it is sturdy and free from damage. If you're working with a new build, ensure the framing is square and level. If you're retrofitting an existing structure, make any necessary repairs before proceeding.
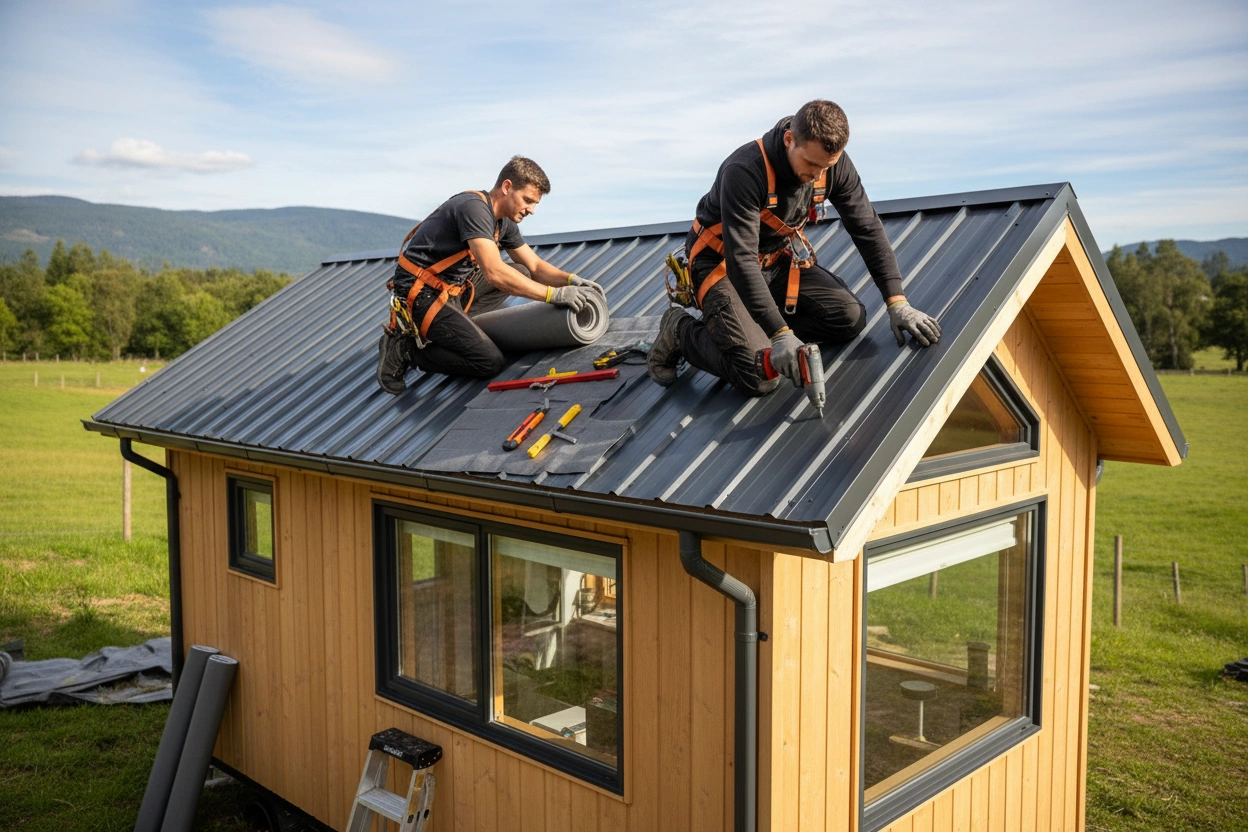
Step 3: Install Underlayment
If your roofing material requires an underlayment, install it according to the manufacturer's instructions. The underlayment acts as a moisture barrier, preventing water from seeping into the roof structure. Ensure the underlayment is properly overlapped and secured to avoid any gaps.
Step 4: Install the Roofing Material
The installation method will vary based on the type of roofing material you selected. Here’s a brief overview for a few common options:
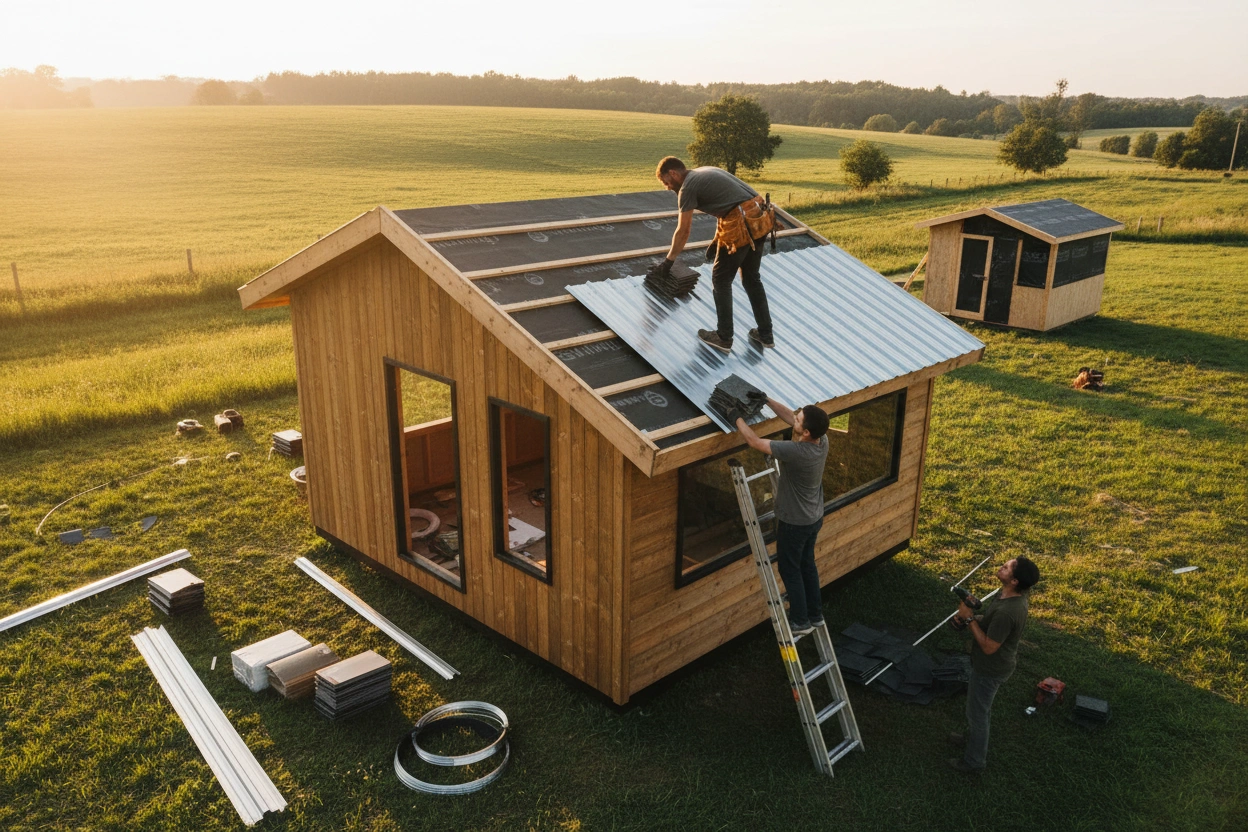
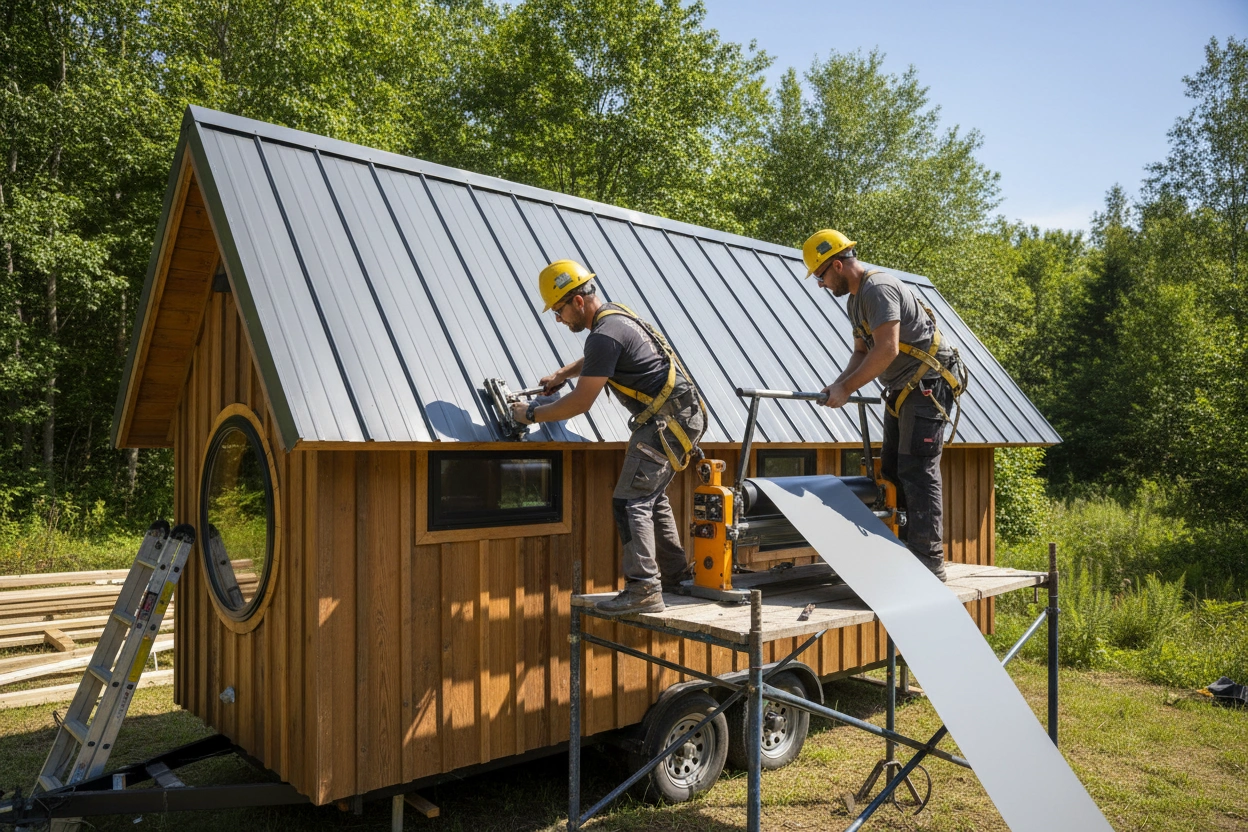
Metal Roofing:
- Begin at the bottom edge of the roof and work your way up.
- Secure each metal panel with screws, ensuring proper overlap with the previous panel.
Asphalt Shingles:
- Start at the bottom edge and install the first row of shingles.
- Overlap each subsequent row, staggering the seams for better water resistance.
Wood Shakes:
- Begin at the bottom, securing each shake with nails.
- Ensure that each shake overlaps the one below it to provide maximum coverage.
Step 5: Add Flashing and Sealant
Flashing is essential for preventing water leaks around roof penetrations, such as vents and chimneys. Install flashing according to the manufacturer's guidelines. After installing the flashing, apply sealant to ensure a watertight seal.
Step 6: Final Inspection
Once the installation is complete, conduct a thorough inspection of your roofing work. Look for any gaps, loose materials, or areas that may require additional sealant. Address any issues before considering the project complete.
Tips for Successful Tiny House Roofing Installation
To ensure your tiny house roofing project goes smoothly, consider the following tips:
- Research Local Building Codes: Before starting, check with local authorities for any building codes or regulations regarding roofing materials and installation practices.
- Weather Considerations: Choose a dry, clear day for installation to avoid complications caused by rain or high winds.
- Safety First: Always prioritize safety by using appropriate gear and ensuring your ladder is secure when working at heights.
- Seek Help if Needed: If you’re unsure about any part of the process, consider consulting a professional for guidance or assistance.
Common Mistakes to Avoid in Tiny House Roofing
When installing tiny house roofing, it’s easy to make mistakes that can lead to costly repairs down the line. Here are some common pitfalls to avoid:
- Neglecting Proper Ventilation: Failing to install proper ventilation can lead to moisture buildup and mold growth.
- Ignoring Manufacturer Instructions: Always follow the specific instructions provided by the roofing material manufacturer to ensure warranty coverage and proper installation.
- Rushing the Process: Take your time to ensure each step is completed correctly. Rushing can lead to errors that compromise the integrity of the roof.
Innovative Roof Styles for Tiny Homes
Beyond traditional roofing options, there are innovative styles that can enhance the uniqueness of your tiny house. Here are some creative ideas:
Shed Roof
A shed roof features a single sloping surface, making it an excellent choice for modern tiny homes. This style allows for increased ceiling height and can facilitate rainwater collection systems.
Gable Roof
The gable roof is a classic design characterized by two sloping sides that meet at the top. This style provides good ventilation and allows for additional storage or living space in the attic.
Butterfly Roof
The butterfly roof features two sloping sides that meet in the middle, resembling the wings of a butterfly. This design is visually striking and can enhance natural light within the home.
Dome Roof
A dome roof offers a unique aesthetic and excellent energy efficiency. The curved shape allows for water runoff and can withstand high winds, making it a practical choice for various climates.
Green Roof
As mentioned earlier, a green roof not only provides insulation but also creates a beautiful natural space. This option can enhance the overall sustainability of your tiny home.
The Intersection of Tiny House Roofing and Design
Selecting the right roofing style for your tiny house is integral to achieving the desired aesthetic and functionality. Whether you opt for a classic gable roof or a modern shed roof, your choice will impact the overall design and livability of your home.
At TinyHouse.com, we understand the importance of making informed decisions about your tiny house project. From roofing options to construction tips, our resources are designed to guide you through every step of the process.
If you're ready to embark on your tiny house journey or need further assistance with tiny house roofing, visit TinyHouse.com for expert advice and resources tailored to your needs.
By leveraging the insights provided in this guide, you can confidently tackle your DIY tiny house roofing installation, ensuring your home is not only beautiful but also built to last.


.webp)